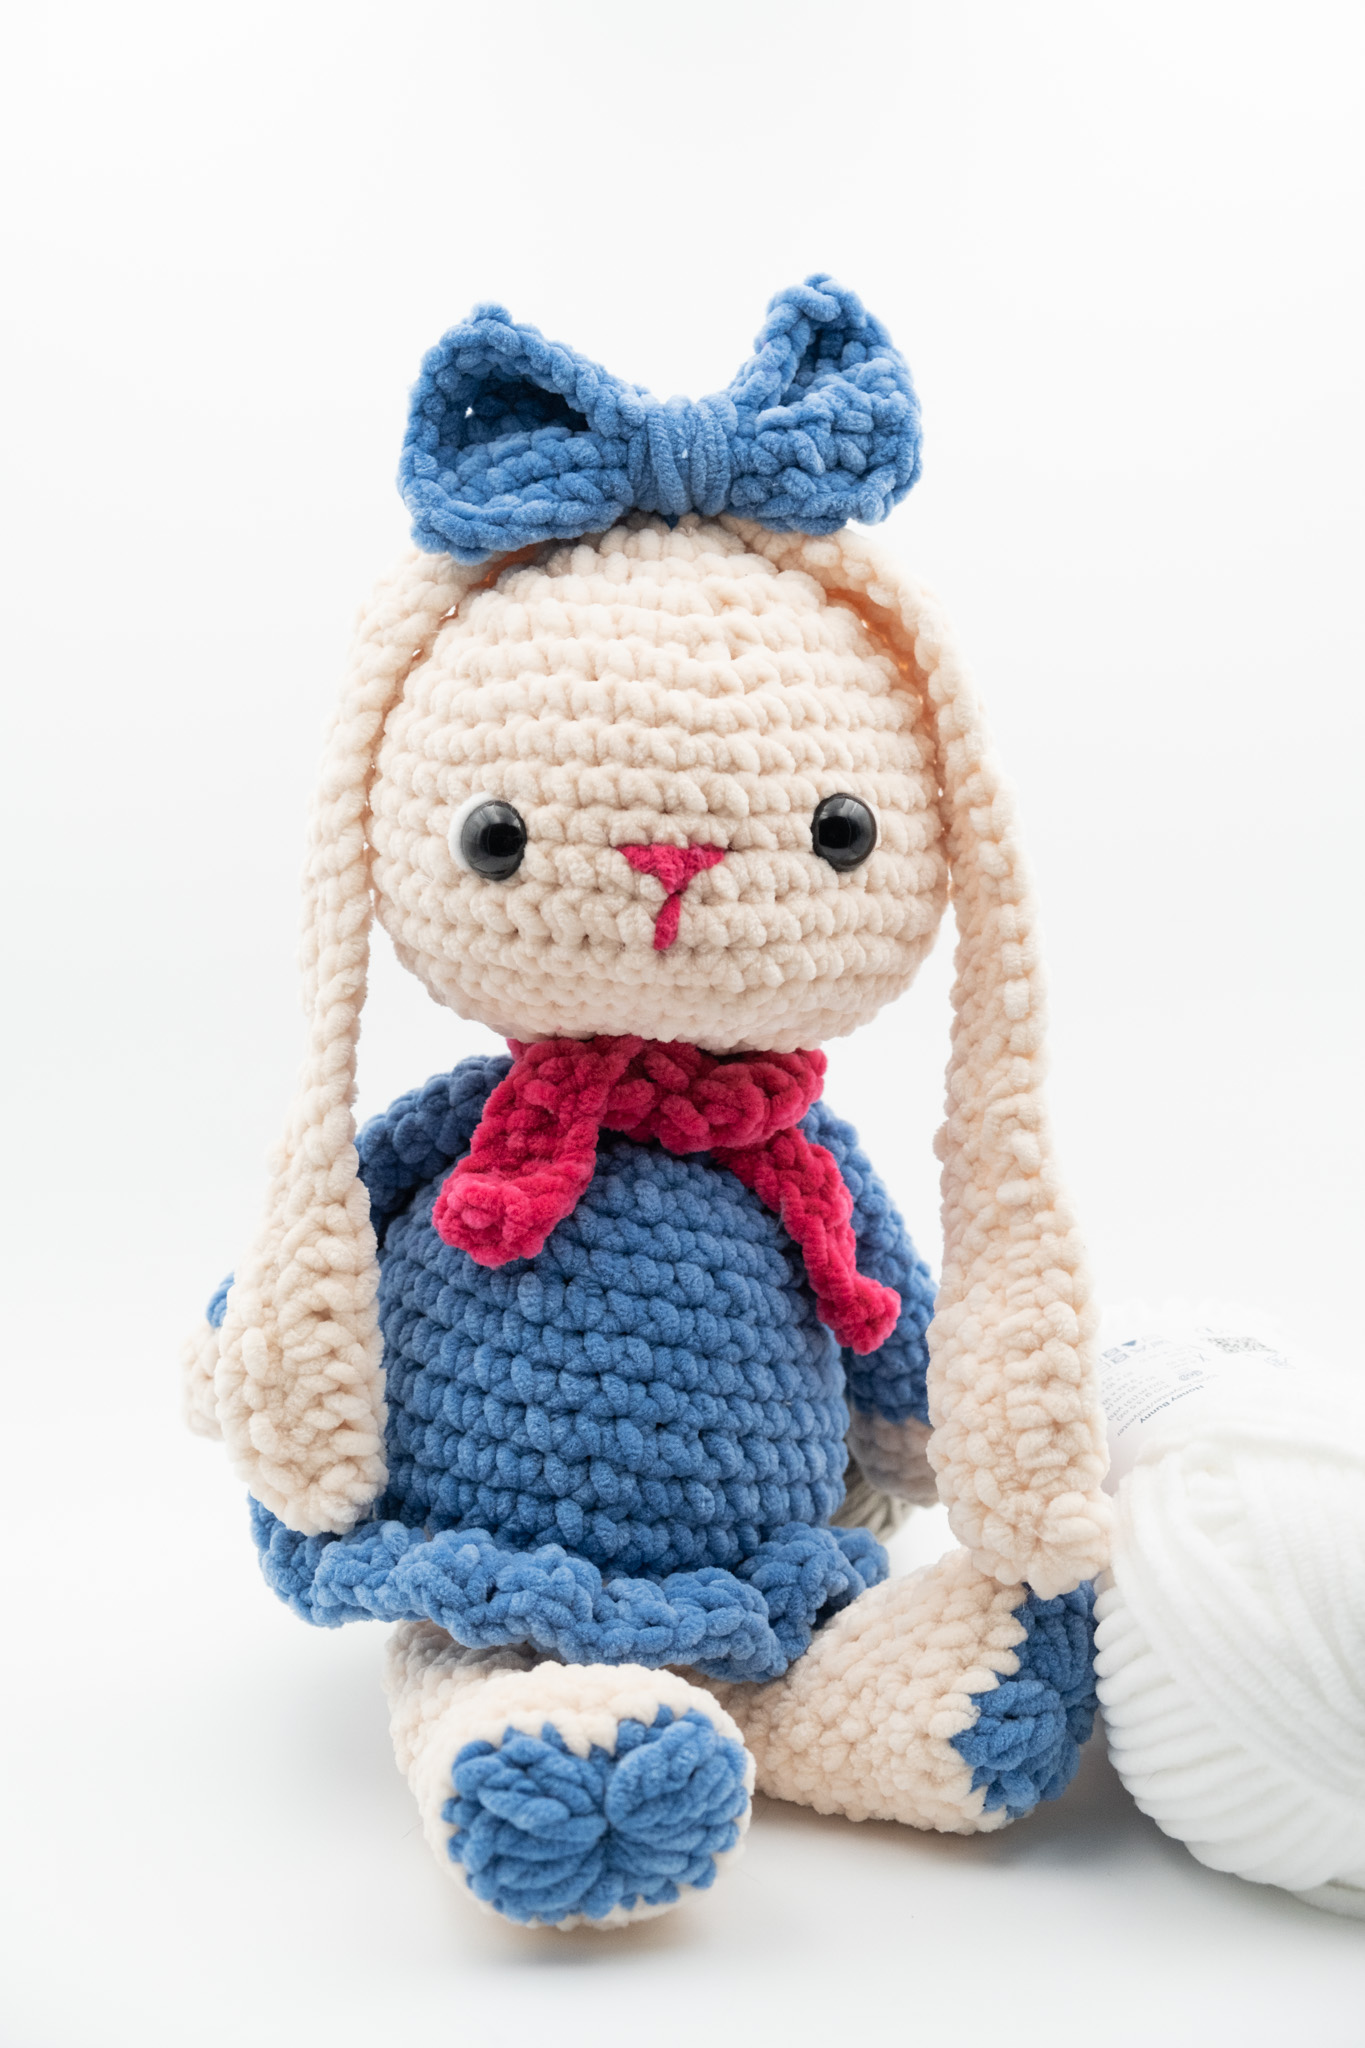
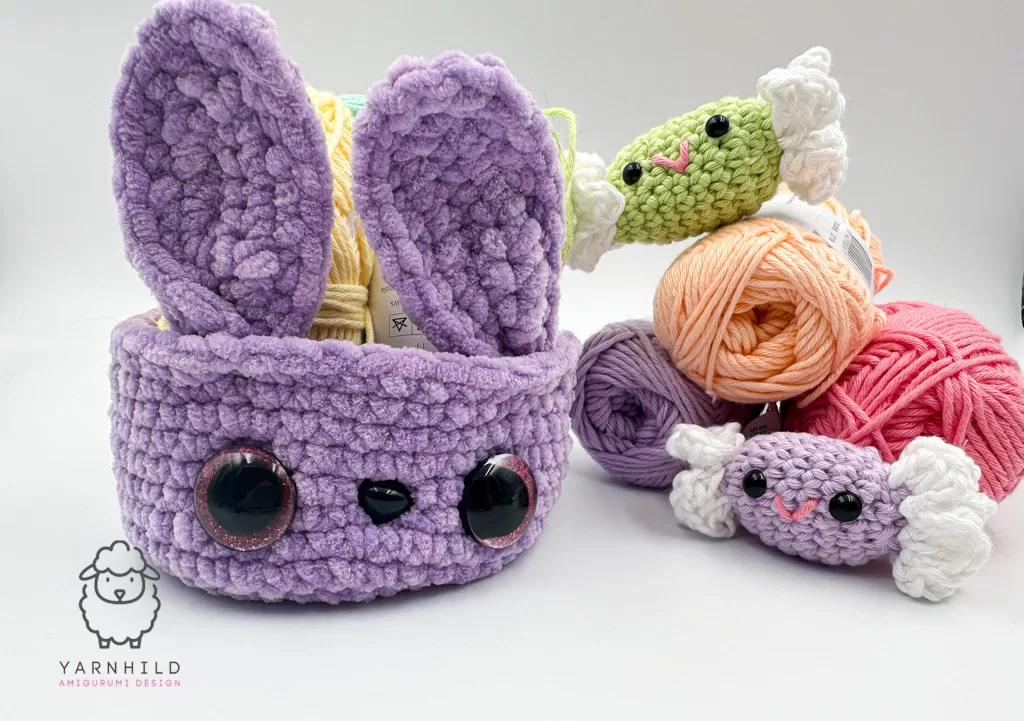
The Bunny Hug Basket
Today, I will show you how to crochet the cutest bunny easter basket! These adorable crochet baskets are perfect for filling with treats, small gifts, or festive decorations. Let's get into the Easter spirit and make something fun and practical!
I named this adorable basket The Bunny Hug Basket.
Grab your hook, and let us stitch up a cute crochet bunny easter basket!

Scroll down for the free pattern, or get the ad-free version on Etsy, or add this pattern to your queue on Ravelry!
These little baskets are not only cute but also super easy to make. They are the perfect addition to your Easter celebrations; you can customize them in many ways.
Why Crochet Bunny Baskets?
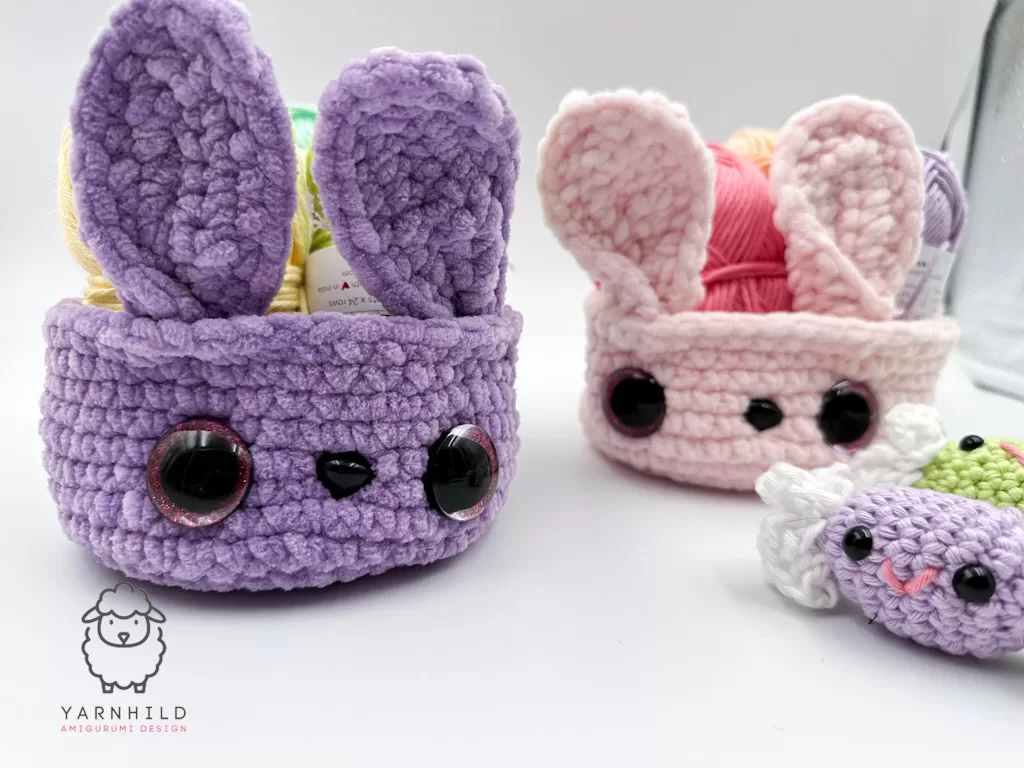
I love making seasonal crochet projects, and Easter is no exception! These bunny baskets are great for kids and adults alike. You can use the baskets as Easter egg holders, candy storage, or small gift baskets. Plus, who doesn't love a bunny-themed project?
How to Customize Your Bunny Basket?
There are so many ways to make your bunny baskets unique! Here are some ideas:
- Change up the colors! While pastel shades are classic for Easter, you can make them in bold or neutral colors for a different look.
- Add embellishments like bows, buttons, or tiny flowers to give each basket its personality.
- Adjust the size by using different yarn weights and hook sizes.
Other Free Crochet Patterns on This Blog:
If you are looking for video tutorials, check our YouTube Channel.
Crochet bunny Easter basket supplies:
I use affiliate links and receive a small commission for each purchase you make through my links at no extra cost to you. Thank you for supporting me in sharing my free patterns!
- Yarn: I used plush yarn for my baskets, but they are still sturdy.
- Crochet Hook: Choose a hook size that complements your yarn choice. I use a 4,5 mm
- Stuffing: If you want a sturdier basket, you can reinforce it with some stuffing in the base.
- Safety Eyes or Embroidery Thread: To create cute bunny faces. I used these with glitter. Mine are 30 mm, but you can use smaller eyes too.
- A Stitch Marker (optional, but helpful for keeping track of your rounds).
Happy Crocheting! 🐰💐
Easter is the perfect time for fun, creative projects. These crochet bunny baskets will surely bring a smile to anyone's face. Whether you fill them with treats or display them as decorations, they add a handmade charm to your Easter festivities.
Happy crocheting, everyone! 🧺💖
The youtube tutorial is available in German only, but scroll down for the written pattern.
The Bunny Hug Basket - Crochet bunny easter basket
Abbreviations
- ch – chain
- sl st – slip stitch
- sc – single crochet
- inc – increase (2 single crochets in one stitch)
Instructions
Basket Base
Start with a magic ring. If you're unfamiliar with it, you can chain 4, join into a ring with a sl st, and work into the ring.
Work in continuous rounds, use a stitch marker, and move it up as you finish the rounds.
Round 1: Work 8 sc into the magic ring. Tighten the ring. (8 sc)
Round 2: Work 2 sc in each sc around (inc in each sc). (16 sc)
Round 3: (1 sc, inc in next sc) Repeat around. (24 sc)
Round 4: (2 sc, inc in next sc) Repeat around. (32 sc)
Round 5: (3 sc, inc in next sc) Repeat around. (40 sc)
Round 6: (4 sc, inc in next sc) Repeat around. (48 sc)
If you want the basket to be bigger, increase by adding one more sc between each increase in each new round (e.g., 5 sc, inc in the next round).
Round 7: Work 1 sc in each st in BLO (48 sc)
Round 8- 16. 1 sc in each stitch. (48 sc)
Sl st into the first st and cut the yarn.
Bunny Ears (Make 2 pairs, then join them)
Ch 10.
Row 1: Starting in the 2nd ch from the hook, work 1 sc in each ch across. (9 sc)
Row 2: Ch 1, turn. Work 1 sc in each of the next 8 sc, 2 sc in the last sc. (10 sc)
Row 3: Do not turn. Instead, continue working down the other side of the starting chain, making 2 sc in the first stitch, then 1 sc in each stitch across. (20 sc total around the ear)
Sl st and cut the yarn. Please do not cut the yarn on the last panel, but continue to join it.
Joining the Ears
- Place two ear pieces together and sc around the edges to join them.
- Make sure that the right side is on the outside.
- Add 2 sc in the top stitches to give the ear a curved shape. (Total 22 sc)
Leave a long tail for sewing.
Pinch the ears on the bottom and weave back and forth a few times to create some shaping.
You can also attach a little bunny tail from a pom-pom to the back
Assembly
Place the ears on a few rows from the top. Weave back and forth to make sure that they are sturdy. Place safety eyes where you see fit. Place a nose in the middle or embroider one on. Optional: add whiskers if you want to.