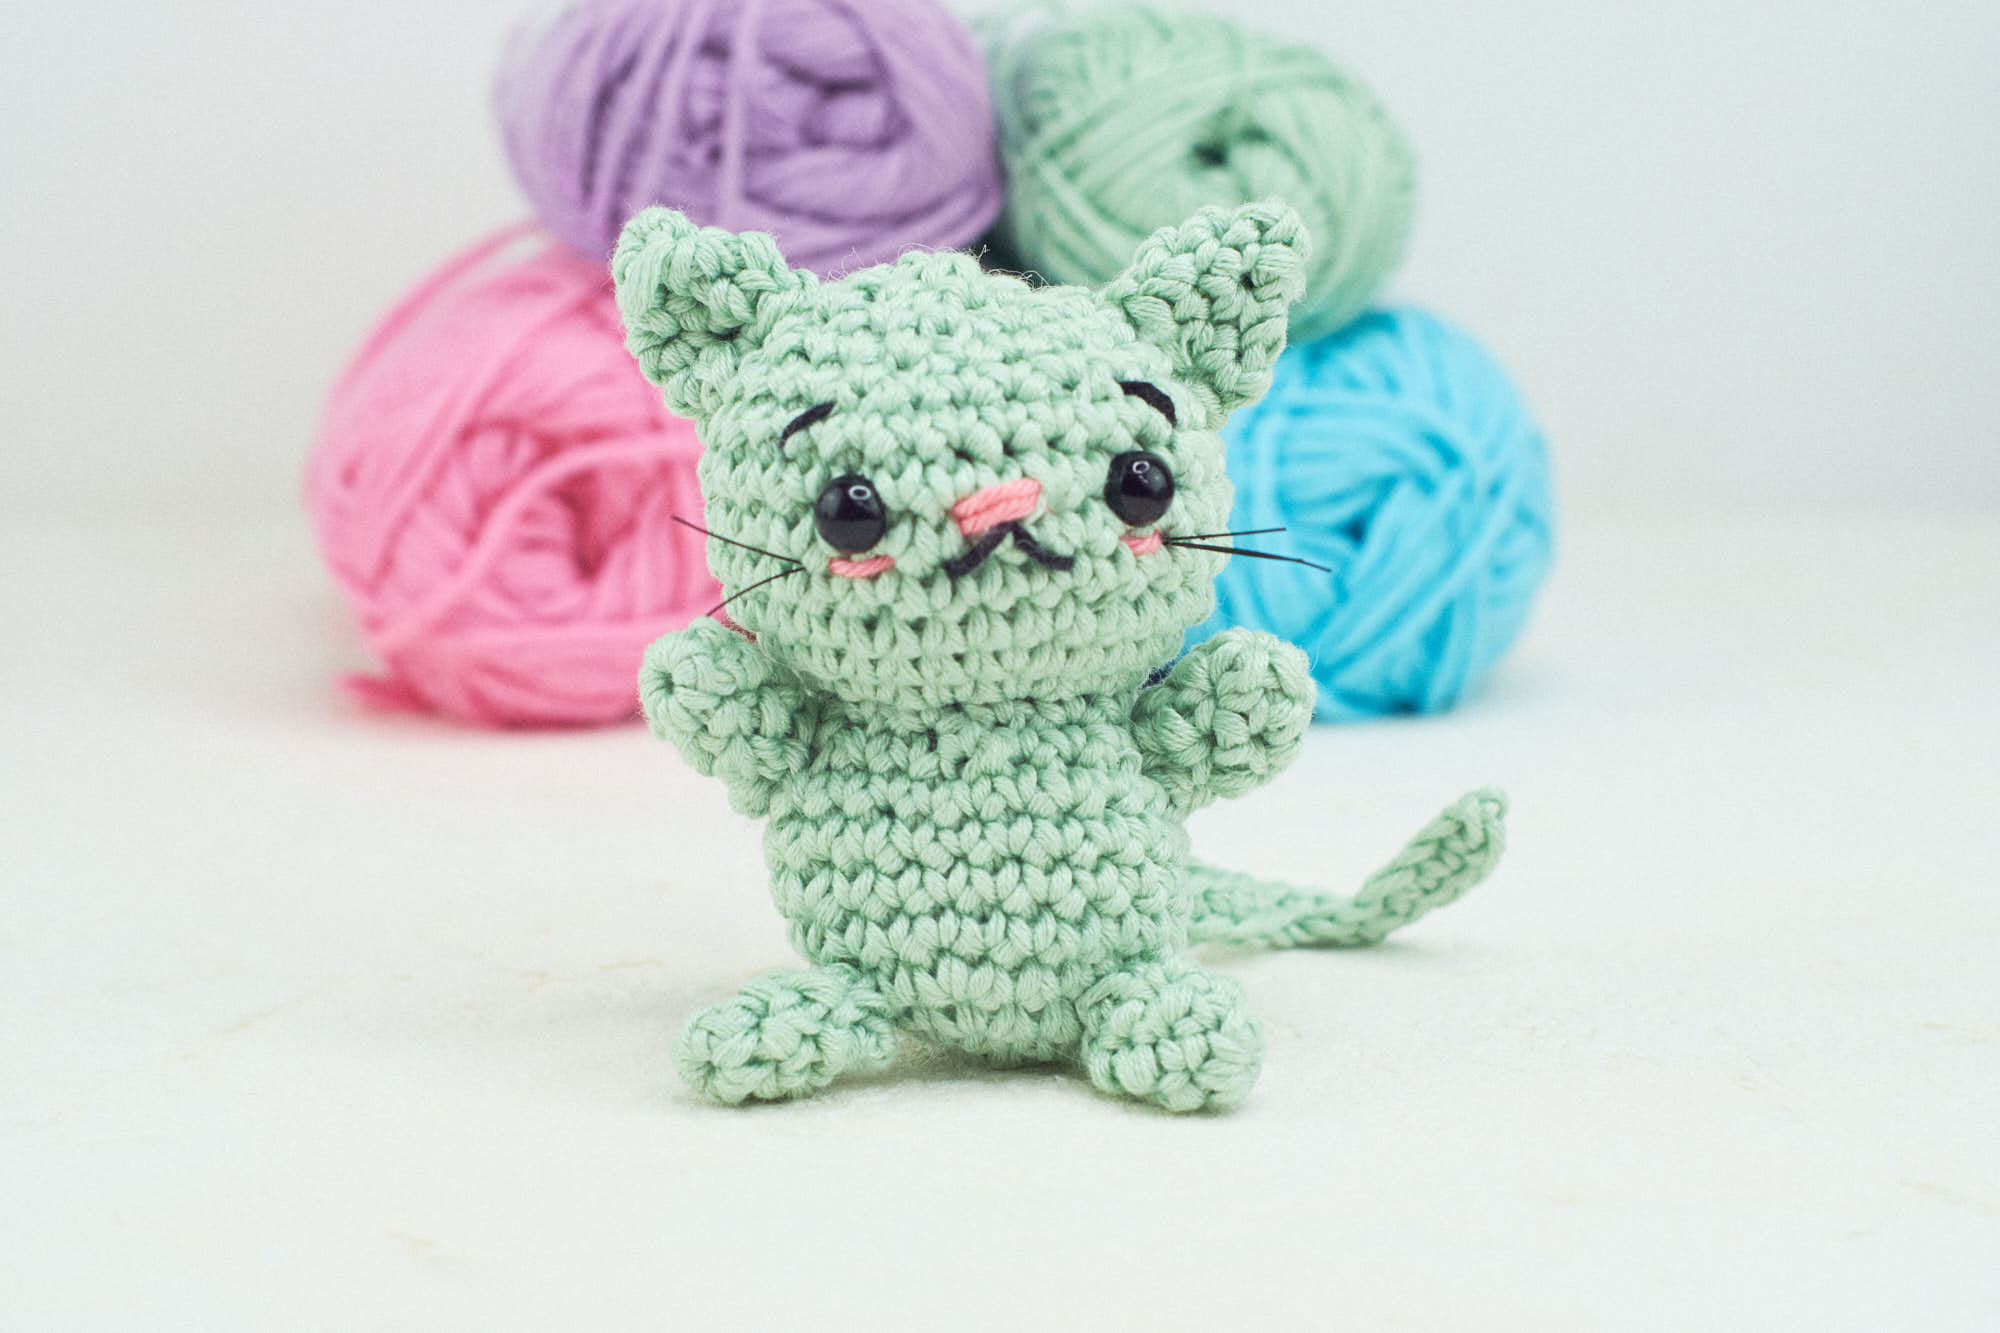
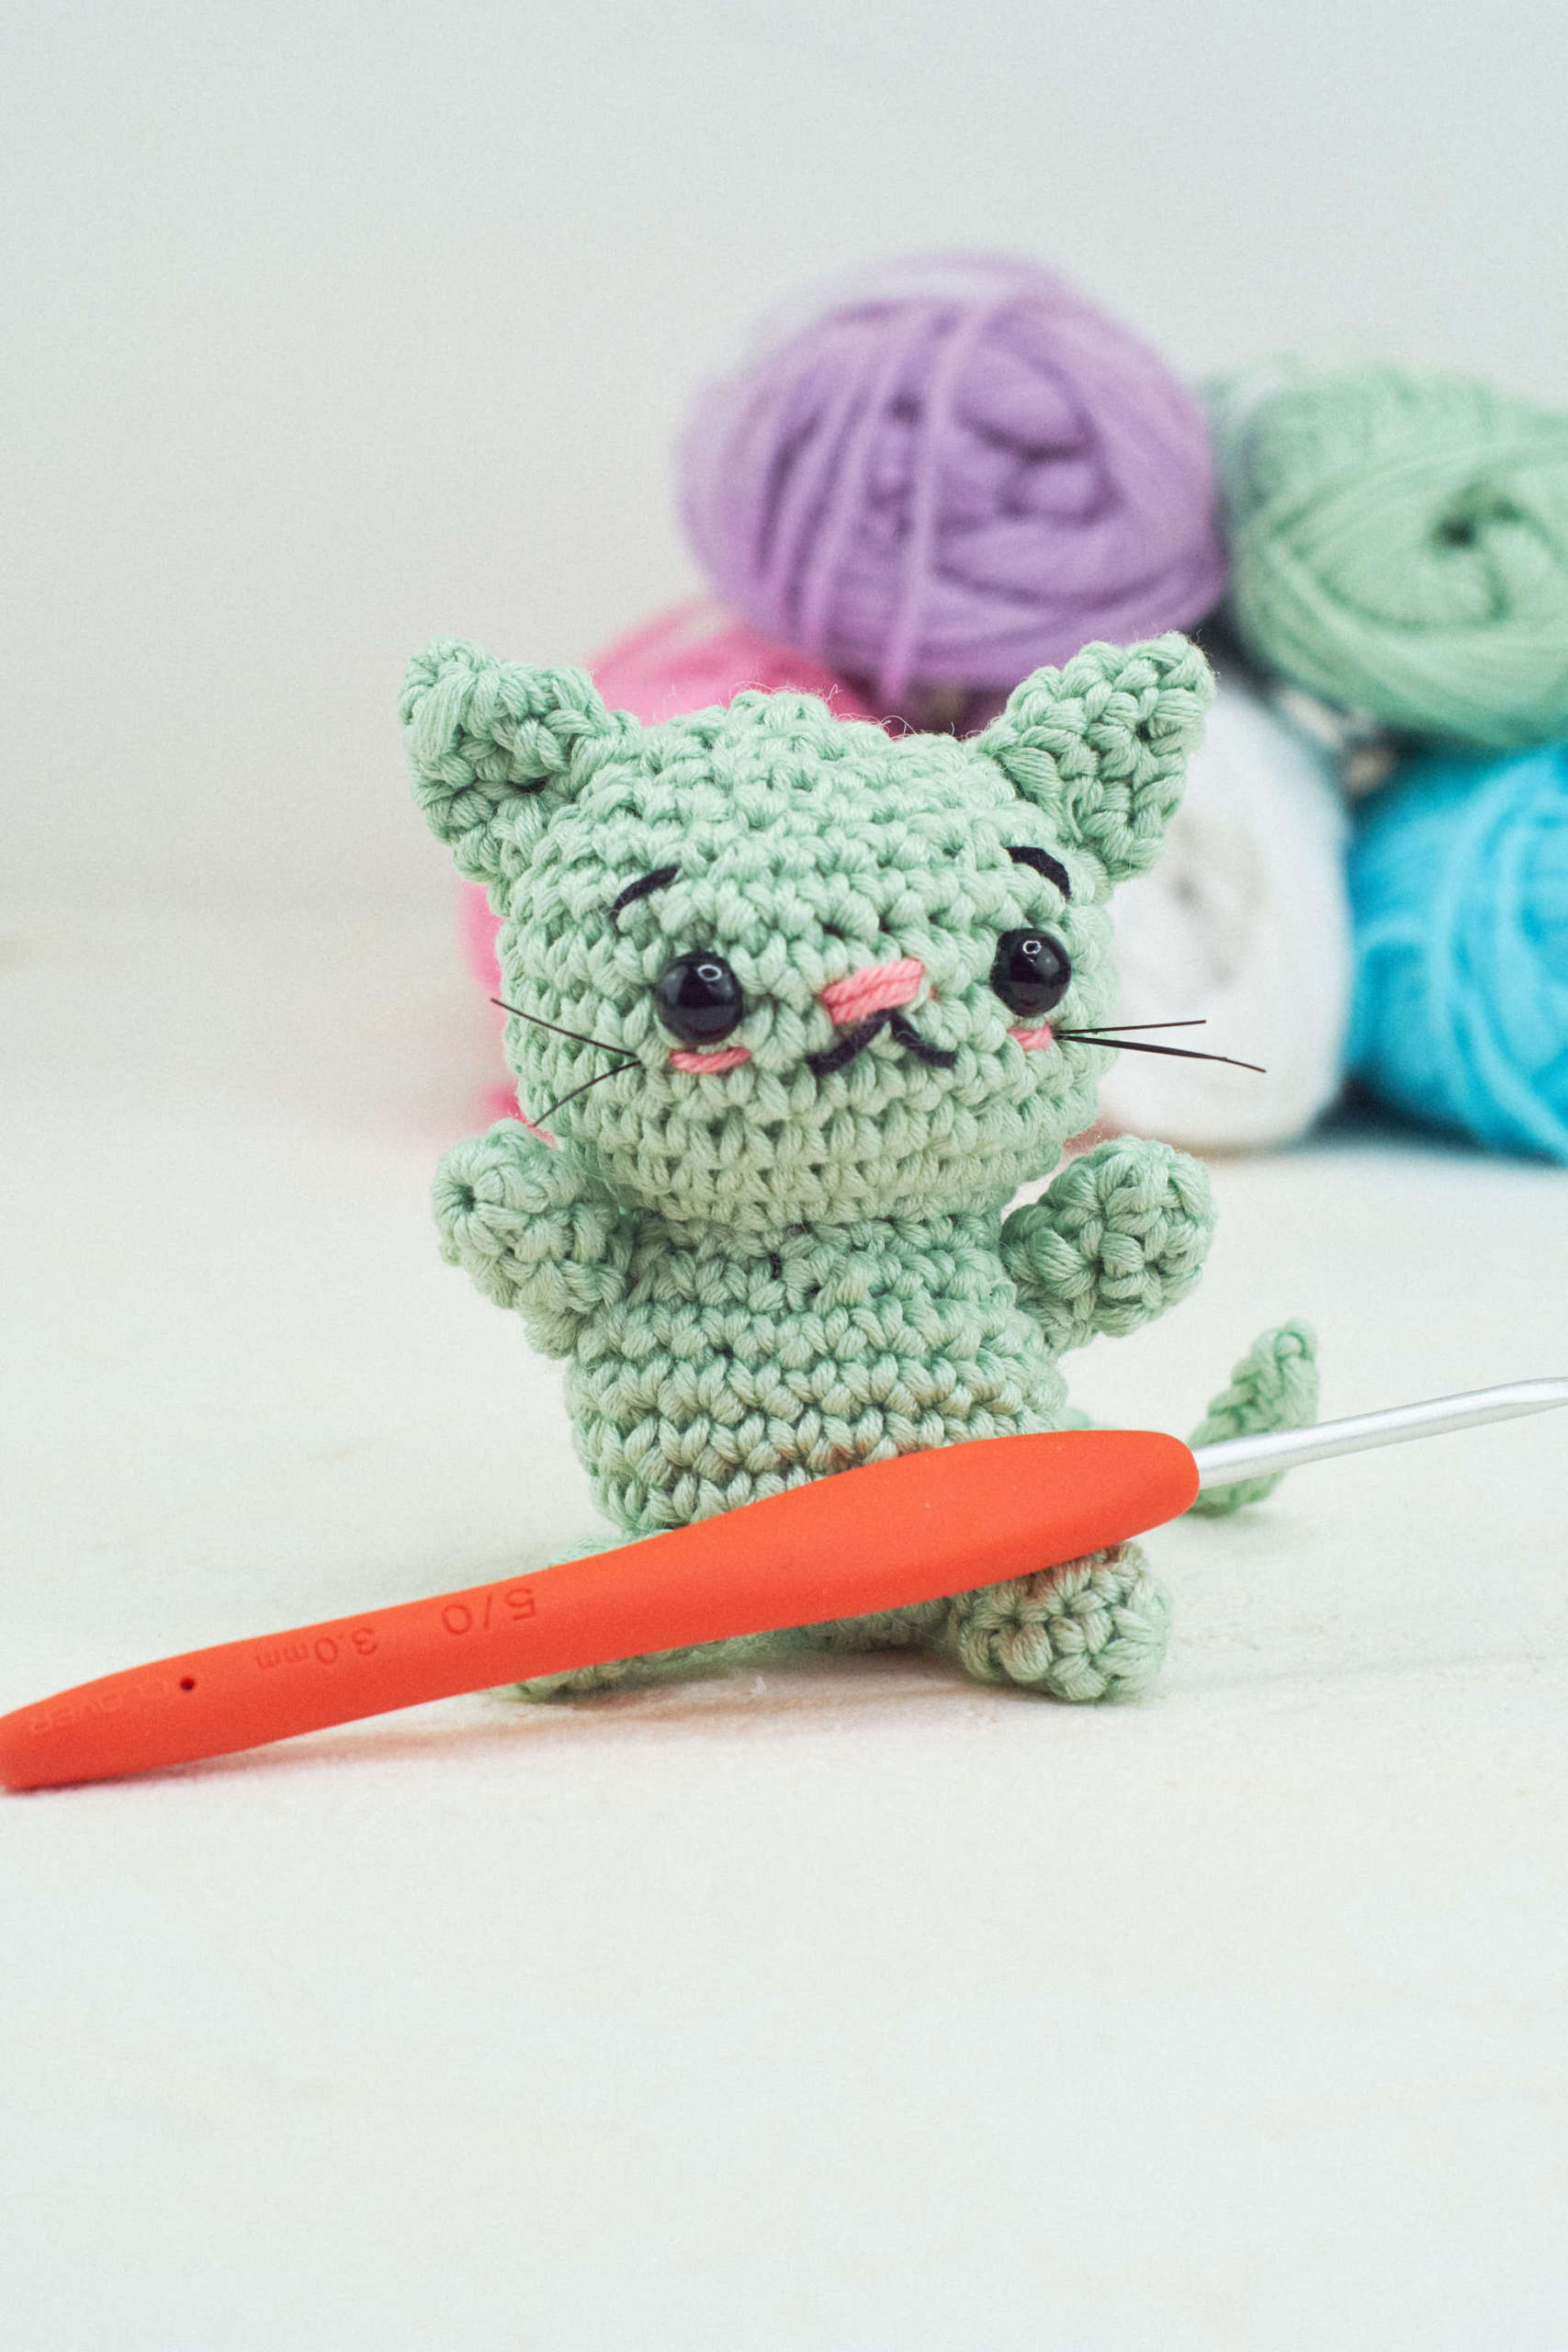
Max is a sweet little cat who loves to play with his people when he's not sleeping. This is a cute and easy amigurumi cat that you can make in no time! Also, you don't need much yarn to finish this guy so this is perfect for leftovers.
Click here for the German pattern. Klicke hier für die deutsche Anleitung!

Last week I released the pattern for this cute amigurumi whale. So I got inspired to make more quick and easy amigurumi patterns!
I sometimes include affiliate links in my blog posts. That means that I earn a small commission if you purchase a product that I recommend, on no extra costs on your behalf. Thank you for your support!

Materials
You can make them in all kinds of colors and yarn weight. I used some sports weight yarn for my cat. Be aware that the size will change if you use a different yarn. I used Drops Safran from Garnstudio, but you can get away with any yarn. My amigurumi cat is about 3,5 inches. If you want to adjust the size, just use different yarn and a hook that matches.
I used a 3.0 mm crochet hook (I use clover amour), scissors, tapestry needle, safety eyes and filling materials.
Share this on Pinterest!

Pdf version
You can purchase the ad-free version for the cat in my Etsy-Shop. You will get a printable version direct after payment. Thank you for supporting my work and for helping me continue to provide these fun and free patterns!
If you are making these for children, please make sure that all parts are safe and secure.
Video tutorial
Here is the video tutorial for Max the cat. Be sure to subscribe to my channel and hit the little bell to get notified every time I upload a video.
Amigurumi cat - Written pattern
Crochet pattern was written by Yarnhild ©. This pattern is the intellectual property of Yarnhild. The pattern must not be altered, translated, copied, or republished without approval. You are welcome to sell the items that you have made from my patterns, but please be sure to give me credit for the pattern that you sell online. For private use only, no commercial use. 2020 – Yarnhild ©
Abbreviations – US terms
Ch - chain
St – stitch
sl st – slip stitch
sc – single crochet
R – round
sc2tog– single crochet decrease
sc inc – single crochet increase, 2 single crochet in one stitch
mr – Magic ring
Materials
Sports weight yarn in one or two main colors. Small amounts of black and pink for cheeks, and nose. For the whiskers you can use black yarn or some thicker tread.
Filling materials
Crochet hook 3,0 mm
Scissors and stitch marker
Safety eyes 8 mm
About the pattern
The cat is made in continuous rounds. Use a stitch marker and move it up as you finish the rounds. The cat consists of body and head (made in one piece), paws, ears and a tail. The finished cat is about. 9 cm, 3,5 inches.
You can use any colors that you want to, you can just use one, or make a striped cat. Difficulty level: Advanced beginners
Body and head
From bottom up
In the main color of your choice.
Start with A:
R1: 6 sc in a mr = 6 s
R2: sc inc x 6 = 12 sc
R3: (1 sc, sc inc) x 6 = 18 sc
R4: (2 sc, sc inc) x 6 = 24 sc
R5-8: 1 sc in each st (4 rounds) = 24 sc
R9: (2 sc, sc2tog) x 6 = 18 sc
R10: (1 sc, sc2tog) x 6 = 12 sc
Add stuffing here
R11: sc inc x 12 = 24 sc
R12: (3 sc, sc inc) x 6 = 30 sc
R13-17: 1 sc in each st (5 rounds) = 30 sc
R18: (3 sc, sc2tog) x 6 = 24 sc
Attach safety eyes between rows 15-16, 4 sc sts apart. Sew on a nose and a little mouth, and eyebrows or eyelashes if you want to.
R19: (2 sc, sc2tog) x 6 = 18 sc
Finish stuffing.
R20: (1 sc, sc2tog) x 6 = 12 sc
R21: sc2tog x 6 = 6 sc
Sew the hole closed
Ears
Make 2
R1. 4 sc in a mr = 4 sc
R2: 1 sc in each st = 4 sc
R3: sc inc x 4 = 8 sc
R:4: 1 sc in each st = 8 sc
Sl st in the next st and fasten off. Leave a long tail for fastening.
Paws
Make 4
R1. 5 sc in a mr = 5 sc
R2-4: 1 sc in each st = 5 sc
Fasten off. Leave a long tail for fastening.
Tail
Ch 20, 1 sc in the 2nd chain from the hook and in the next 6, sc inc in the next. 1 sc in next 4, sc inc in next, 1 sc in the next 6 ch. = 21 sc. Fasten off, leave a tail for fastening.
Assembly
Sew on the ears between 16 – 18. Use pins to find the best place and sew them on using small stitches. Sew on the paws between rows 3-4 and rows 8-9. Use pins to find the best position. Sew on the tail at the back.
I hope you are happy with your amigurumi cat! Please share this pattern with others!


pheromone advantage formula
Sunday 21st of June 2020
When someone writes an piece of writing he/she retains the thought of a user in his/her brain that how a user can understand it. So that's why this post is amazing. Thanks!
crochetcraftscraps
Friday 29th of May 2020
We just love this! It's too cute and so easy to make! Thankyou for sharing with us! We've shared it on, linking your page :) Everyone needs cute kitty Max!
Eine süße Amigurumi Katze häkeln -kostenlose häkelanleitung und Video
Friday 29th of May 2020
[…] Click here for the English pattern! […]