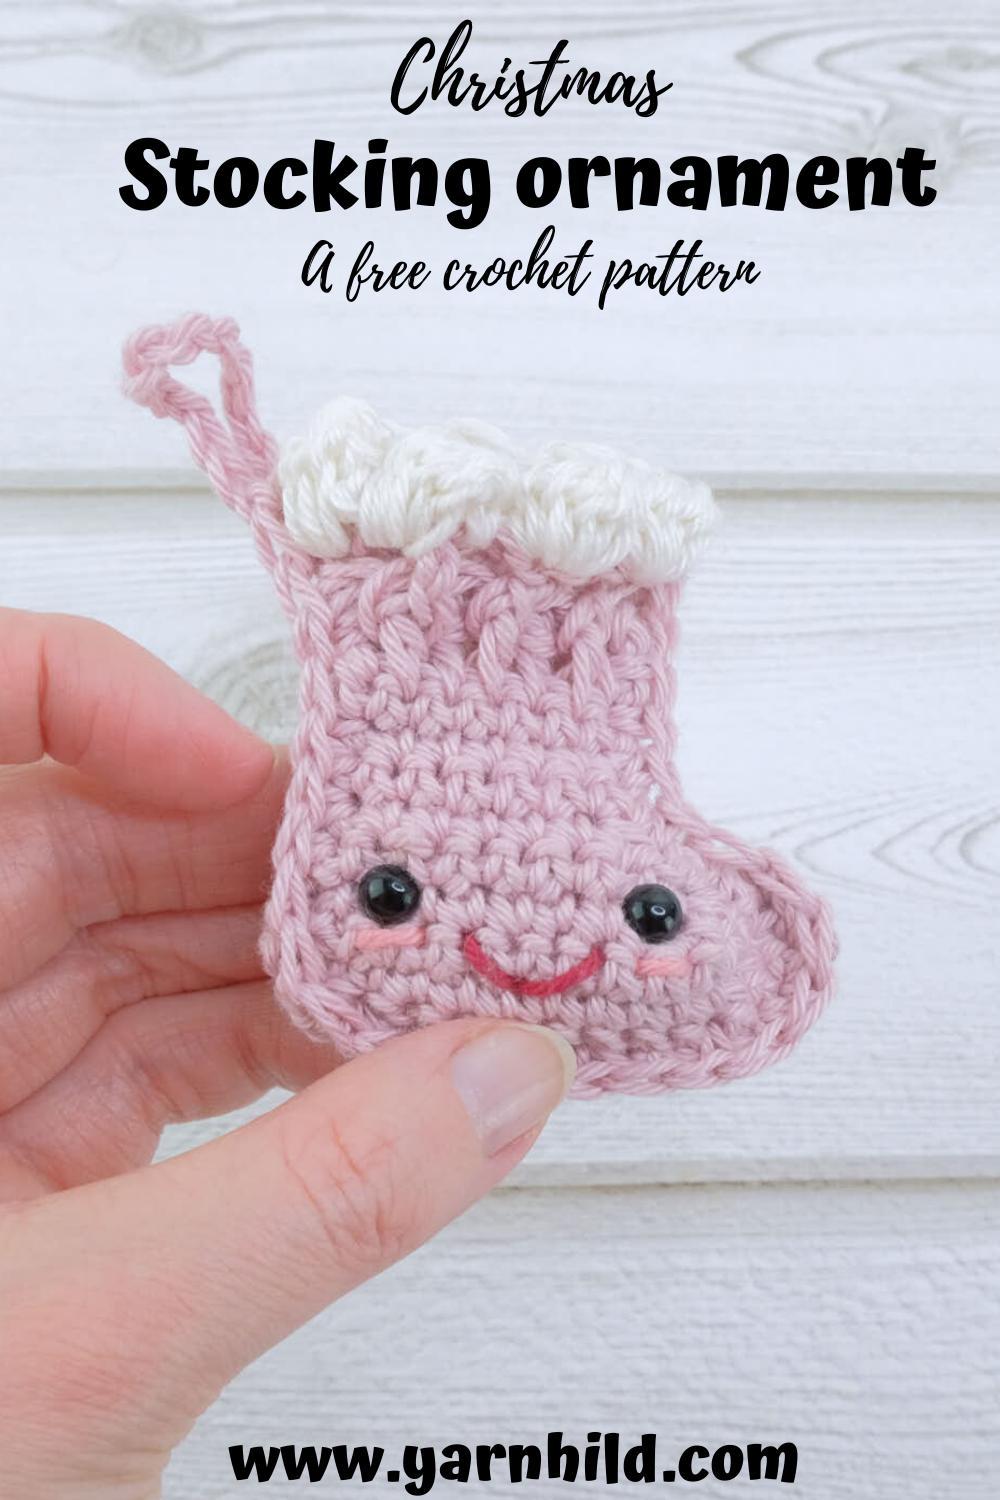
The fourth ornament pattern on the blog is a little, cute stocking! I am planning to do several Christmas ornaments pattern this year, so stay tuned for more! These Christmas ornaments will look awesome on your Christmas tree! Because they are fun and cute, kids will love them too! You can fill these stockings with candy or little treats. A perfect little gift for your loved ones.
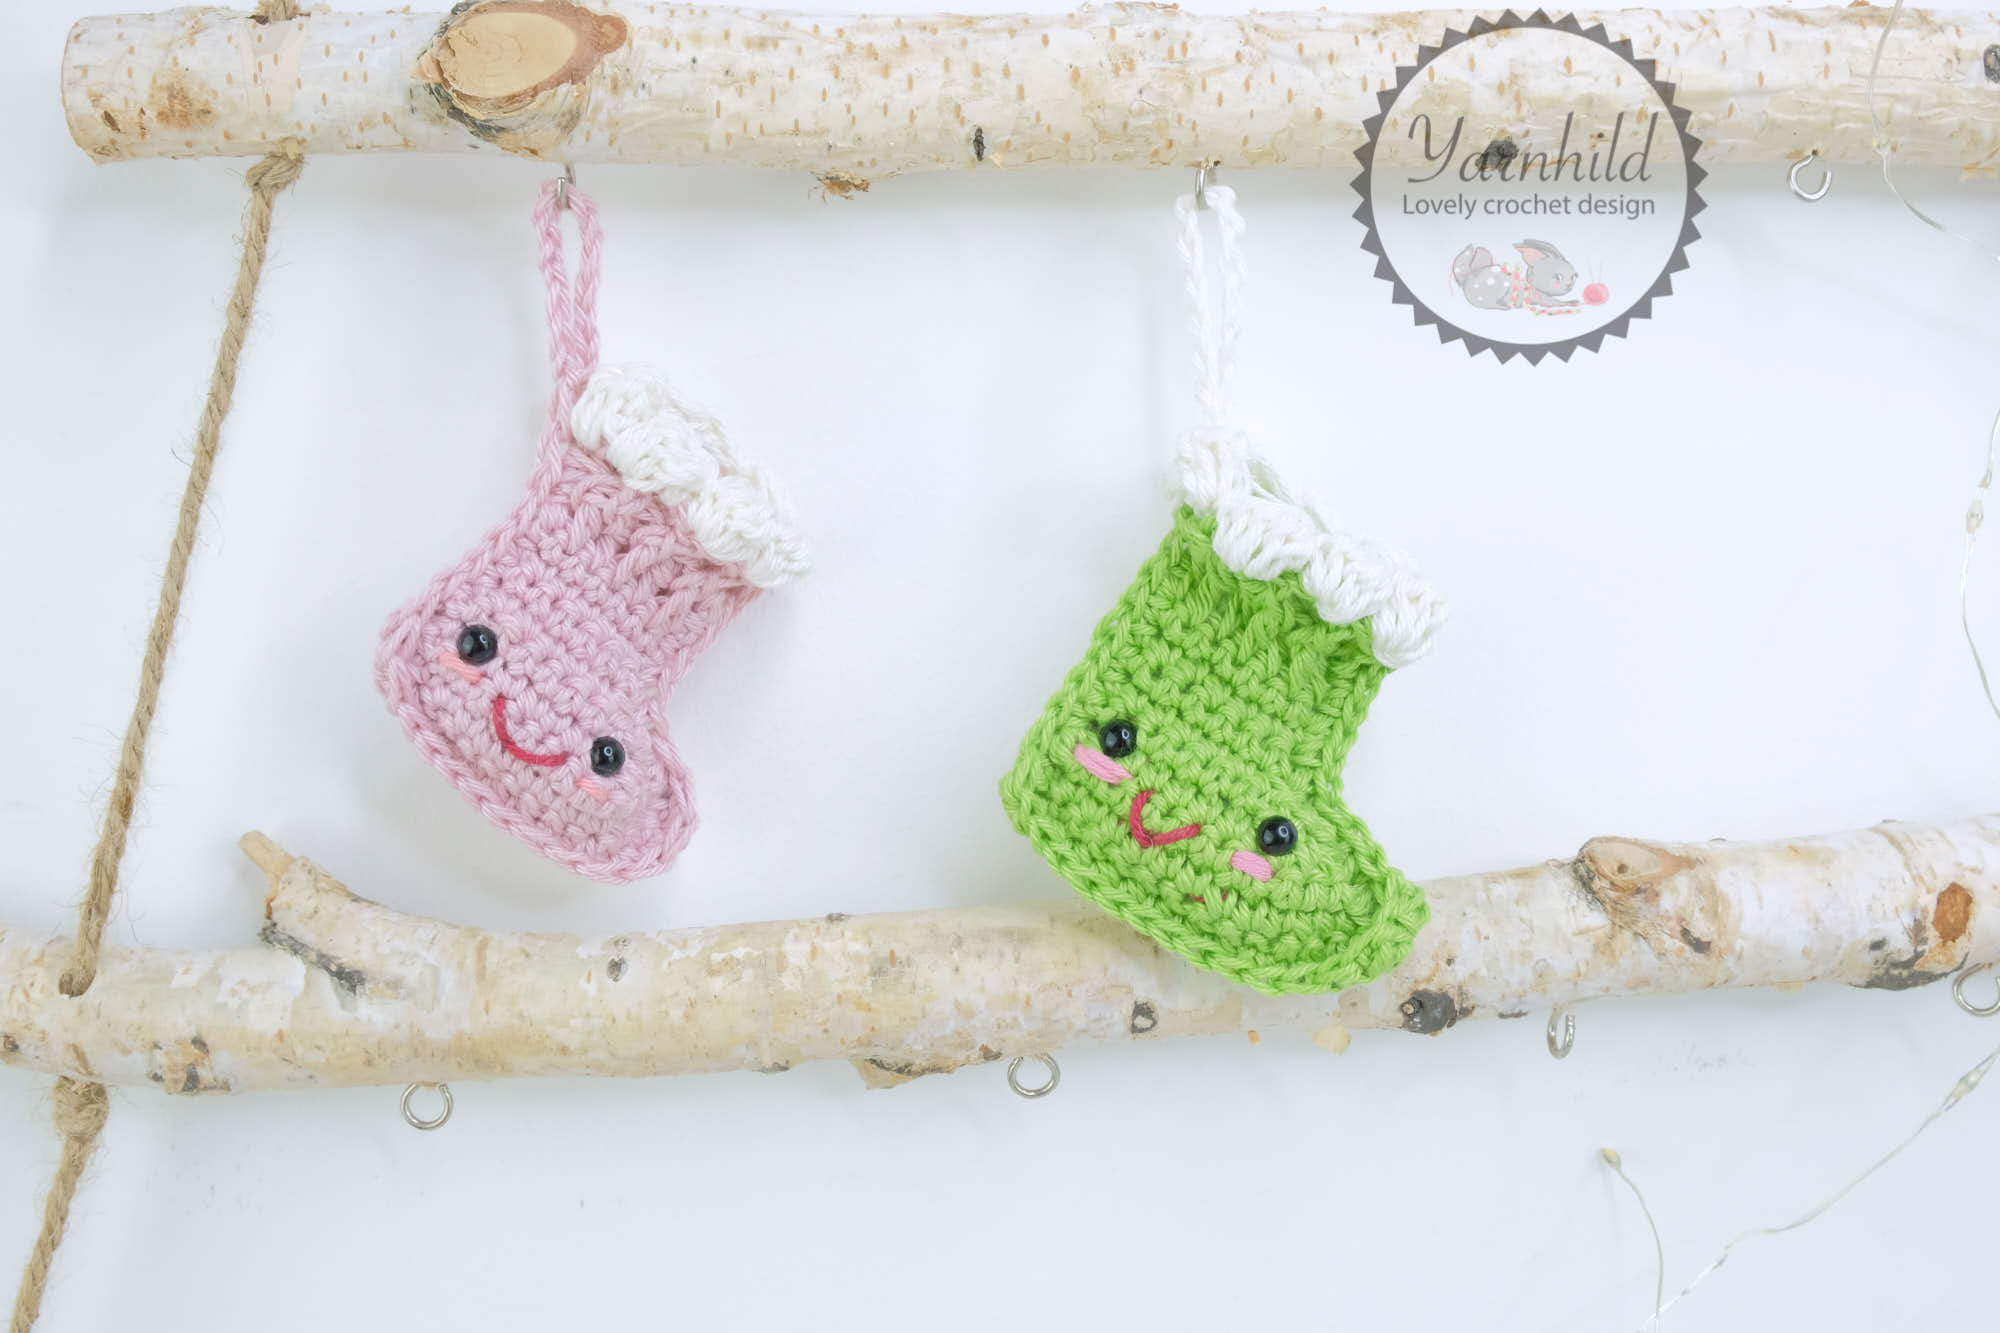
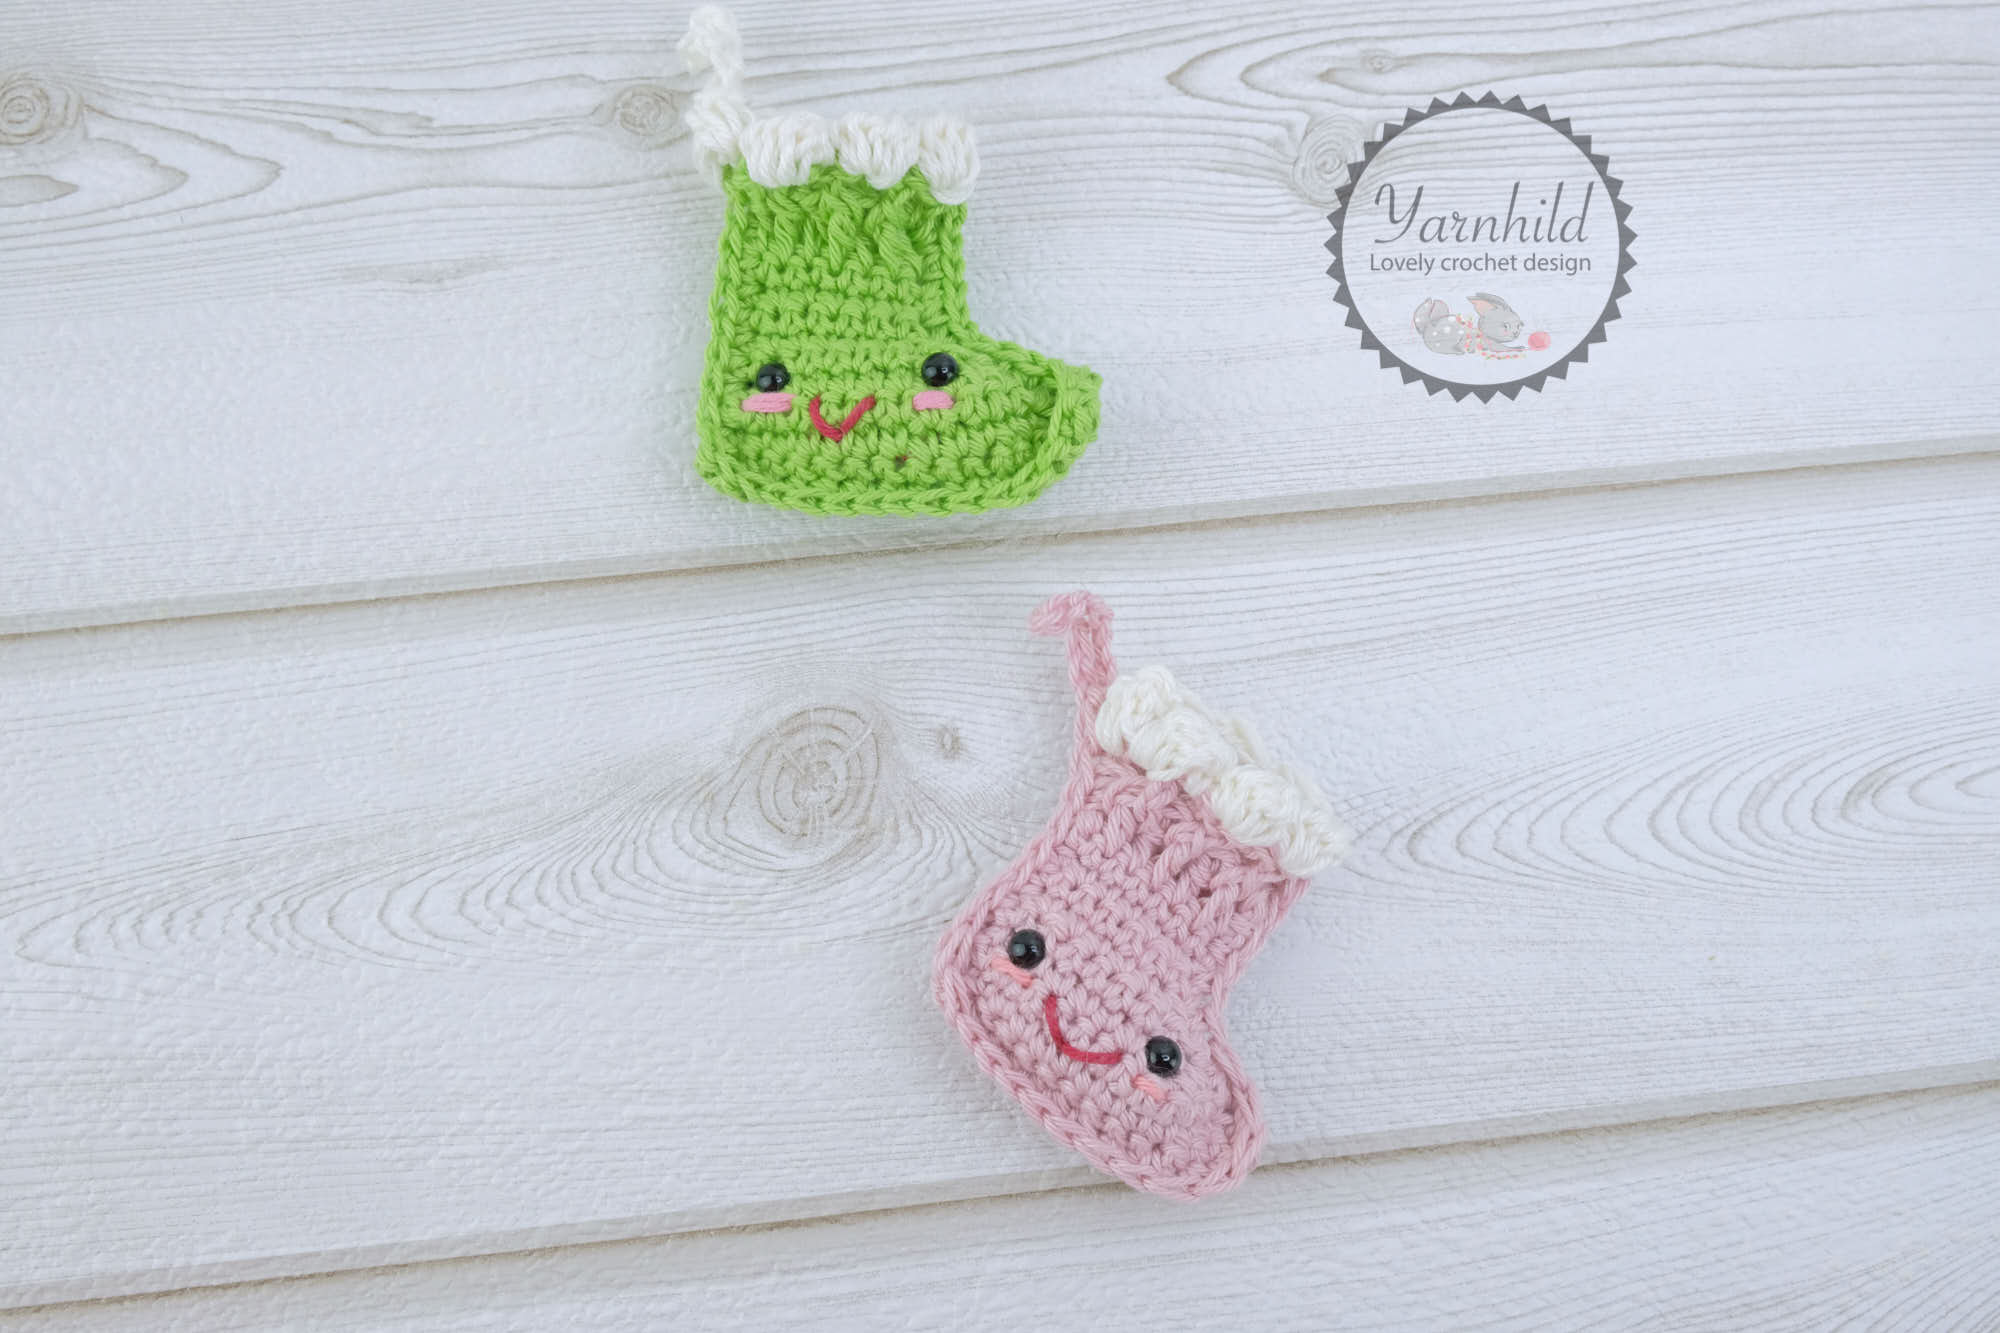
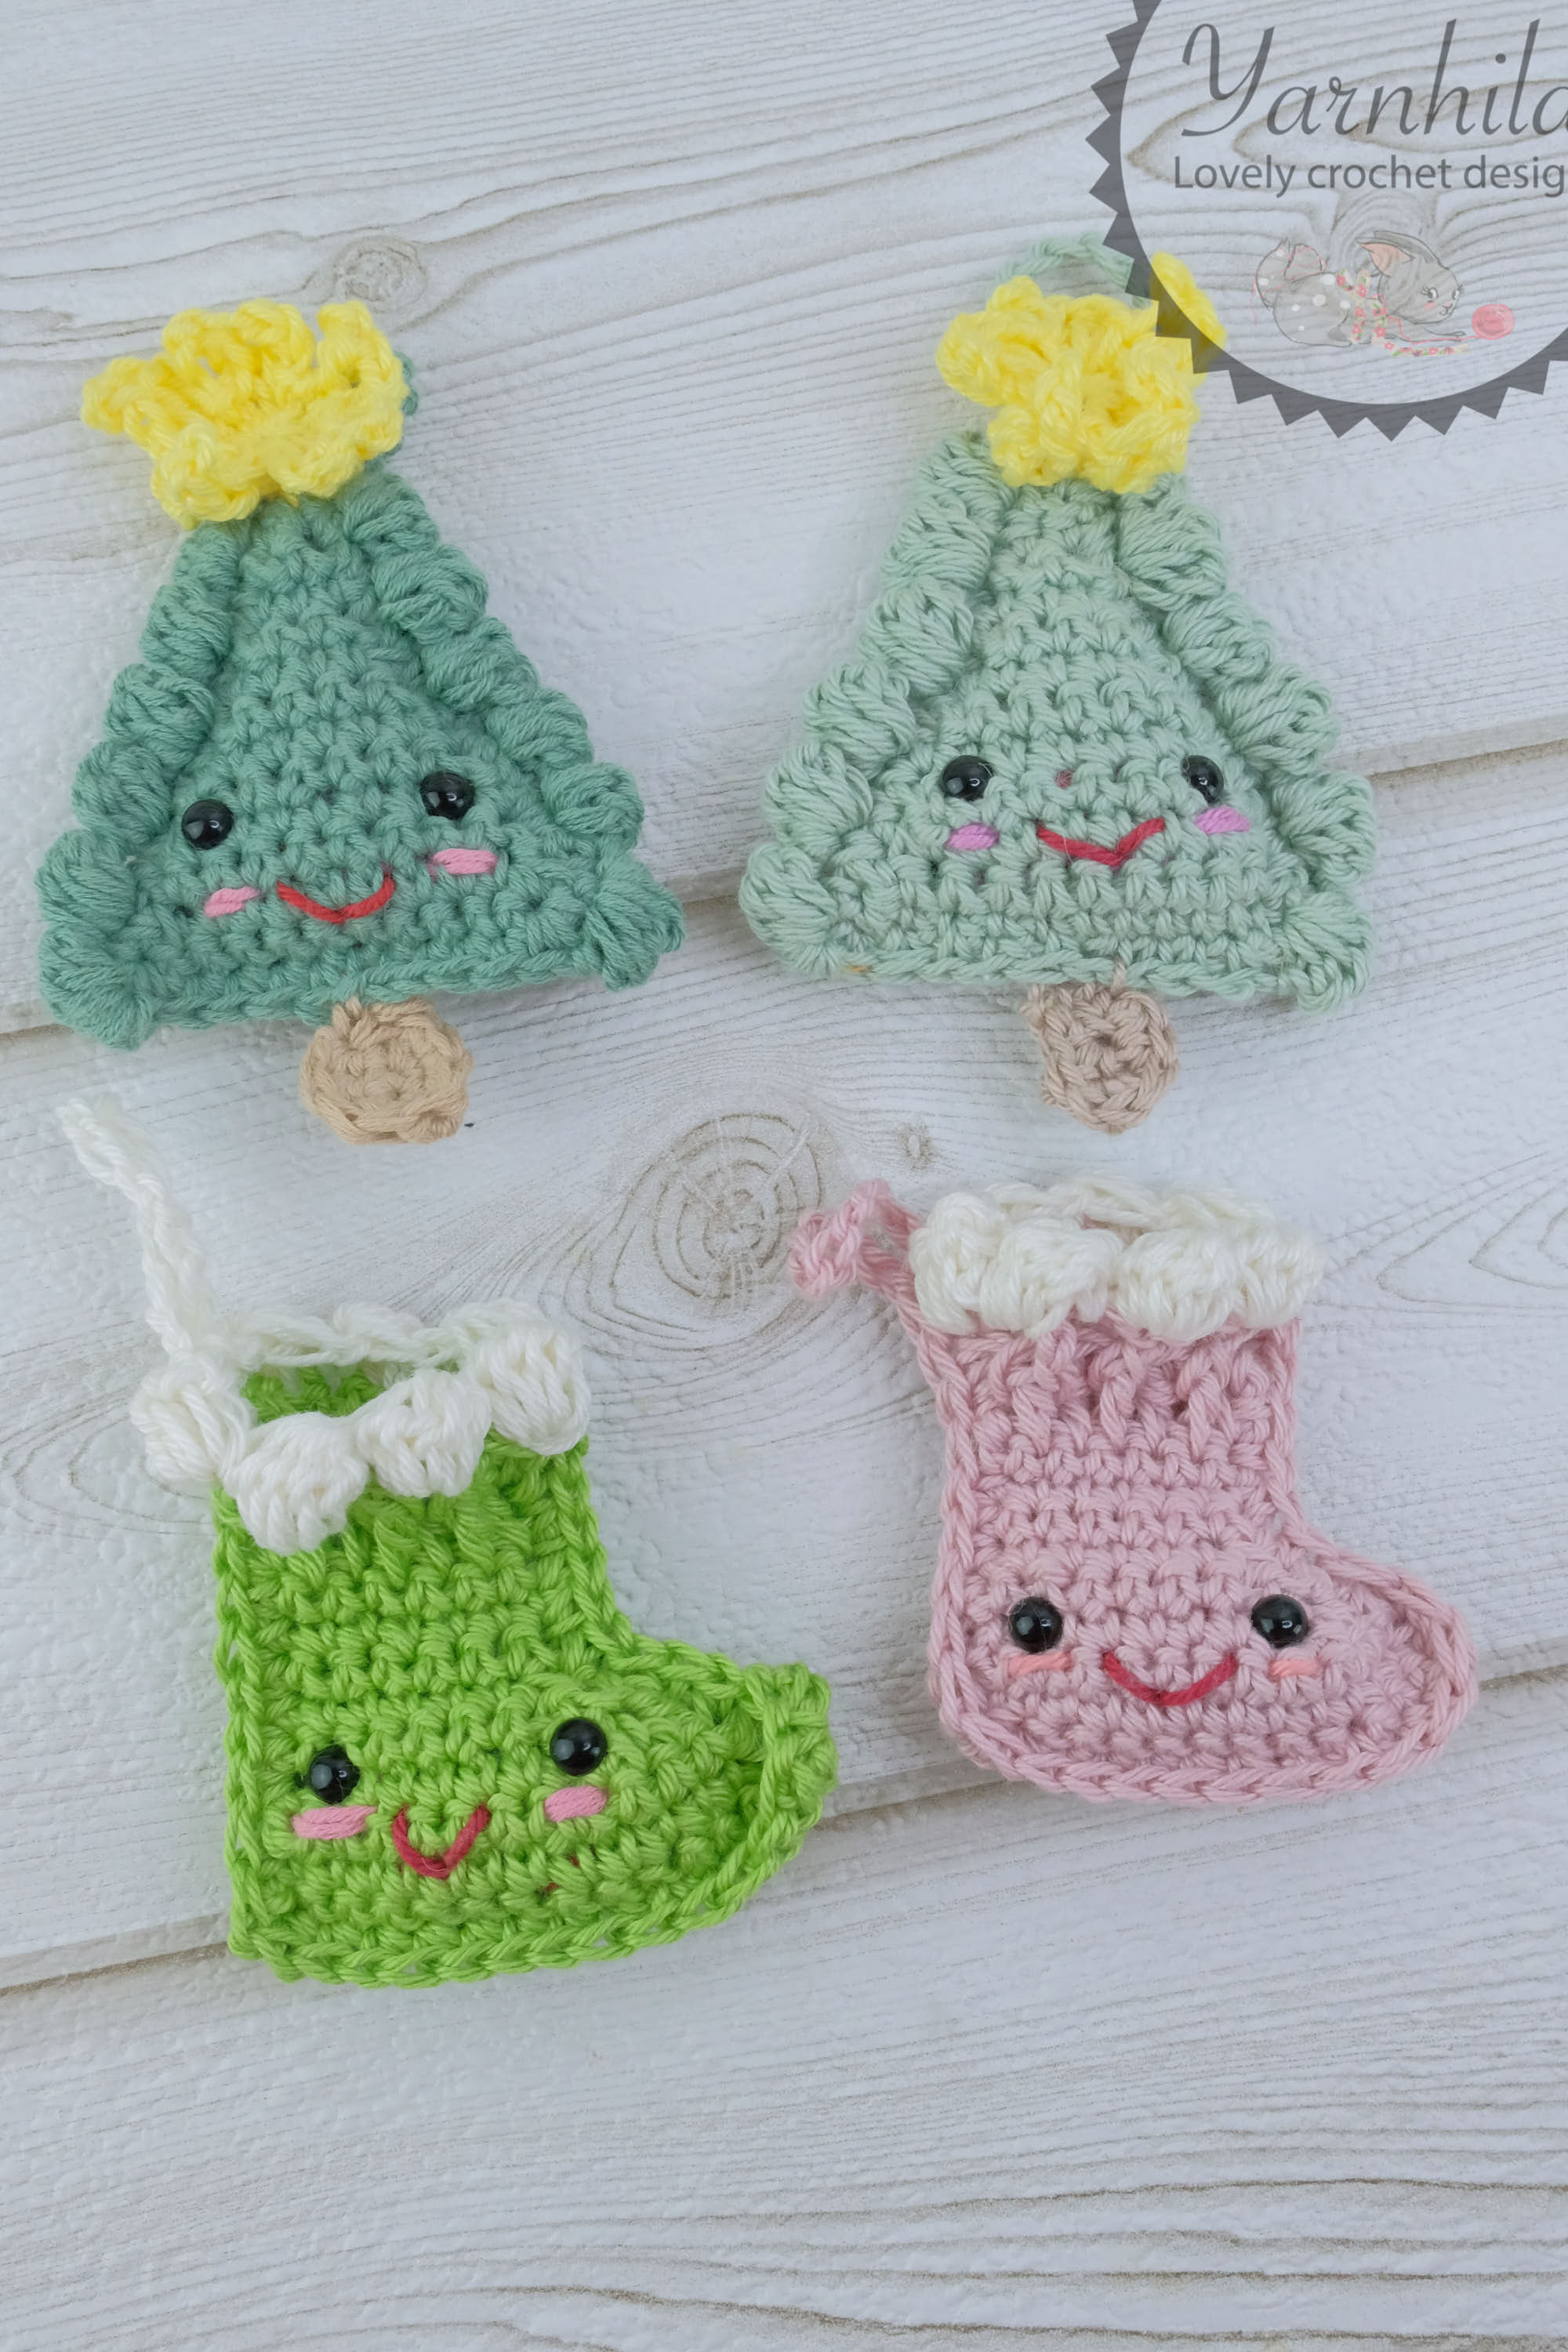
This little ornament stocking is, like the other ornament patterns, quick and easy to make. This has the same ragdoll style as the Christmas tree and the lamb ornament, so they will go great together! I am having so fun designing these quick patterns and I am hoping you are having fun making them as well!
Disclaimer: This blog post contains affiliate links. That means I earn a small commission if you purchase any of the products I recommend, on no extra costs on your behalf. Thank you for supporting my work!
The Yarn
I am using a 3.0 mm crochet hook and cotton yarn for this project. I am using a German yarn called Schahenmayr and if you want to check out this yarn, you can click on the link below. I love this yarn and have used it for all my ornament projects.
Print-friendly pdf
You can also find this pattern in my Etsy shop. When you purchase something from my shop, you are supporting my small business. Thank you!
Other Christmas ornaments patterns
Be sure to check out the other ornament patterns that are available on the blog! These are all free patterns and I hope you'll check them out and maybe make another ornament or two!
Newsletter - never miss a pattern
Make sure to subscribe to our newsletter so you don't miss any fiber news! You'll get notified every time there is a new pattern on the blog. I am planning to release more Christmas ornaments this year, and next week a new pattern is being released. You don't want to miss that one!
Video tutorial
This time too, I made a video tutorial. I'd really appreciate it if you subscribe to my channel! If you hit the little bell, you'll also get notified every time I upload a video!
Christmas stocking ornament - a free crochet pattern
This pattern is the intellectual property of Yarnhild. The pattern must not be altered, translated, copied or republished without approval. You are welcome to sell the items that you have made from my patterns, but please be sure to give me credit for the pattern that you sell online. For private use only, no commercial use. 2019 – Yarnhild ©
Abbreviations – US terms
CH– chain
ST(S) – stitch(es)
SL ST – slip stitch
SC – single crochet
SC DEC – decrease, two single crochet stitches on one stitch
BPdc – Back post double crochet
FPdc – Front post double crochet
BO – bobble stitch
DC – double crochet
Materials
Filling materials
Crochet hook 3.0 mm
Safety eyes 6 or 8 mm (preference)
Scissors
Yarn sports weight. In stocking color and white.
Information about the pattern
The stocking is made in rows and consists of two panels. They are crocheted separately and then the pieces are placed on each other and crocheted together. I stuffed the lower part of my stocking lightly with some filling material. You can also not stuff it, and put candy or something in it. The lower part of the stocking is crocheted with single crochet and the upper part is crocheted with front and back posts double crochet. These stitches will be explained. You can crochet bobble stitches around your stocking. This stitch will also be explained.
Skill level: Advanced beginner
Finished size 7 cm, 3”
EXTRA HELP SECTION
How to work front post double crochet
Yarn over Insert your hook from the front to back and work around the post of the stitch. Finish like a normal double crochet.
How to work back post double crochet
Yarn over and insert your hook from the back to front and work around the post of the stitch. Finish like a normal double crochet.
How to make the bobble stitch -bo
Chain 3. Yarn over, insert the hook in the same stitch and pull up a loop, yarn over and pull through 2 loops, repeat for a total of five times, until you have pulled up 5 loops on the hook. Yarn over and pull through all loops. SC in the next stitch.
Stocking
Make two panels in a stocking color.
R 1: CH 15, turn, 1 SC in the second CH from the hook and across, CH 1, turn = 14 SC
R 2: SC DEC, 12 SC, CH 1, turn = 13 SC
R 3: 11 SC, SC DEC, CH 1, turn = 12 SC
R 4: SC DEC x 2, 8 SC, CH 1, turn = 10 SC
R 5: 6 SC, SC DEC x 2, CH 1, turn = 8 SC
R 6: SC DEC, 6 SC, CH 1, turn = 7 SC
R 7 - 9: 7 SC, CH 2, CH 1, turn = 7 SC (3 rows). After row 9, CH 3
R 10: (The chain 3 does not count as a stitch). 7 DC, CH 2, turn = 7 DC
R 11: *1 FPdc around the next DC, 1 BPdc around the next DC* Repeat 5 more times.
Fasten off and cut the yarn = 7 STS (see extra help section).
R 7 - 9: 7 SC, CH 2, CH 3, turn = 7 SC (3 rows)
R 10: (The chain 3 does not count as a stitch). 7 DC, CH 2, CH 1, turn = 7 DC
R 11: *1 FPdc around the next DC, 1 BPdc around the next DC* Repeat 5 more times. Fasten off and cut the yarn = 7 STS (see extra help section
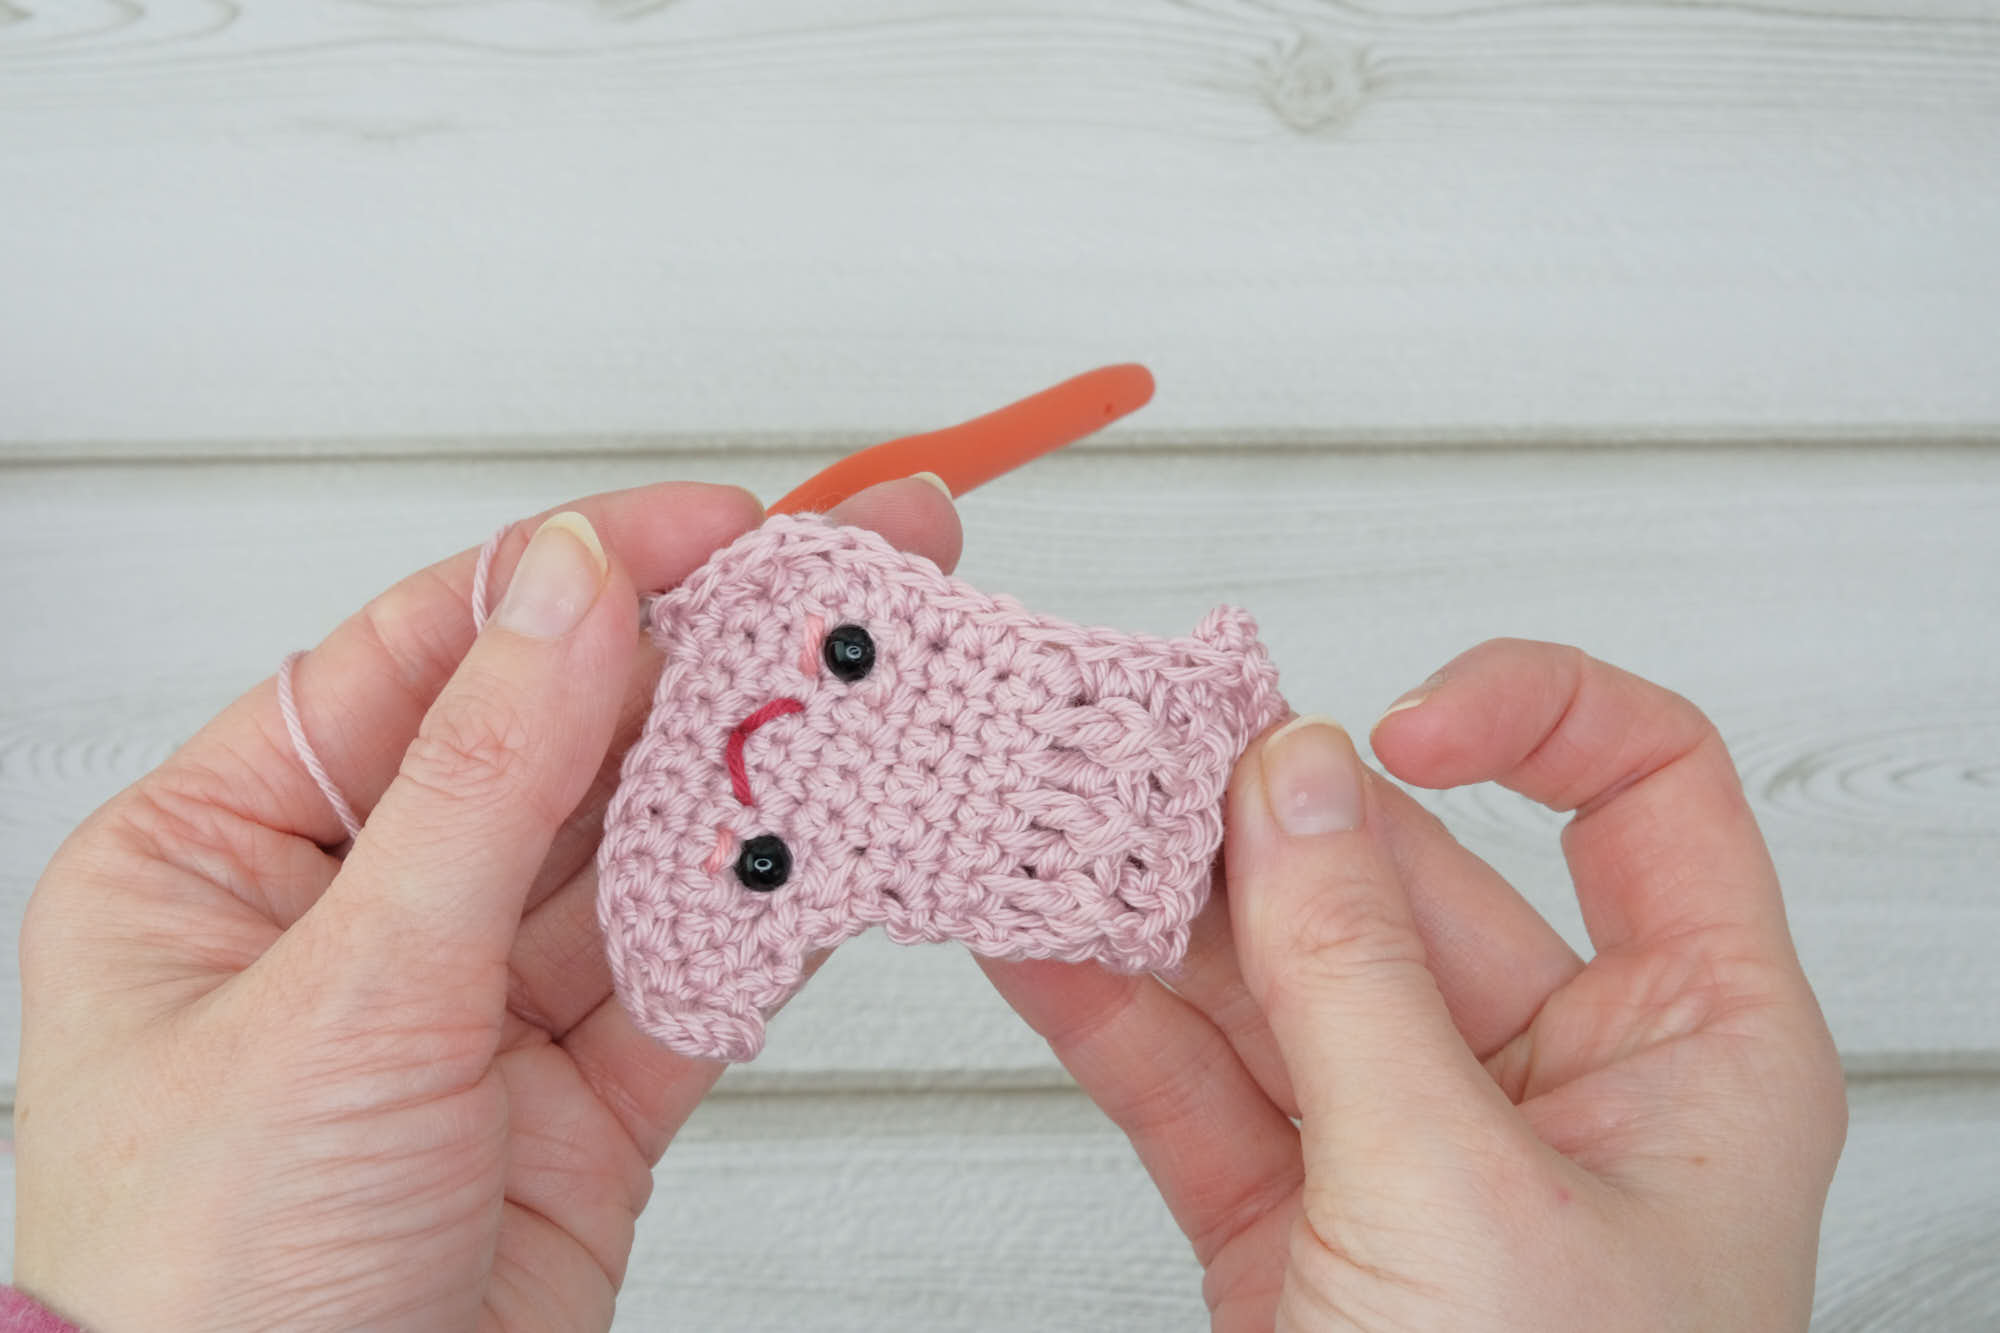
Make the other panel. Attach safety eyes on one of the panels, between rows 5-6. About 4-5 SC space apart. Sew on a little mouth with red yarn, and blush with pink yarn.
Assembly
Lay the panels on each other, with the stocking’s face towards you. CH 1. 1 SC through both panels.
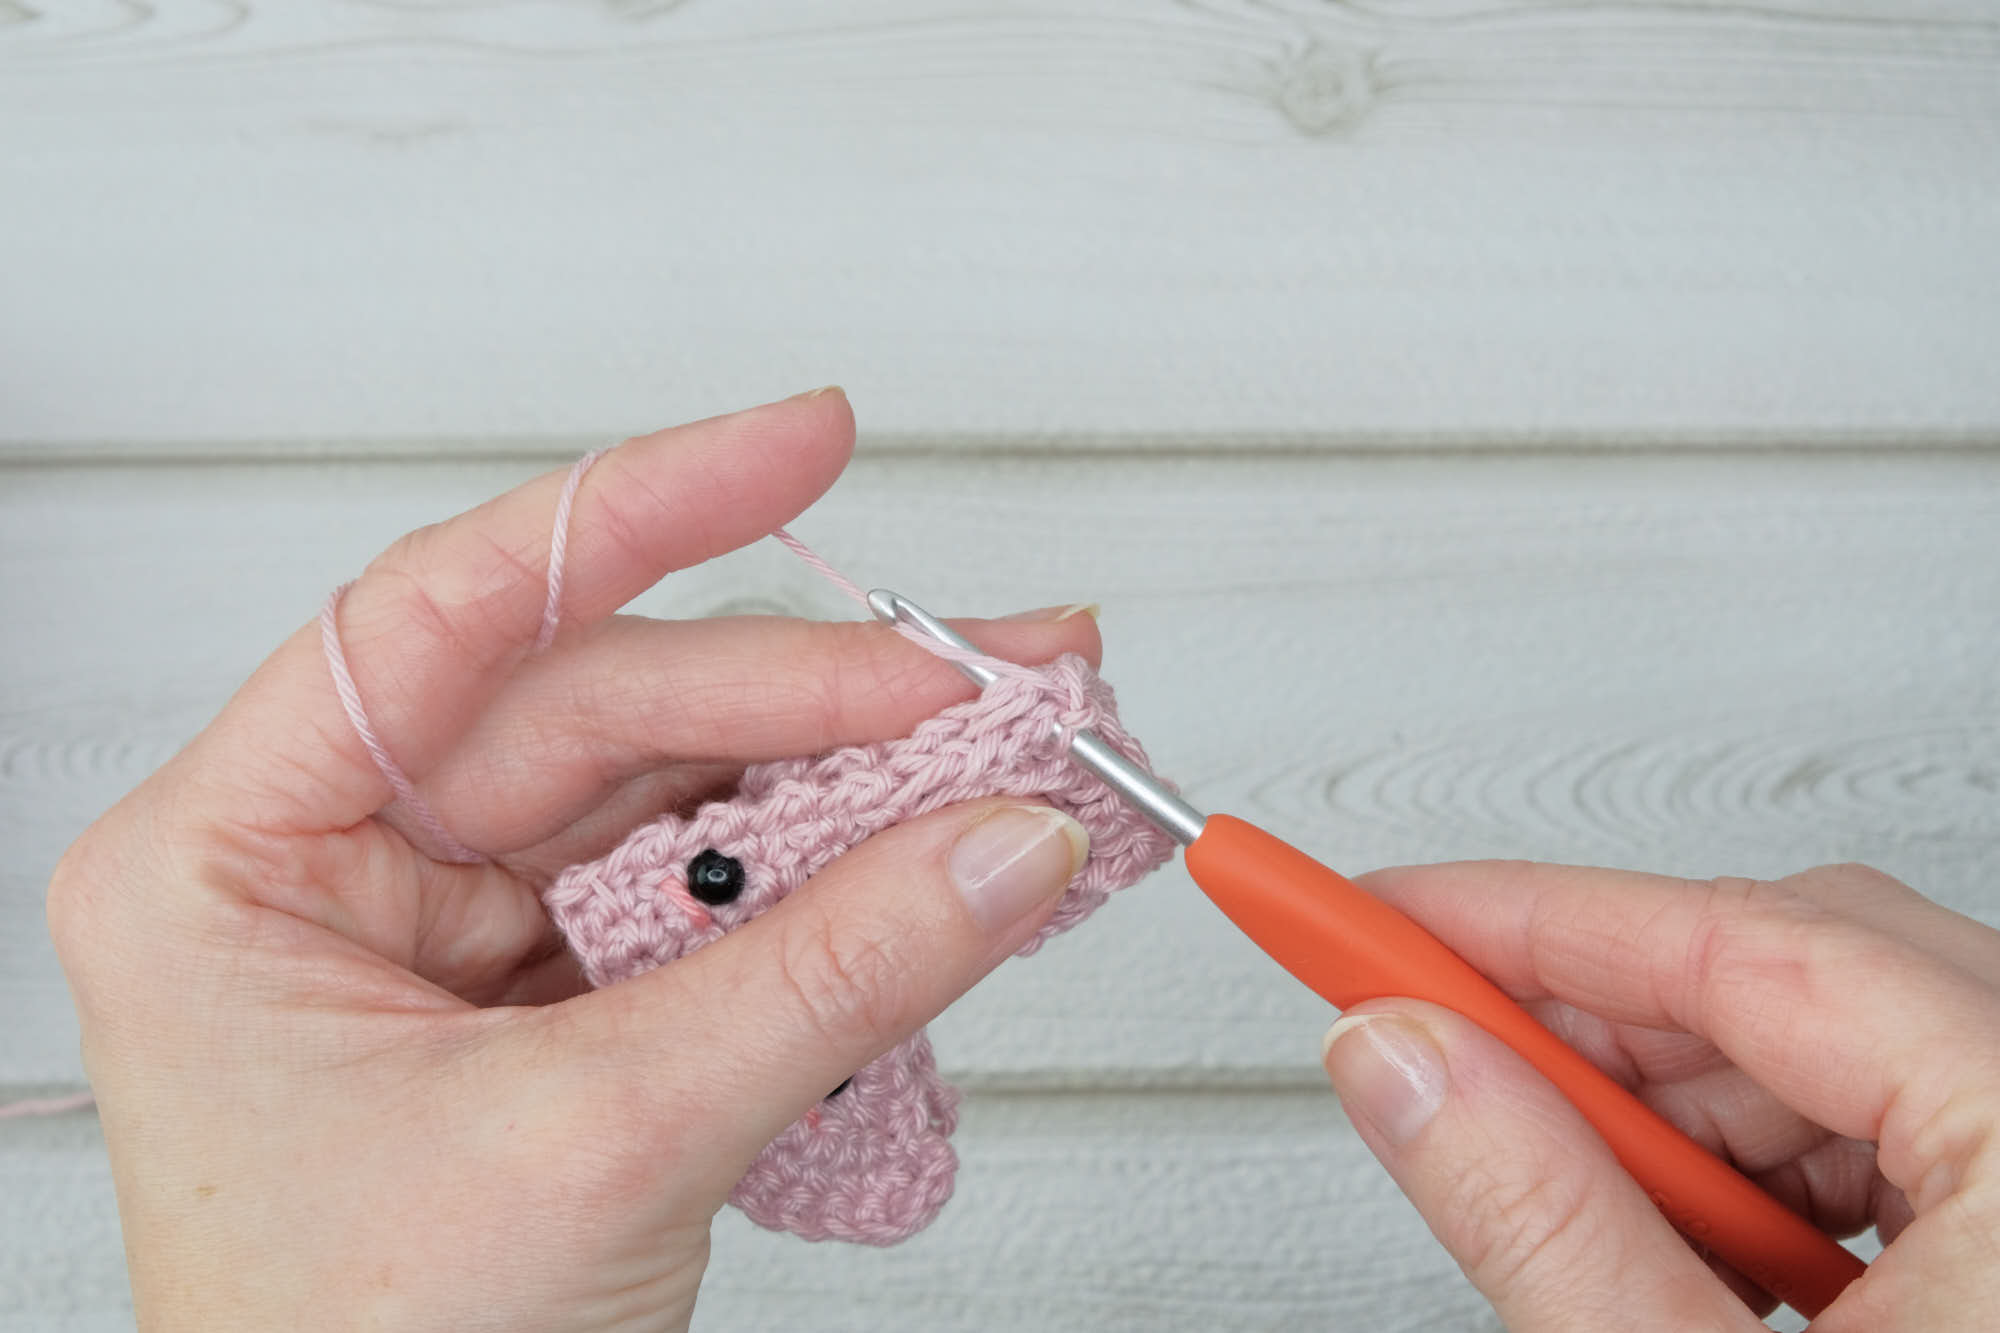
If you want to hang up your stocking: Chain 15, SL ST in the first CH.
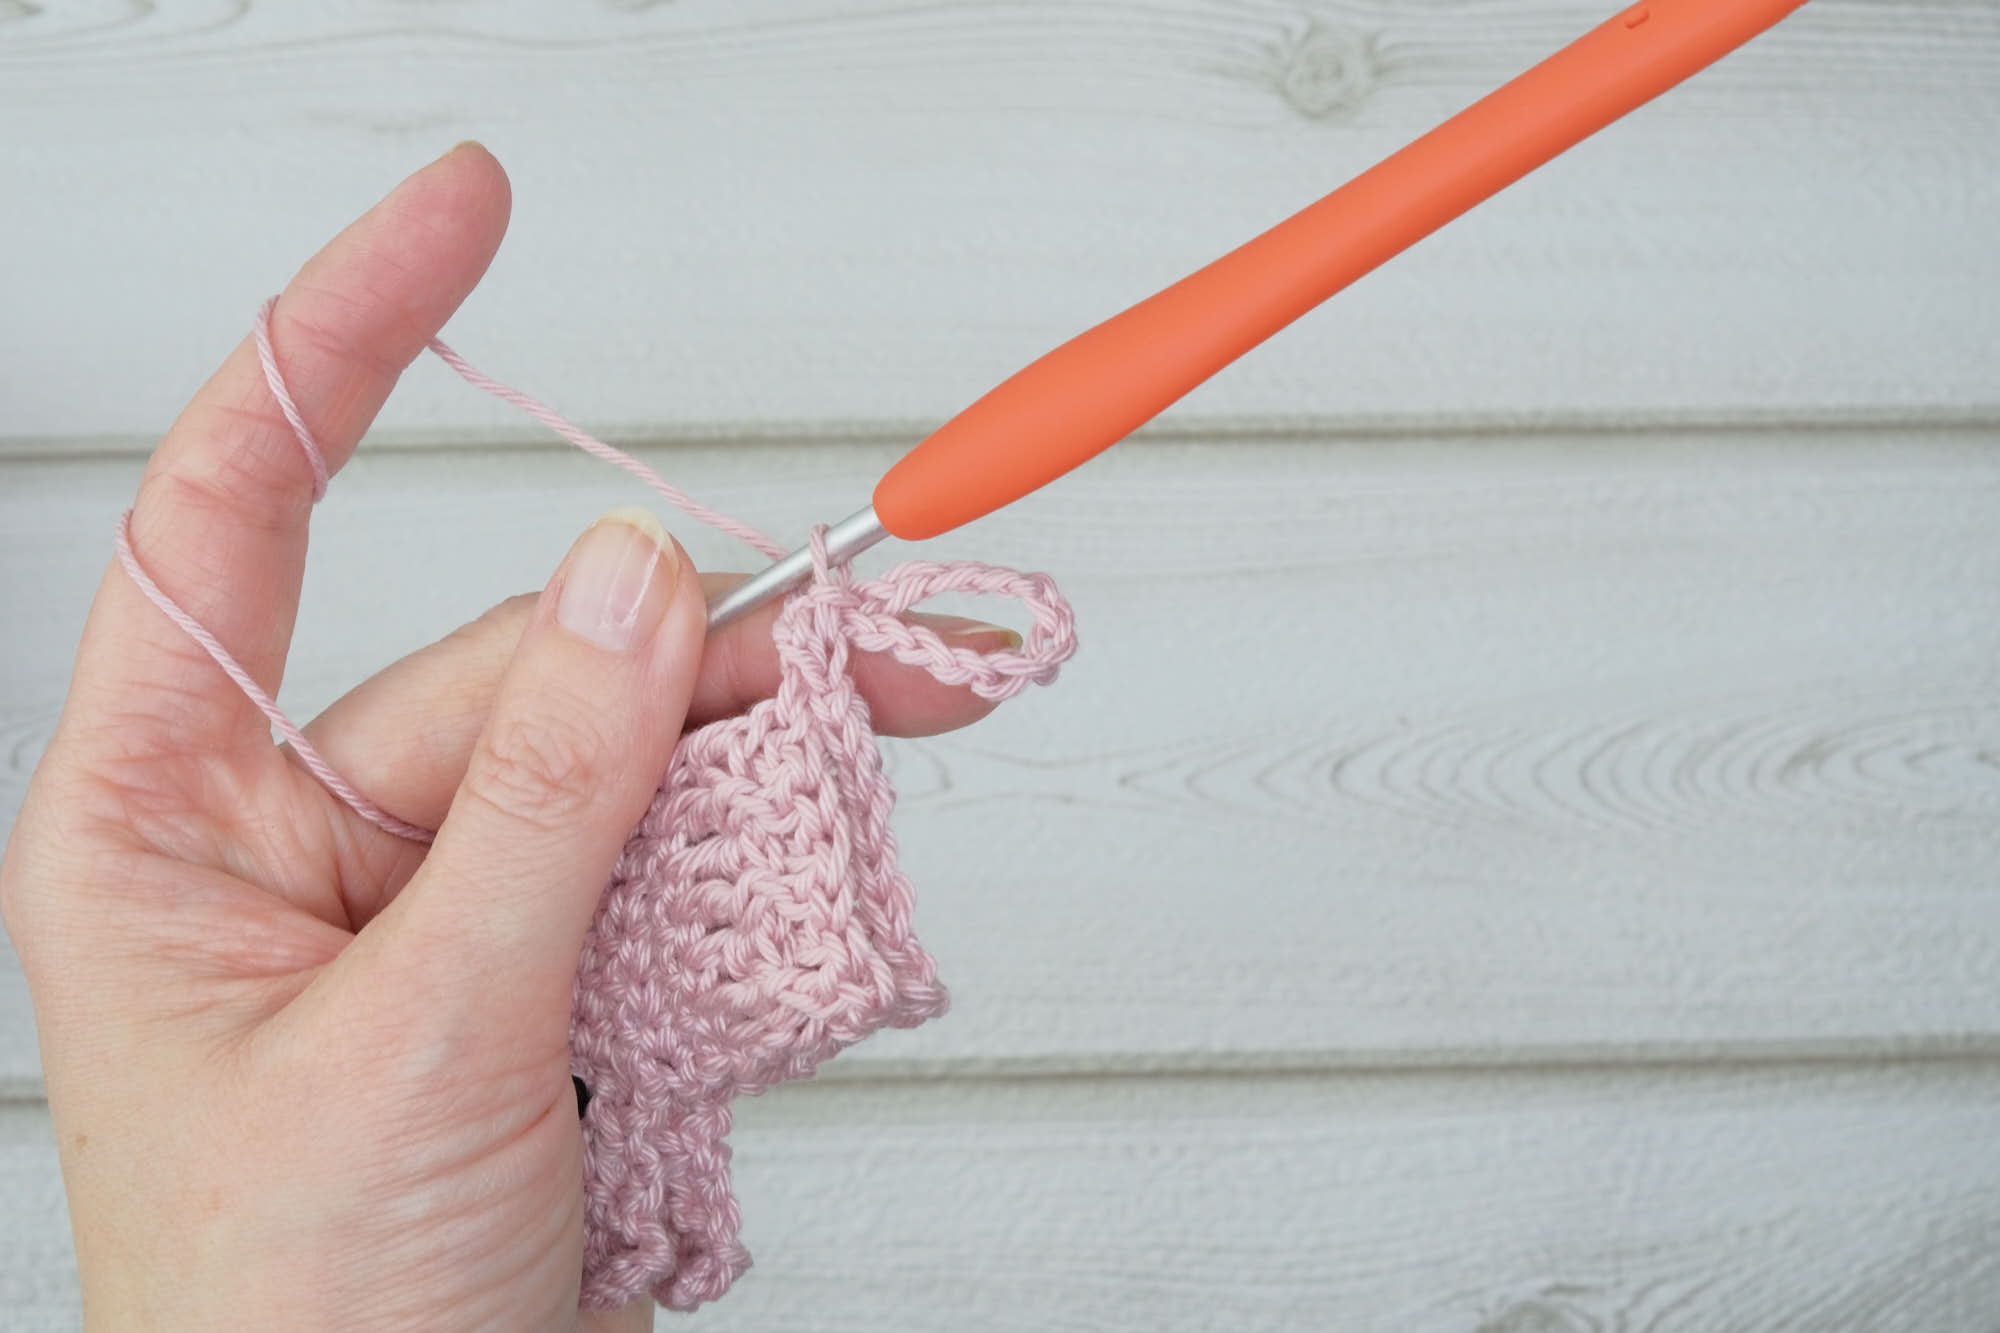
Now continue SC the panels together.
Leave the upper part open. SL ST in the first CH and fasten off. Weave in ends.
Add some stuffing, only stuff the lower part of the stocking. The rest can be filled with candy.
Cuff
In white yarn
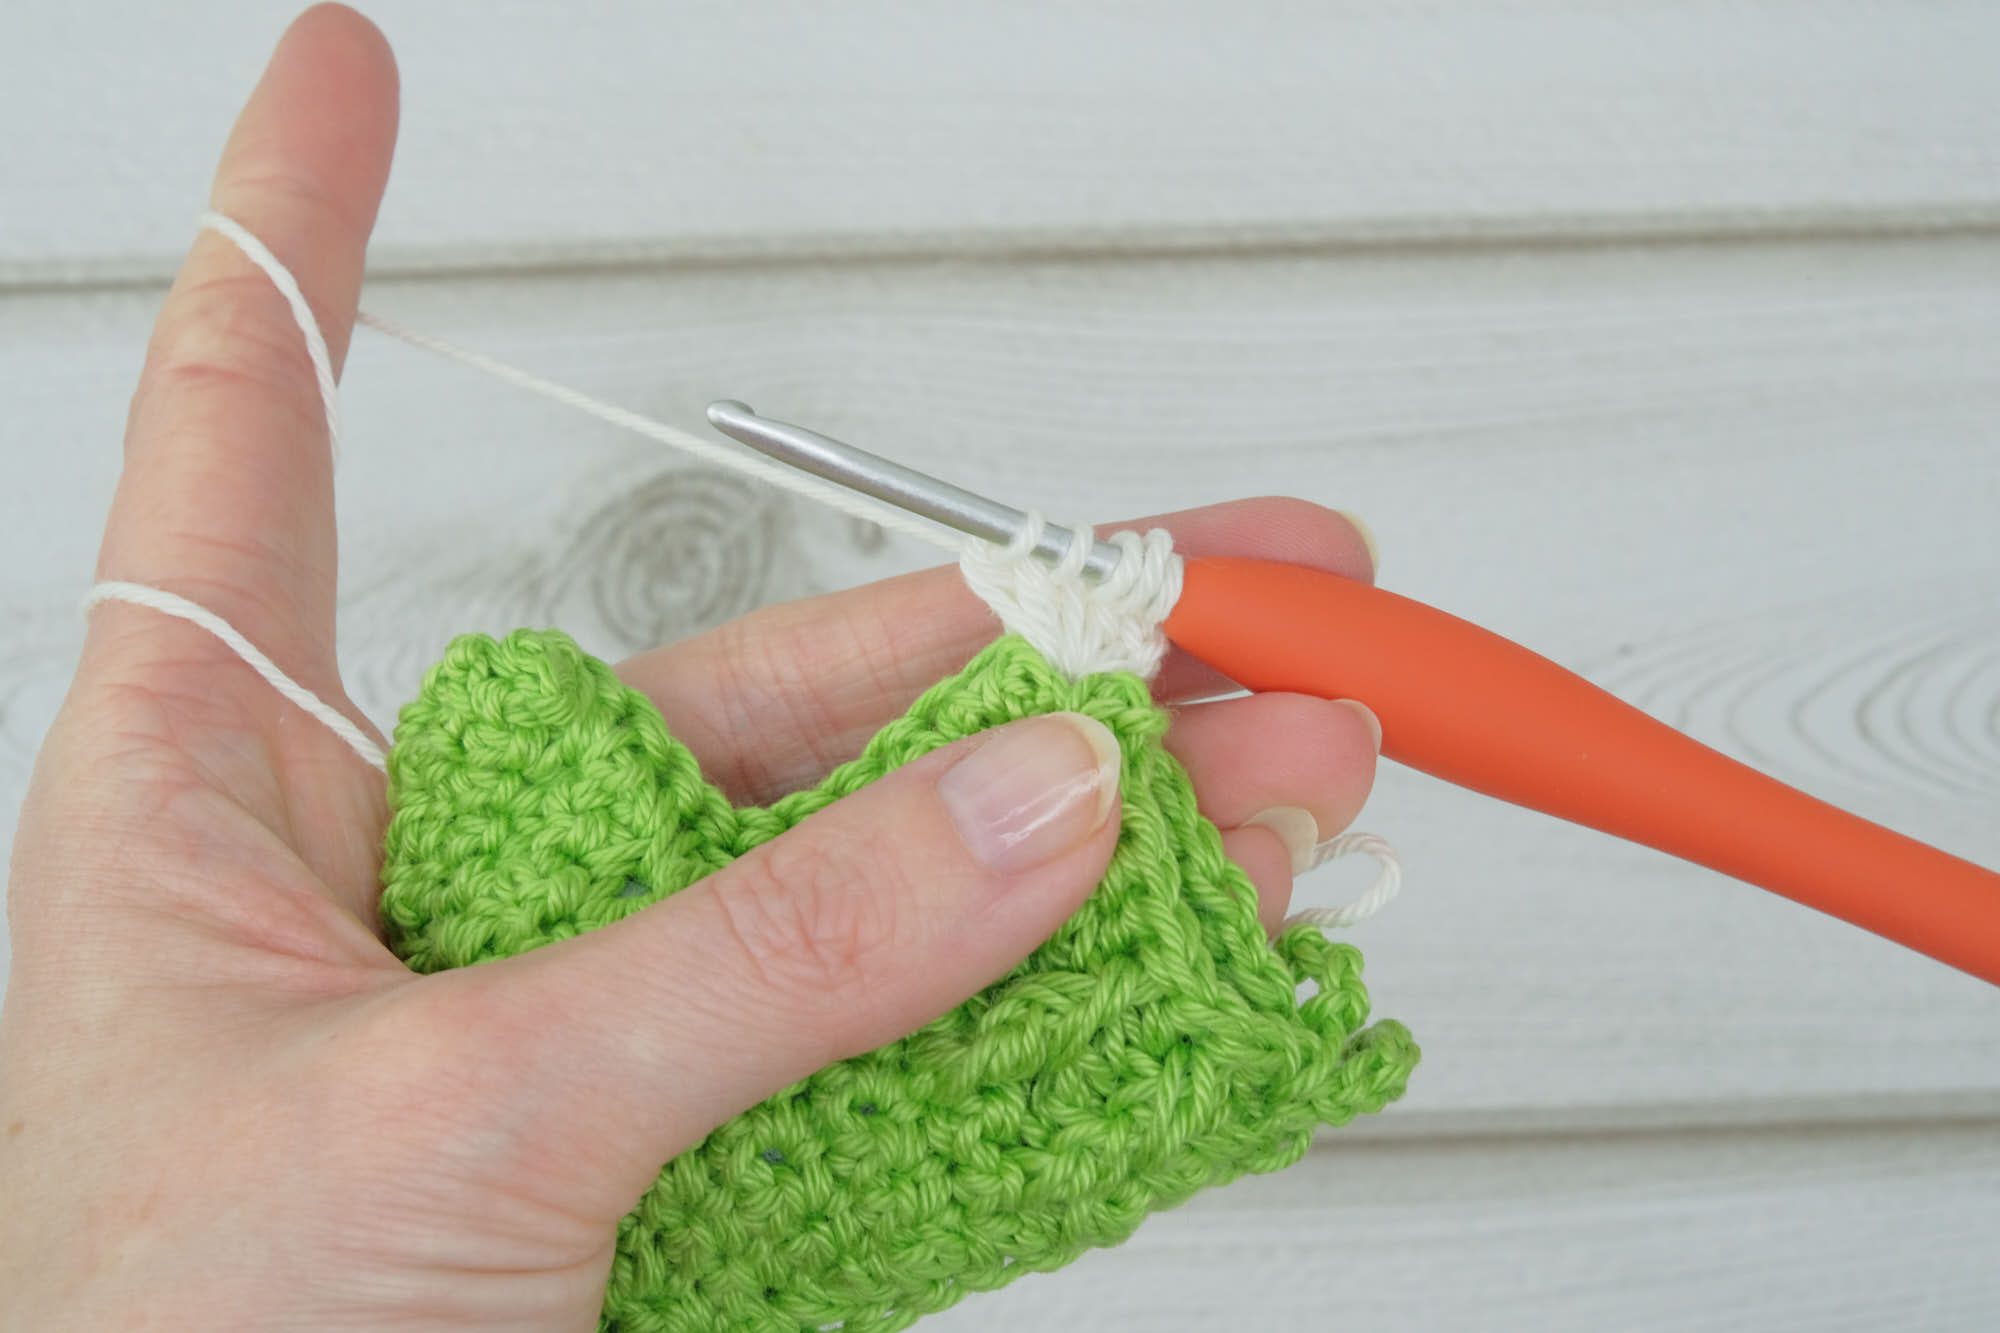
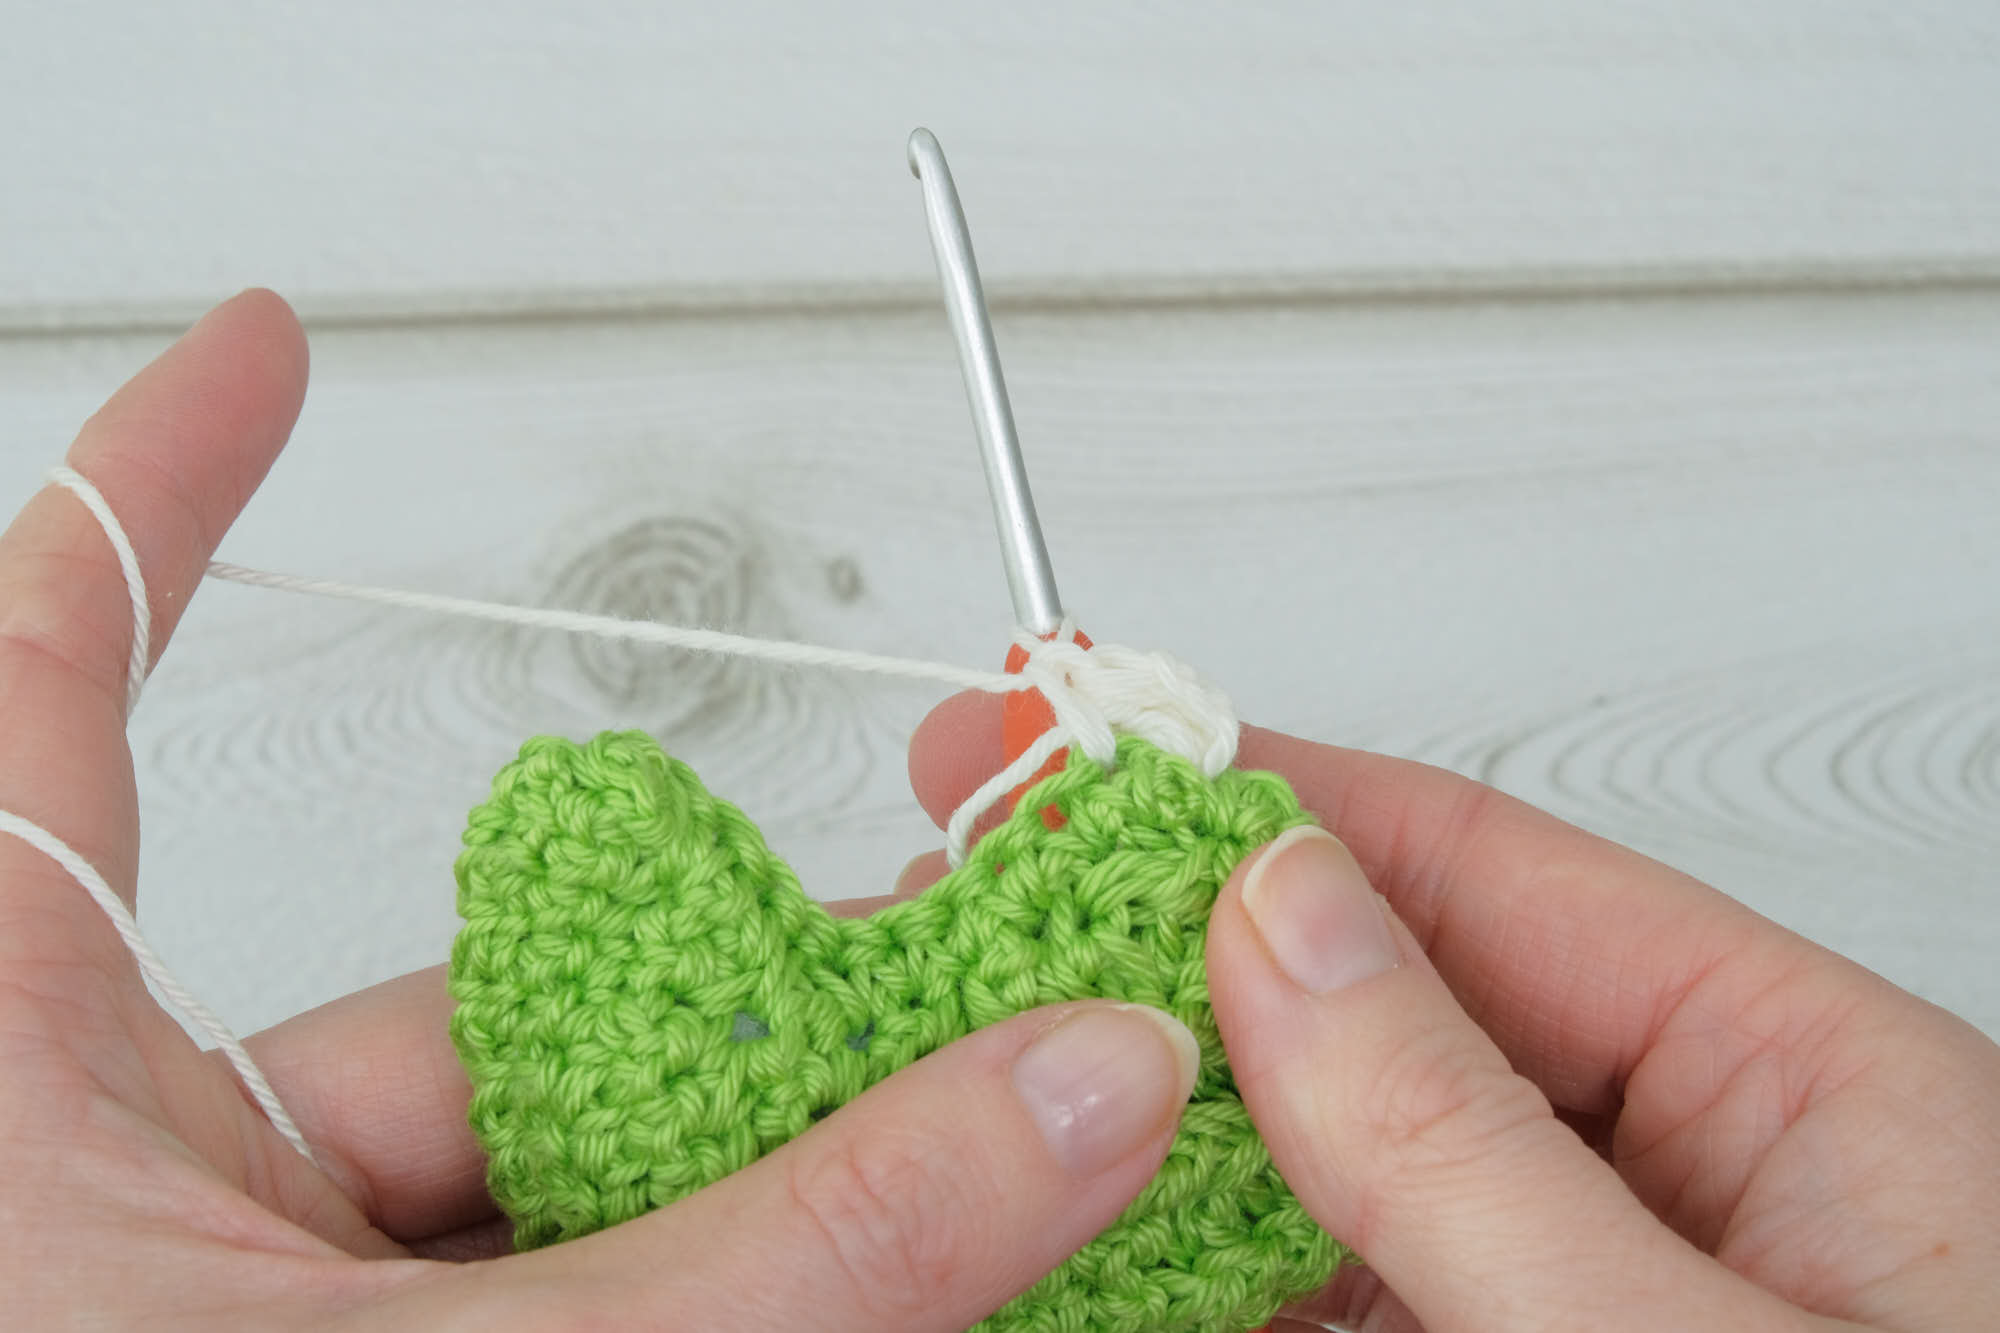
Attach yarn on the top of the stocking. Work from the inside-out. This to make sure that the bubbles appear on the right side.
CH 3, 1 BO in the same stitch as the CH 3, 1 SC in next ST. *1 BO in next, 1 SC in next* Repeat from *-* all around the top. See the extra help section on page 3. SL ST in the first CH to finish. Cut the yarn and weave in ends.
Alternative you can make a cuff using the puff stitch. With white yarn:
Chain 2, Puff stitch: YO, pull up a loop (from the same STS), repeat for a total of 6 times, YO, pull through all loops. *CH 1, 1 puff stitch in next* Repeat *-* around the stocking. SL ST in the first puff stitch. Fasten off and weave in ends.


15 amazing crochet ideas for Christmas — Christmas crochet patterns
Wednesday 11th of December 2019
[…] 7. Christmas Stocking Ornament – by Yarnhild […]
Christmas gingerbread house ornament — A free crochet pattern
Wednesday 4th of December 2019
[…] Stocking ornament […]
Jo
Friday 22nd of November 2019
These are adorable! I'm going to have a go at one tonight! :)
yarnhild
Friday 22nd of November 2019
Great! Please share a pic with me! I love to see your work😀