How to Crochet a Hanging Plant – Free Tutorial
Keeping plants alive can be a hassle, especially if you don't have a green thumb! This crochet hanging plant is the perfect project for bringing a green plant into your home without maintenance.
Scroll down for the free pattern or get the pdf version on Etsy.
Pin this for later on Pinterest.
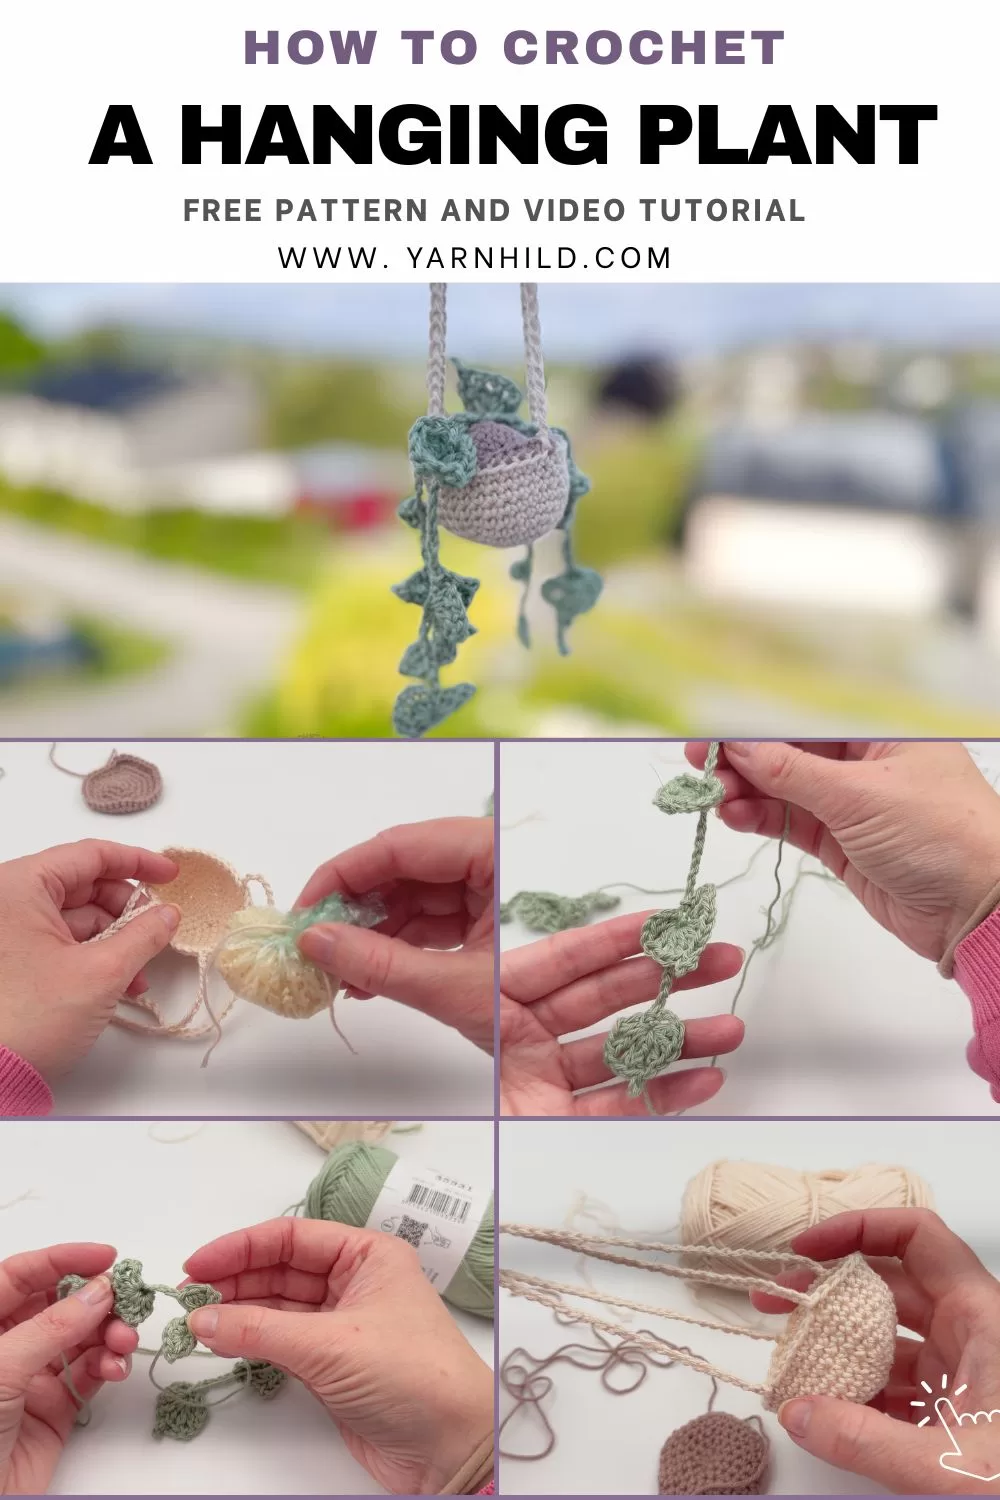
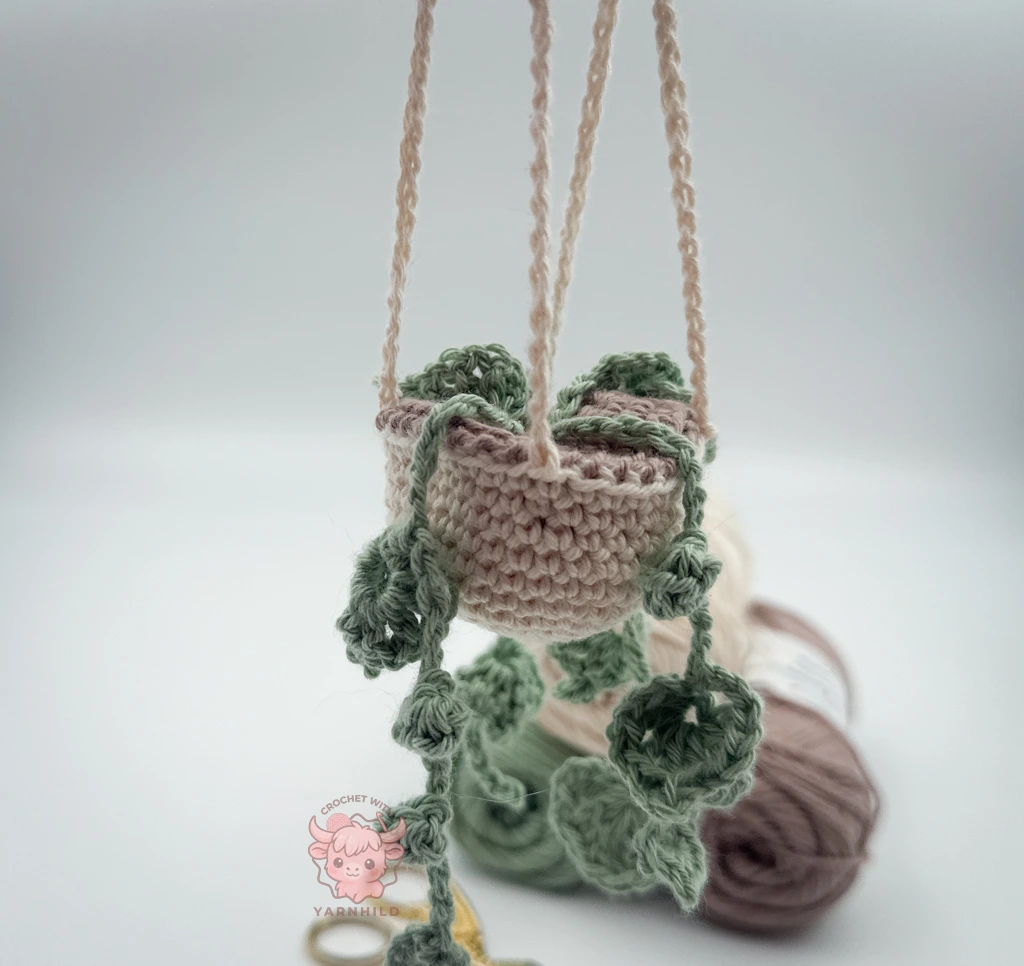
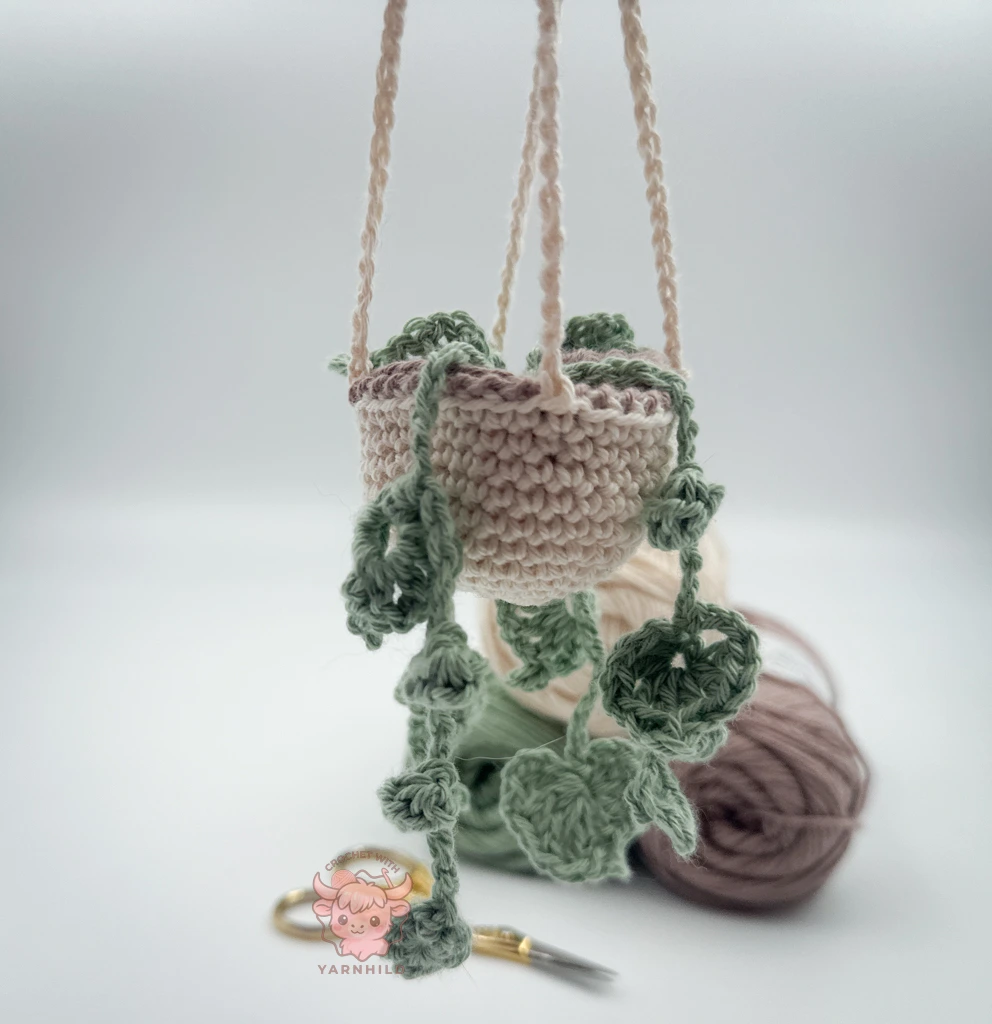
This tutorial teaches you how to crochet a cozy little pot with squishy soil and soft, leafy vines. You can customize the leaves and add your touch to the hanging plant.
The Inspiration Behind This Crochet Hanging Plant
I’ve always had a soft spot for plants. They bring life, color, and a touch of calm to any room. But let’s be honest—not all of them survive my version of plant care. That’s when the idea for a crochet hanging plant really took root.
I wanted to create something that was easy to make, quick to finish, and cute enough to display anywhere. This pattern was born out of that simple need: a handmade plant that doesn’t need watering, light, or even soil—just a hook and some yarn.
Whether you're an experienced crocheter or just looking for a relaxing weekend project, this crochet hanging plant is designed to be beginner-friendly and fun. It’s my way of combining two of my favorite things—plants and yarn—into something that lasts.
Materials

Optional: A bit of stuffing or a pouch of rice for weight
Cotton yarn in green, brown, and beige (or any combo you like)
Crochet hook (I used size 3.0)
Tapestry needle
Scissors
Stitch markers
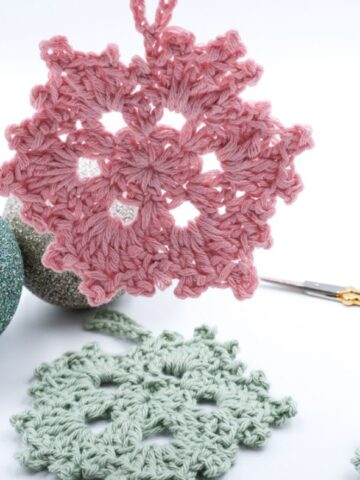
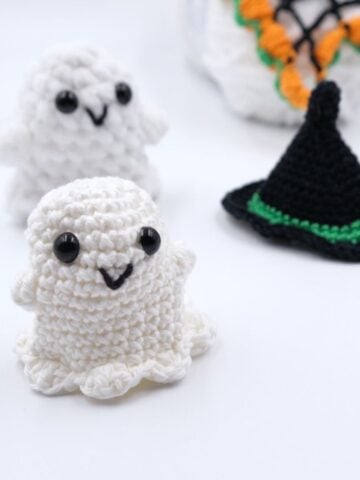
Looking for more free crochet patterns?
Then you have come to the right place!
Check out these free patterns!
Crochet Hanging Plant
A free crochet pattern by Yarnhild
©2025 Yarnhild. All rights reserved. This pattern is for personal use only and may not be used for commercial purposes. This pattern may not be reproduced, distributed, or transmitted in any form or by any means, including photocopying, recording, or other electronic or mechanical methods, without the prior written permission of the copyright holder.
For permission requests, please contact Yarnhild at yarnhild@outllook.com. Unauthorized use and/or duplication of this pattern or any portion thereof is strictly prohibited and may result in legal action. Thank you for respecting the hard work and creativity of Yarnhild.
Abbreviations - US terms
- rnd–round
- ch-chain
- St(s)–stitches
- Inc–increase
- sc - single crochet
- mr–magic ring
- sl st- slip stitch
- dc - double crochet
- sk - skip
- *-* Repeat action
- bo - bobble stitch
Materials
- Cotton yarn, sports weight in optional color
- Brown, beige and green
- 3 mm crochet hook
- Scissors
- Tapestry needle
- Something to add weight (a small bag of rice made of plastic wrap, stones, or similar)
- Alternative, filling materials
How to make the bobble stitch
Yarn over, insert the hook in the 3 chain, and pull up a loop, yarn over and pull through 2 loops, repeat for a total of 4 times, until you have pulled up 5 loops on the hook. Yarn over and pull through all loops— sl st 3 chain again (where the bobble stitch started)
Crochet hanging plant
Soil
In brown
Rnd 1: 6 sc into a mr
Rnd 2: 2 sc in each st around = 12 sc
nd 3: (1 sc, inc) x 6 (18 sc)
Rnd 4: (2 sc, inc) x 6 (24 sc)
Rnd 5: (3 sc, inc) x 6 (30 sc)
Rnd 6: (4 sc, inc) x 6 (36 sc)
Sl st into the first stitch and fasten off. Leave a long tail for sewing.
Pot
In beige
Rnd 1: 6 sc into a mr
Rnd 2: 2 sc in each st around = 12 sc
nd 3: (1 sc, inc) x 6 (18 sc)
Rnd 4: (2 sc, inc) x 6 (24 sc)
Rnd 5: (3 sc, inc) x 6 (30 sc)
Rnd 6: (4 sc, inc) x 6 (36 sc)
Rnd 7-11: 1 sc in each st for 5 rounds.
Hanging Loop
To hang your plant in style, create two long hanging cords
Ch 60 (or adjust length to your liking), and sl st into a stitch on the opposite side of the pot to secure. Repeat this process to make a second cord, attaching it evenly on either side.
Tie the cords together at the top to form a secure hanging point.
Weave in ends.
Leaves
The leaves are made on a chain cord. We start with one leaf, adding chains before making the next.
Make 4 leaves, 2 of each option.
Leaf option 1:
Make a magic ring.
In the ring: 4 sc, ch 4, sl st into the ring. Chain 4. st st in the first sc. (1 leaf)
Chain 8. Yarn over, 1 bo into the 3. chain, sl st into the same stitch to anchor it down. (2.leaf)
Chain 8, 1 dc into the 3. chain: *ch 1, 1 dc*. Repeat from *—*1 more time. 1 tr, ch 3, sl st into the first ch.
*1 dc, ch 1,*. Repeat from *—*2 more times. Ch 3. Sl st into the base of where the leaf started. (3. leaf).
Leave a strand for sewing. Weave in loose ends.
Leaf option 2:
Make a magic ring.
Ch 3, 1 dc into the 1. chain: *ch 1, 1 dc*. Repeat from *—*1 more time. 1 tr, ch 3, sl st into the first ch.
*1 dc, ch 1,*. Repeat from *—*2 more times. Ch 3. St st into the base of where the leaf started.
Ch 12 and repeat the process 2 more times until you have 3 hanging leaves.
Ch 8 and fasten off. Leave a strand for sewing. Weave in loose ends.