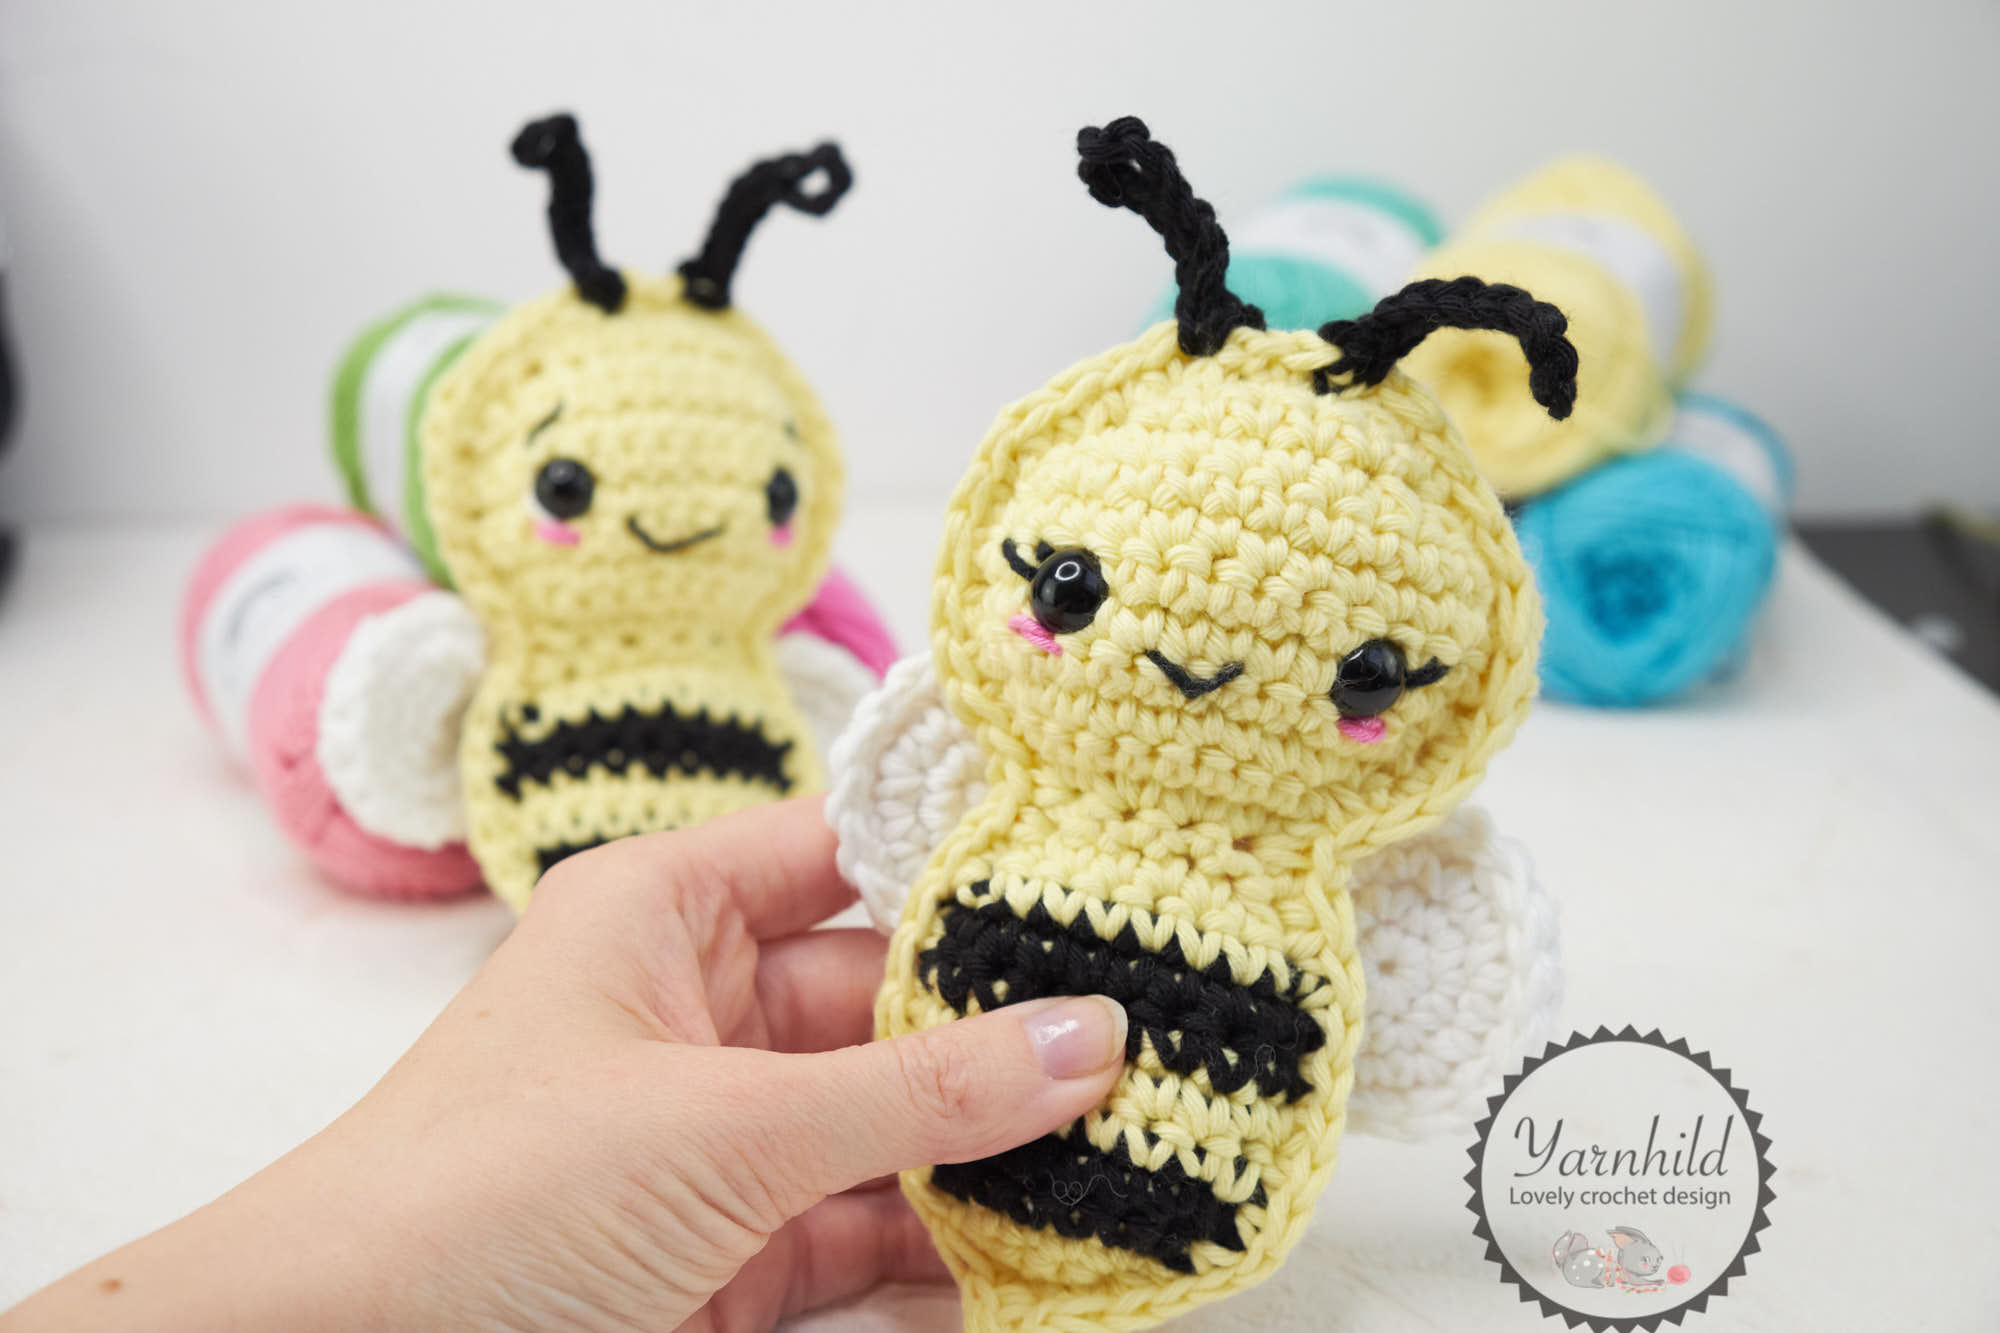
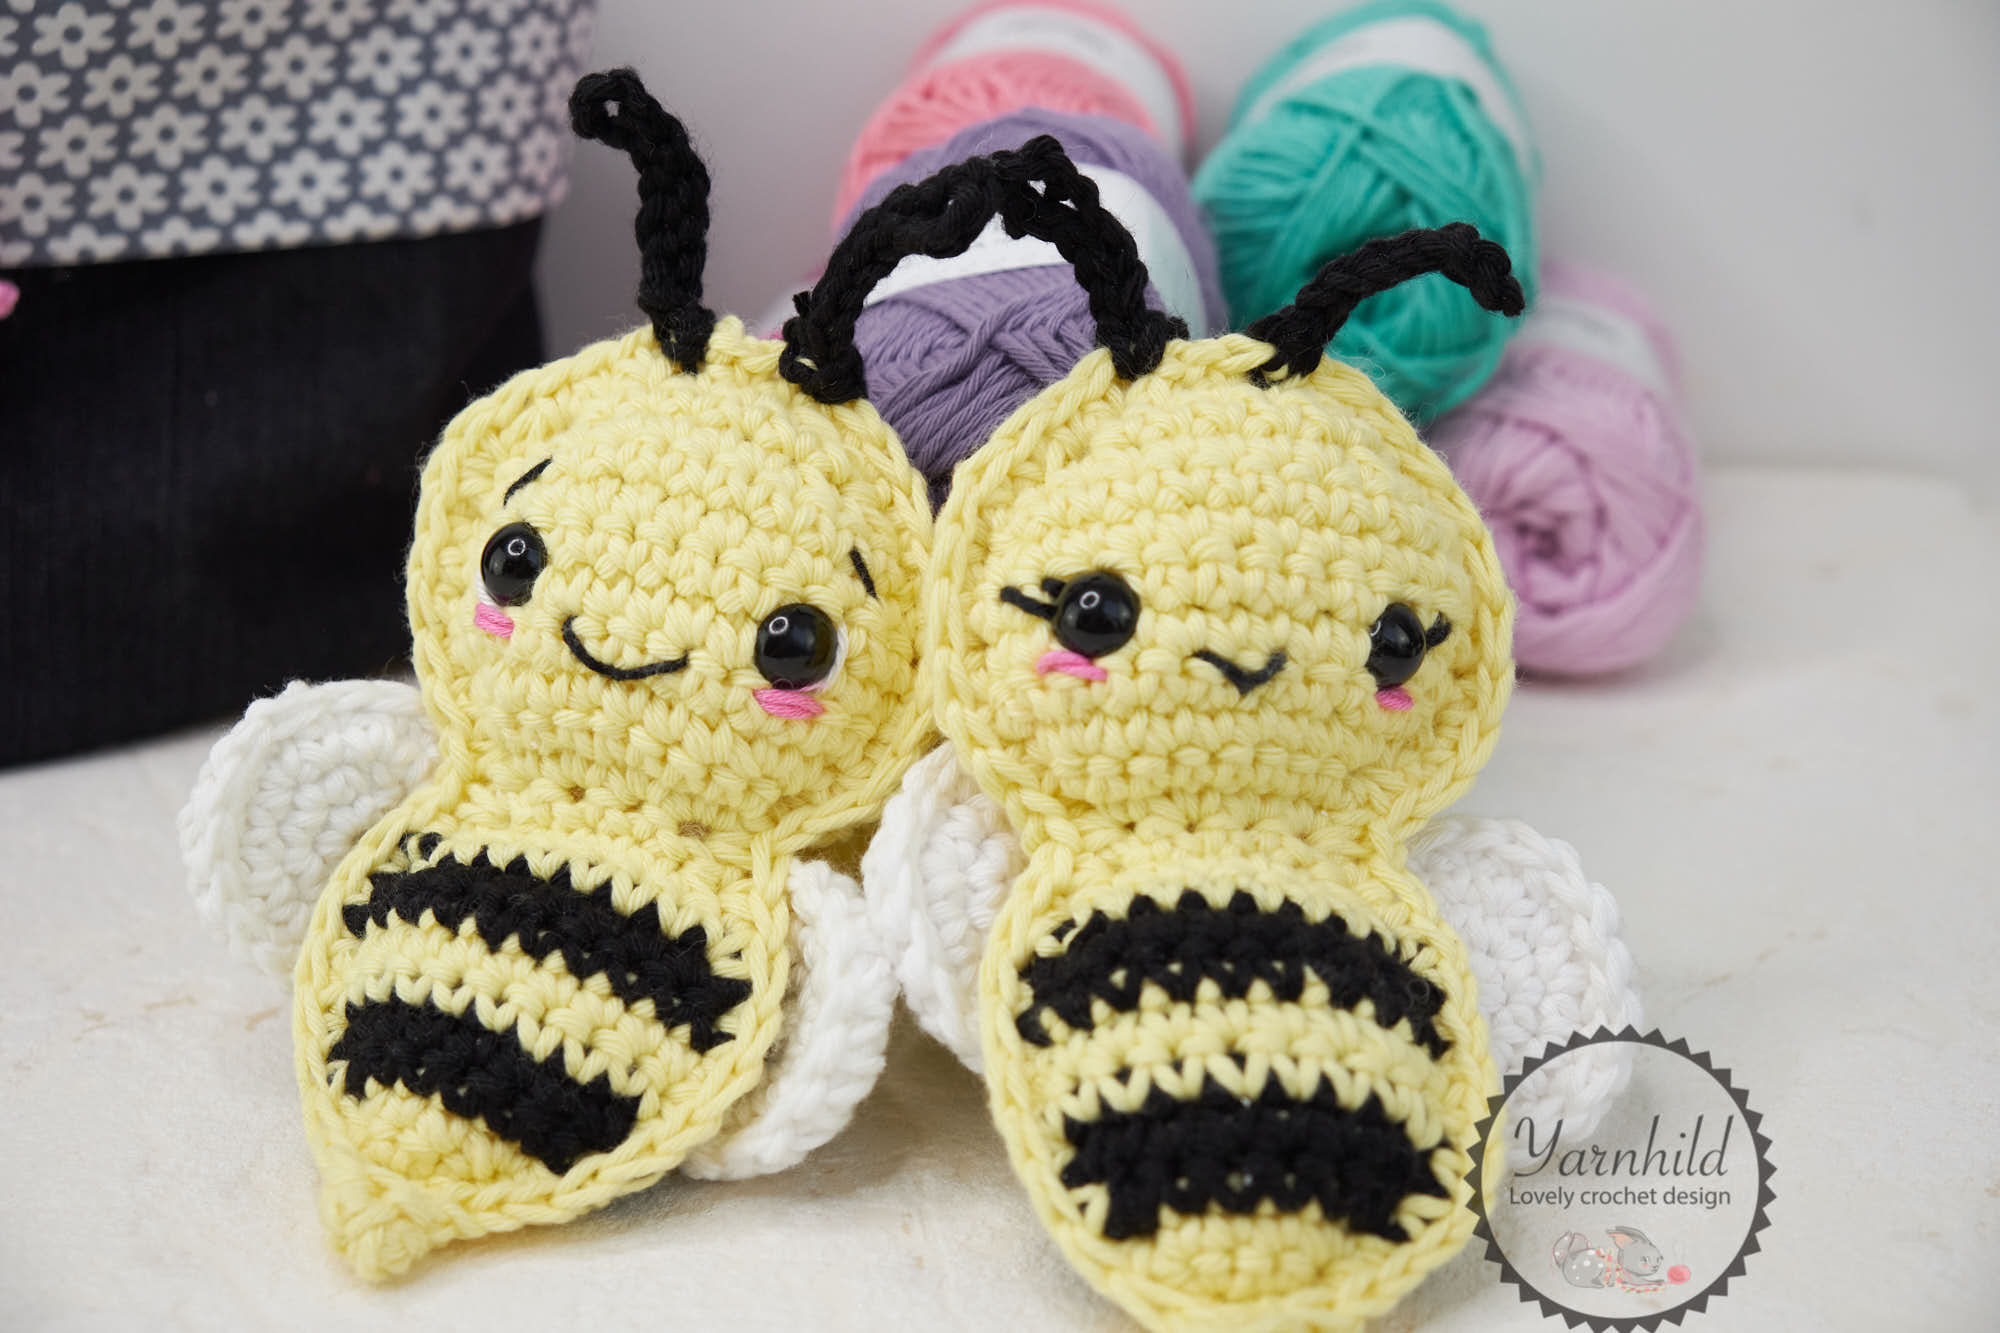
Hi folks! Today I am happy to share my latest pattern with you, check out this crochet bee! I think you are gonna like these. Not only are they super cute, but they are also easy and quick to make!
This is another simple and quick pattern that you can whip up in no time! Crochet cute bees for your family and friends! I am sure they will love it!
Spring is here, so what better way to celebrate than with a crochet bee pattern?
Deutsch
Die Videoanleitung gibt es auch auf Deutsch kostenlos. Einfach ganz nach unten scrollen. Die schriftliche Anleitung gibt es auch auf Etsy.

I sometimes include affiliate links in my blog posts. That means that I earn a small commission if you purchase a product that I recommend, on no extra costs on your behalf. Thank you for your support!
The yarn
The yarn is sponsored by Hobbii. This is their Rainbow cotton 8/8 quality. There are so many pretty colors to choose from and this yarn soft and easy to work with. Also, they send me these safety eyes and they look so pretty!


PDF in German, Norwegian and English
You can get the printable PDF here. I have also translated it into Norwegian and German. Thank you for your support!
YouTube
I also publish videos on YouTube! Making videos is something I enjoy. The pattern is also available on my channel!

When you are there, please take a moment to subscribe to my channel and hit the little bell so you'll get notified every time I upload a video.
English video
German video
Never miss a free pattern
Whenever there is a new pattern on the blog, our newsletter subscribers are the first to know. Never miss a pattern!
If you like this, check out these:

Crochet bee pattern
Materials
Yarn, dk weight in yellow, black and white. Small amounts of black for eyelashes/eyebrows in sports weight yarn.
Used in this pattern: Rainbow cotton yarn 8/8 from Hobbii.
Filling materials
Stitch marker
Crochet hook 3.5 mm
Safety eyes 12 mm
Scissors
Abbreviations – US terms
Ch-chain
Yo–yarnover
St–stitch
sl st–slip stitch
sc–single crochet
hdc–half double crochet
sc2tog–single crochet decrease
inc–sc single crochet increase, 2 single crochet in one stitch
dc–double crochet
R–round
mr–Magic ring
Information about this pattern
The bee consists of two panels. The panels are crocheted separately and then the pieces are placed together and crocheted together. Make sure that the face part is facing up. I lightly stuffed the bee with some filling material. The body is made in rows and the wings are made in continuous rounds, use a stitch marker and move it up as you finish the rounds. For the lover part of the body we are alternating between yellow and black, you can choose to carry the yarn, or just drop the color and pick it up again.
All parts are crocheted with a 3.5 mm crochet hook.
Finished size: 13.5 cm/5.31”
Skill level: Advanced beginner
How to carry the yarn
When carrying yarn simply crochet over the other color while working the main color. Lay the unused strand of yarn on the top of the stitches of the previous row. Crochet with the new color. Pull the strand of the unused color every now and then. For a nice color change: Yarn over like normal when doing a single crochet, yarn over the last pull through with the new color.
Instructions
Bee
The bee is crocheted from bottom up. Yellow yarn and black
yarn. Chain 1 and turn after each row.
Keep the tension tight on the first 3 rows in particular.
Make 2 panels
Start with yellow:
Row 1: Ch 2, 1 sc in the first ch = 1 sc
Row 2: 1 sc
Row 3: sc inc = 2 sc
Row 4: sc inc x 2 = 4 sc
Row 5: sc inc, 2 sc, sc inc = 6 sc
Change to black and carry the yarn, or drop it and pick it up again after 2 rows if you want to.
Row 6: sc inc, 4 sc, sc inc = 8 sc
Row 7: sc inc, 6 sc, sc inc = 10 sc
Change to yellow yarn.
Rows 8 – 9: 1 sc in each st = 10 sc
Change to black:
Rows 10 – 11: 1 sc in each st = 10 sc
Change to yellow and cut the black yarn.
Row 12: sc2tog, 6 sc, sc2tog = 8 sc
Row 13: sc2tog, 4 sc, sc2tog = 6 sc
Row 14: sc2tog, 2 sc, sc2tog = 4 sc
Row 15: sc inc x 4 = 8 sc
Row 16: sc inc, 6 sc, sc inc = 10 sc
Row 17: sc inc x 2, 6 sc, sc inc x 2 = 14 sc
Rows 18- 21: 1 sc in every st for 4 rows = 14 sc
Row 22: sc2tog, 10 sc, sc2tog = 12 sc
Row 23: sc2tog x 2, 4 sc, sc2tog x 2 = 8 sc
Row 24: sc2tog, 4 sc, sc2tog = 6 sc
ow 25: sc2tog, 2 sc, sc2tog = 4 sc
Make one more panel. Fasten off on the first panel, but not the second one. Make the face on the second part. Attach safety eyes between rows 19-20, 5 sc stitches part. (or whatever you like best). If you wish, make eyelashes or eyebrows with some black, thinner sports weight yarn. If you want to make eyelashes, sew them on before attaching the back part of the safety eyes. Sew on blush under the eyes with pink yarn.
Lay the panels on each other and single crochet them together. One single crochet in each row. See the pictures below for reference. Remember to add stuffing before closing. Stuff lightly, not too firm! Do not stuff the neck.
Antennas
With black color yarn. Make 2.
With firm tension: Ch 10, sl st in the 5th ch from the hook, leaving a little gap. Sl st 5 times. Fasten off, leaving a long strand for fastening.
Sew the antennas on top of the head. 1 sc stitch apart.
Wings
With white yarn.
Worked in continuous rounds. Place a stitch marker at the beginning of each round and move it up as you go.
Make 4 parts.
Rnd 1: 6 sc in a mr = 6 sc
Rnd 2: sc inc x 6 = 12 sc
Rnd 3: (1 sc, sc inc) x 6 = 18 sc
Like with the body, fasten off on one part only. Place the panels on each other and single crochet them together. Do not stuff the wings. Leave a long strand for fastening. Sew the wings on the back in the middle between rows 10 and 11, 1 sc st space apart. Fasten off and weave in ends.


