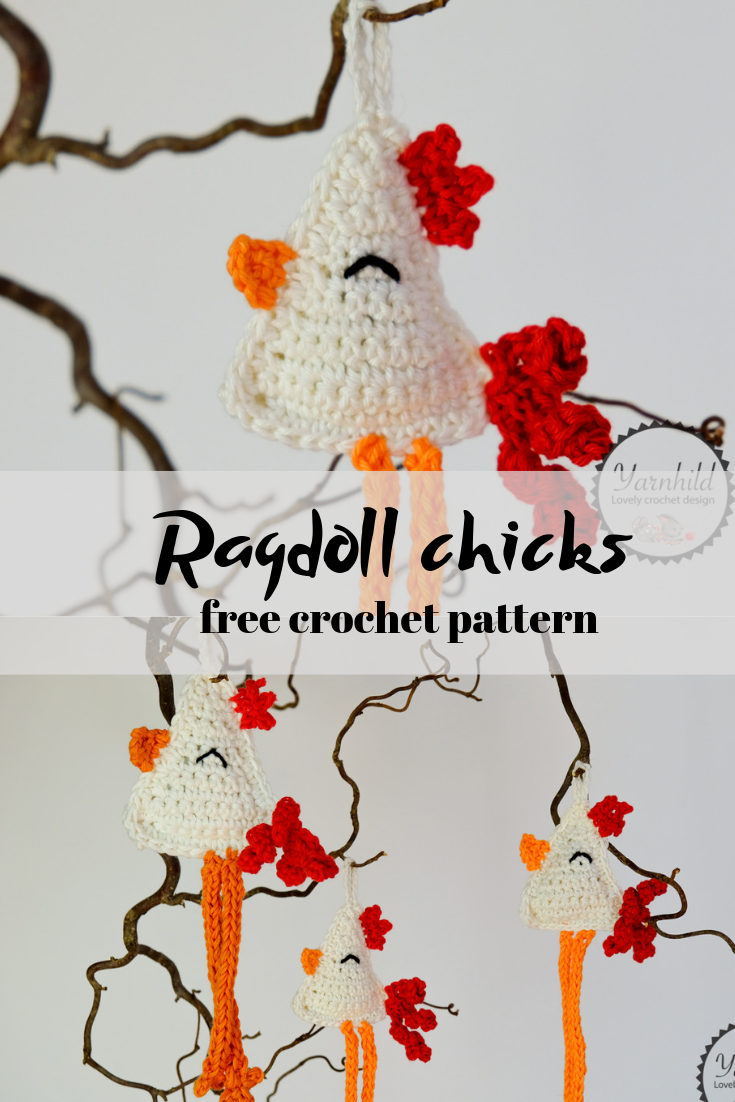
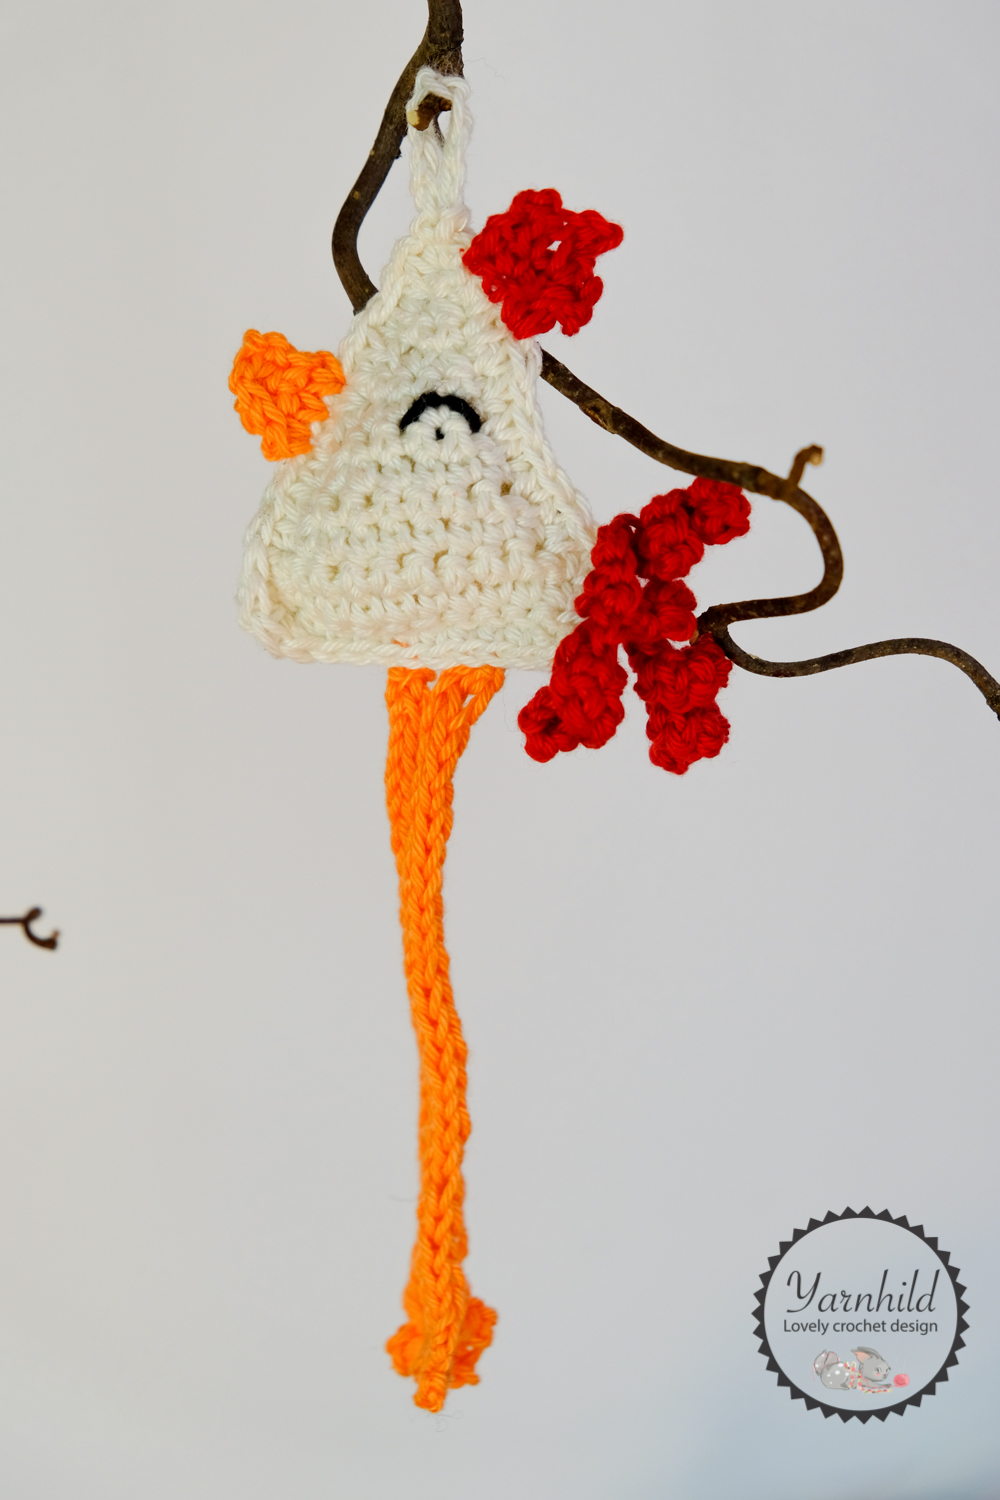
Since Easter is getting close, I thought I'd be appropriate with an easter pattern! I love chickens and I have made a quick pattern for some Easter chicks.
You can use them for decoration or they can easily be turned into a bookmark! How great is that?!
Disclosure: This blog post contains affiliate links. Read more about it here.
Turn them into bookmarks
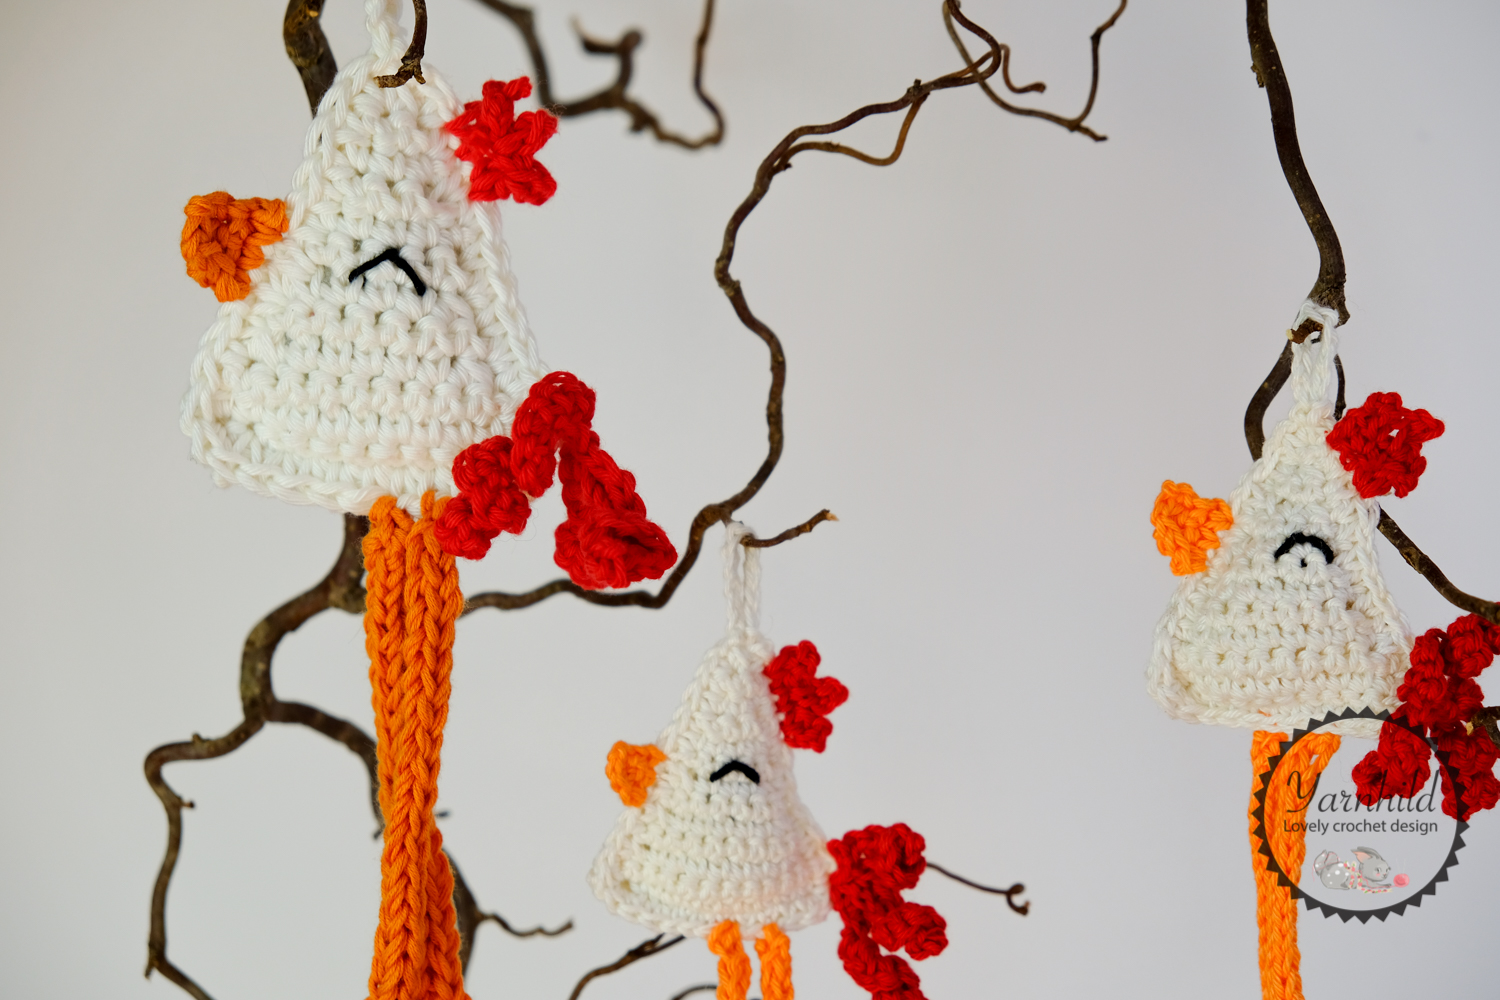
Do you like to read during the Easter holidays? In Norway many enjoy reading crime books in the easter, it's kinda a tradition for many (yep, Norwegians are big on traditions). You can easily transform these chicks into a bookmark, simply by making the feet longer.
I do love fun projects and I think these chicks look hilarious with their long feet. You can customize this pattern and make it individual, just change the colors and have fun with it!
If you are looking for more chick patterns, check out the pattern that I made last Easter. Here is also a cute little basket that goes great with the Easter chicks too.
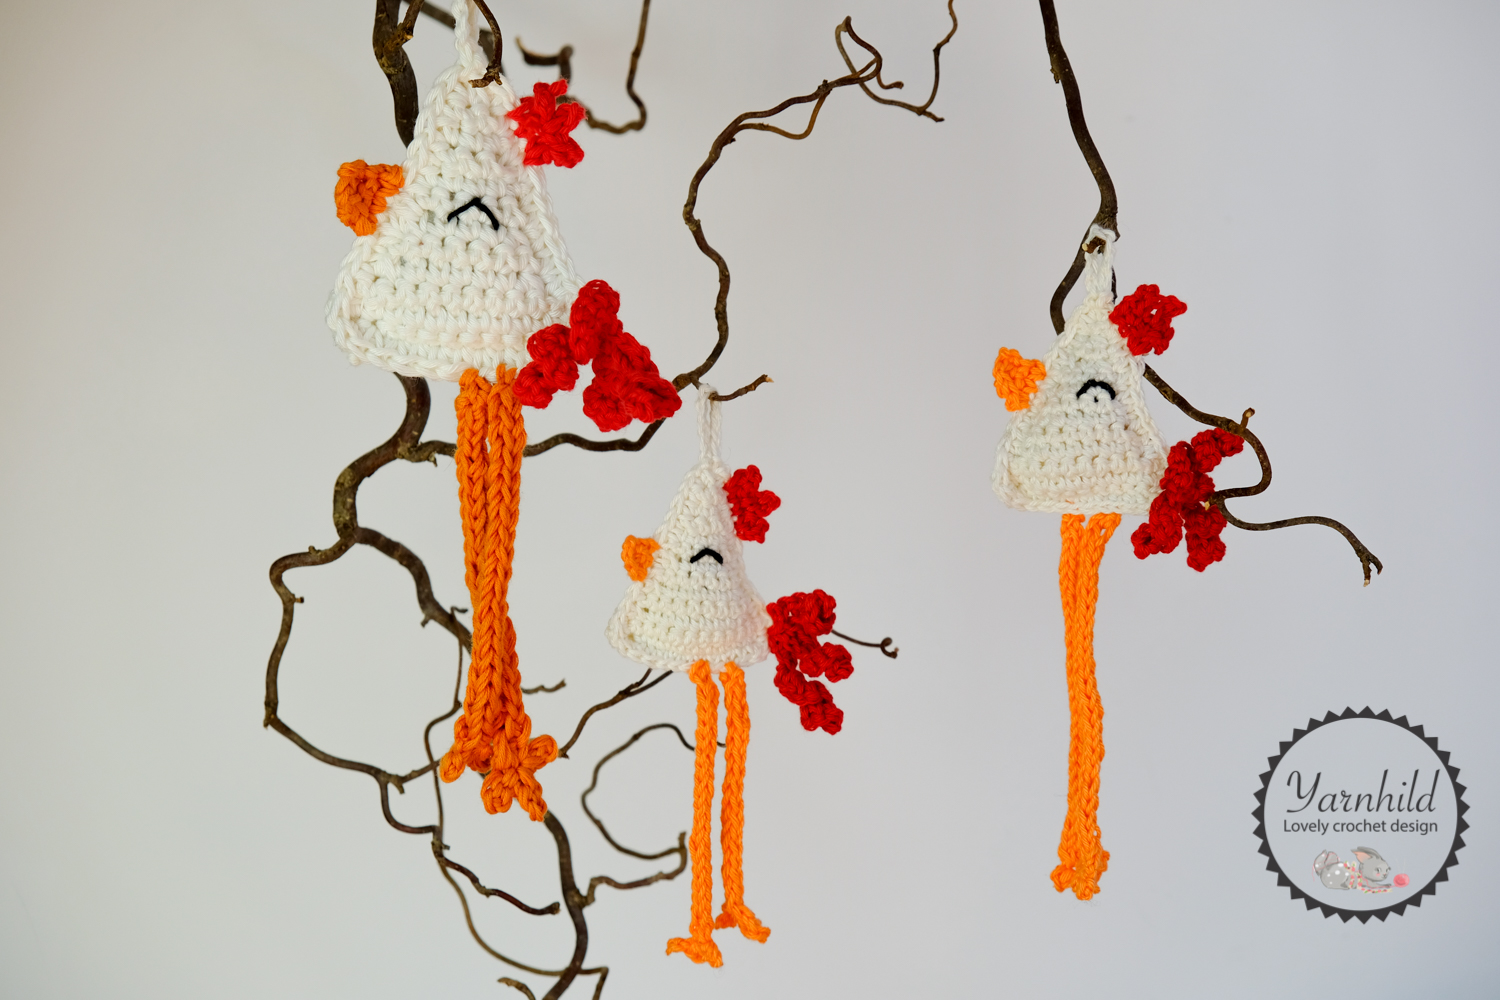
Big or small crochet chicks
Simply chose a thicker yarn and a bigger hook if you want to make bigger chicks. I made some with a 2.5 mm/E crochet hook and a bigger with a 4.5/7 mm. The small chicks measures about 15 cm and the big one about 20 cm, feet included.
Quick tip against wrist pain
I had a little problem with wrist pain lately. Especially when I am making amigurumi because I tend to crochet tight and I think that's the source of my problems. I asked around in a Facebook group and one woman suggested that I could try using a smaller hook.
So I did, I used a 2.5 mm instead of the usual 3.0 or 3.5 that I normally use. It made a huge difference! I was also testing a pattern this week. I usually crochet with cotton, a thin sports weight yarn. Instead of using one thread, I used two. It worked out nicely, and I could crochet longer the usual.
This is a free pattern, but you can also purchase an inexpensive add-free pdf. In that way, you can support me
Update
In 2021 i made some new chickens, and I want to share some pics and a video tutorial with you!
[ytplayer id=9766]
Crochet chicks - free crochet pattern
©Yarnhild - all rights reserved.
Abbreviations used
ch – chain
yo – yarn over
st – stitch
sl st – slip stitch
sc – single crochet
hdc – half double crochet
sc2tog – single crochet decrease
inc – single crochet increase, 2 single crochet in one stitch
picot stitch – 1 sc, ch 3, sl st in the first ch.
yo – yarn over
Materials used
Crochet hook 2.5 mm
Yarn used: Schachenmayr, colors nature, red, black and orange
100% cotton. Weight: Sport – 5Ply, fine (2)
Filling material
Tapestry needle
Stitch marker
About the pattern
Skill level: Beginner-friendly
The body consists of two panels made in rows. After being crocheted they are being lied on each other and crochet with sc together. The feet are made with an i-cord. All parts are being made with a 2.5 mm crochet hook. Finished size, about 27 cm/ 10, 6 inches, with feet included
Body, make 2 panels
Color nature.
Row 1: 12 ch, turn, 1 sc in each ch, ch 1, turn = 11 sc
Row 2: 11 sc, ch 1, turn =11 sc
Row 3: sc2tog, 7 sc, sc2tog, ch 1 turn = 9 sc
Row 4: 9 sc, ch 1 turn = 9 sc
Row 5: sc2tog, 5 sc, sc2tog, ch 1 turn = 7 sc
Row 6: 7 sc, ch 1 turn = 7 sc
Row 7: sc2tog, 3 sc, sc2tog, ch 1 turn =5 sc
Row 8-9: 5 sc, ch 1 turn, for 2 rows = 5 sc
Row 10: sc2tog, 1 sc, sc2tog, ch 1 turn =3 sc
Row 11: 3 sc, ch 1 turn = 3 sc
Row 12: sc2tog, 1 sc, ch 1 turn = 2 sc
Row 13: sc2tog, turn, ch 1, fasten off = 1 sc
When you have made the other panel, don’t fasten off. Sew on an eye between row 9 -10. Lay the panels on each other. Ch 1, sc through both panels, placing 1 sc in each row and 2 sc in the left and right corners. Stuff lightly before completing sc. Sl st, fasten off and weave in ends.
Feet Color orange, make 2
The feet are made with an i-cord. Watch the video or follow the picture tutorial.
Leave a long tail for attaching. Chain 3.
Insert the hook in the next chain and pull up a loop. Insert the hook in the last stitch and pull up a loop. You should have three loops on your hook.
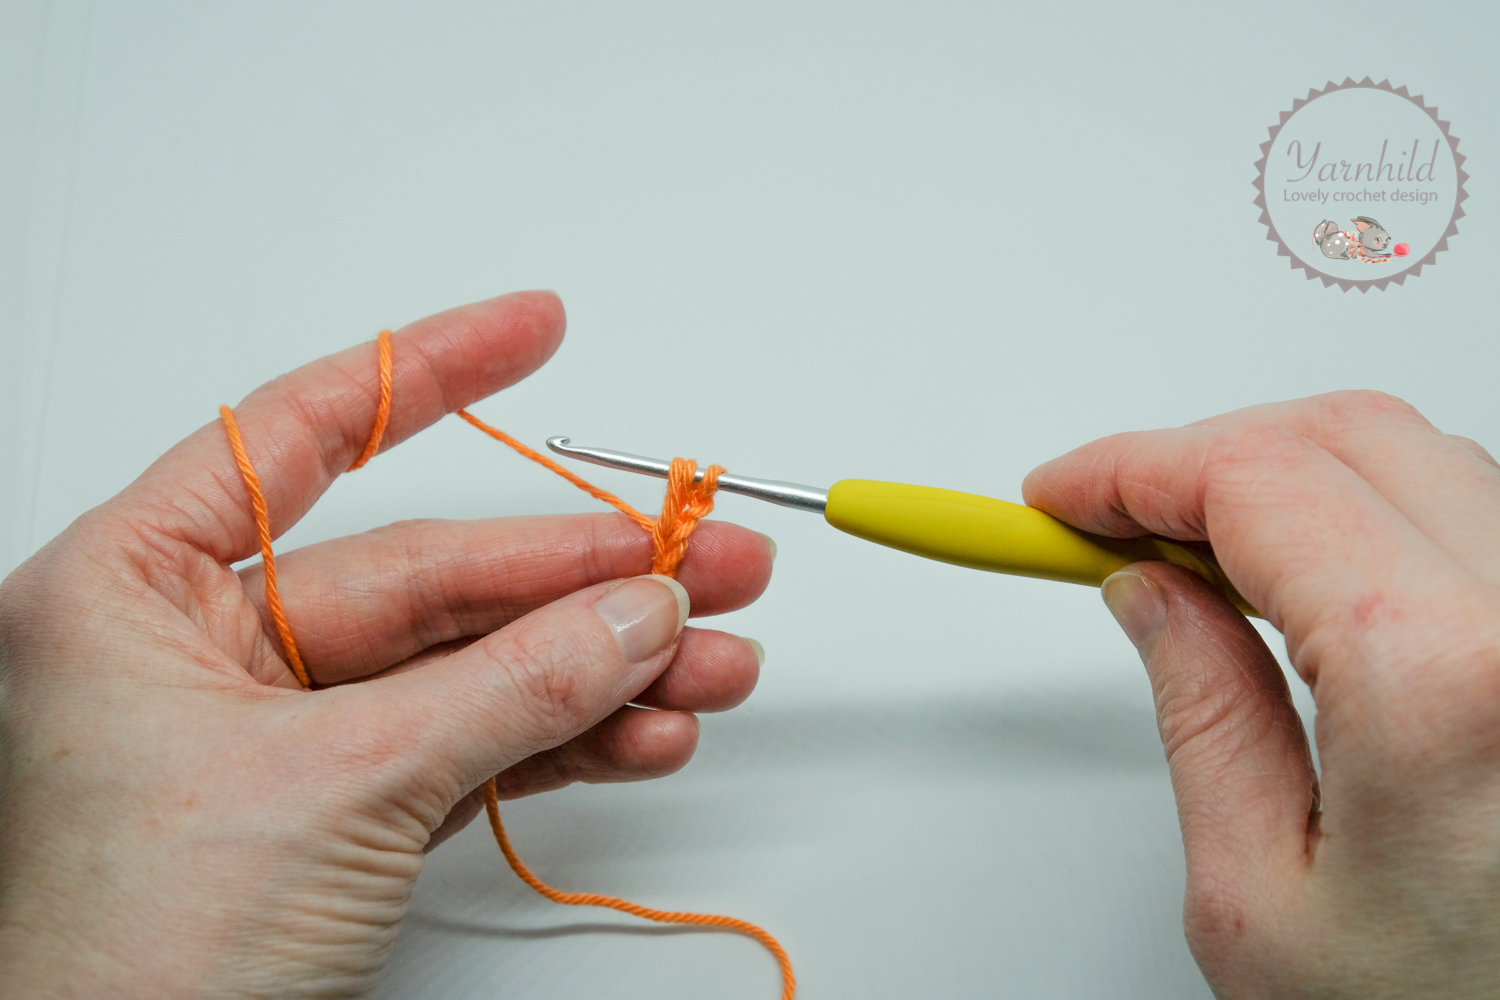
Remove the last two last loops from the hook and chain 1. Hold on to the loops with your thumb and index finger.
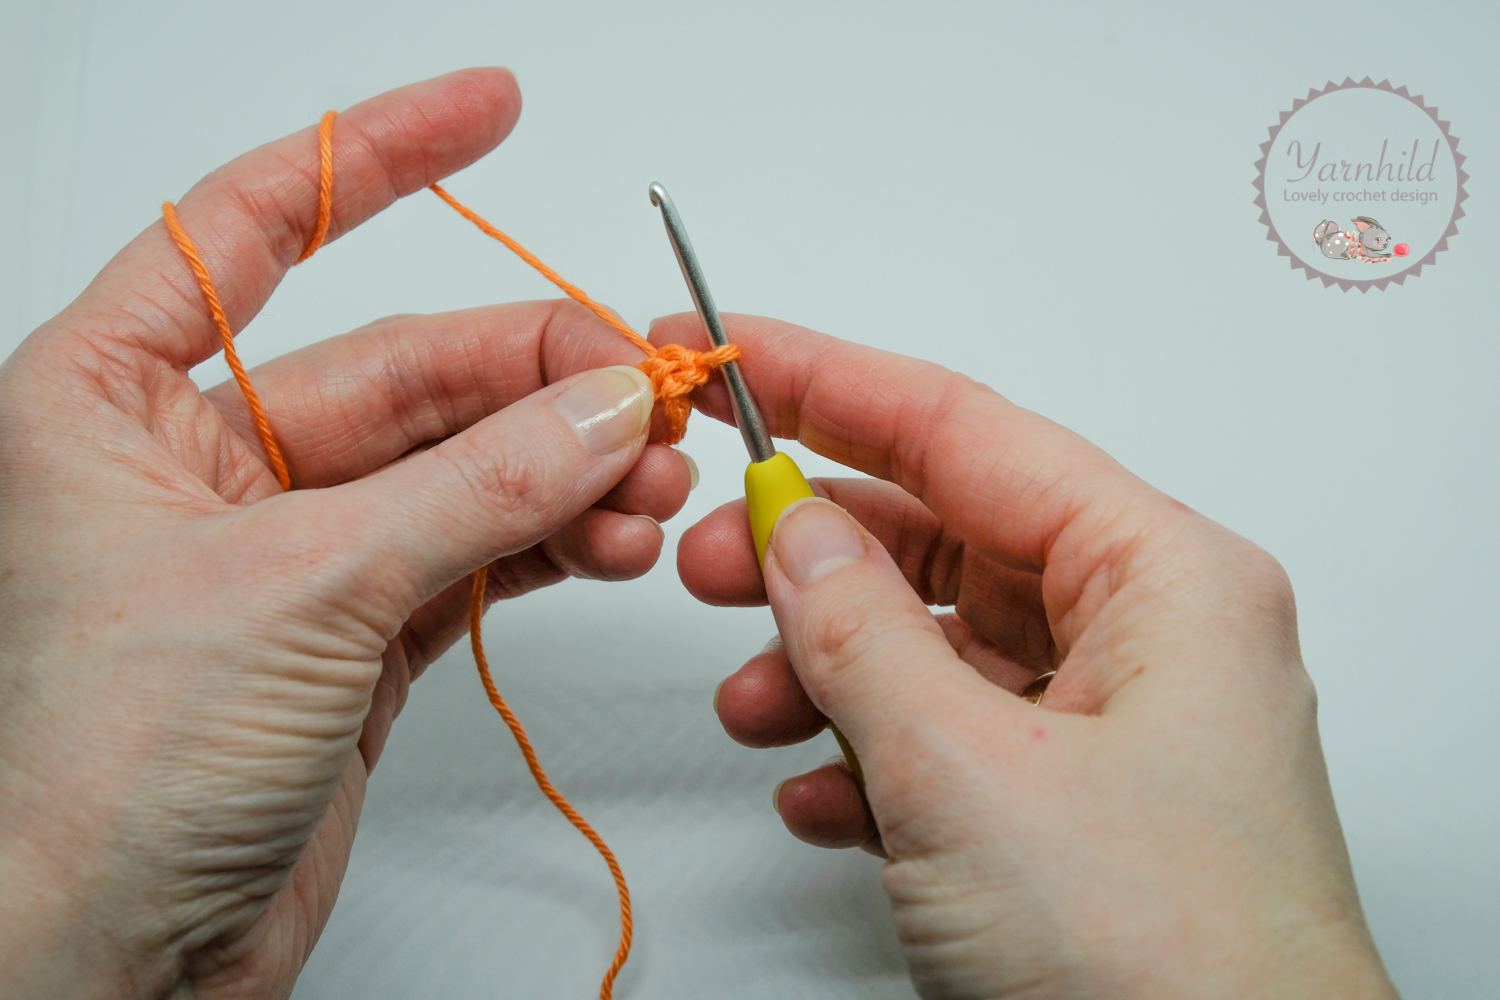
Now insert the hook in the first loop and pull up a loop
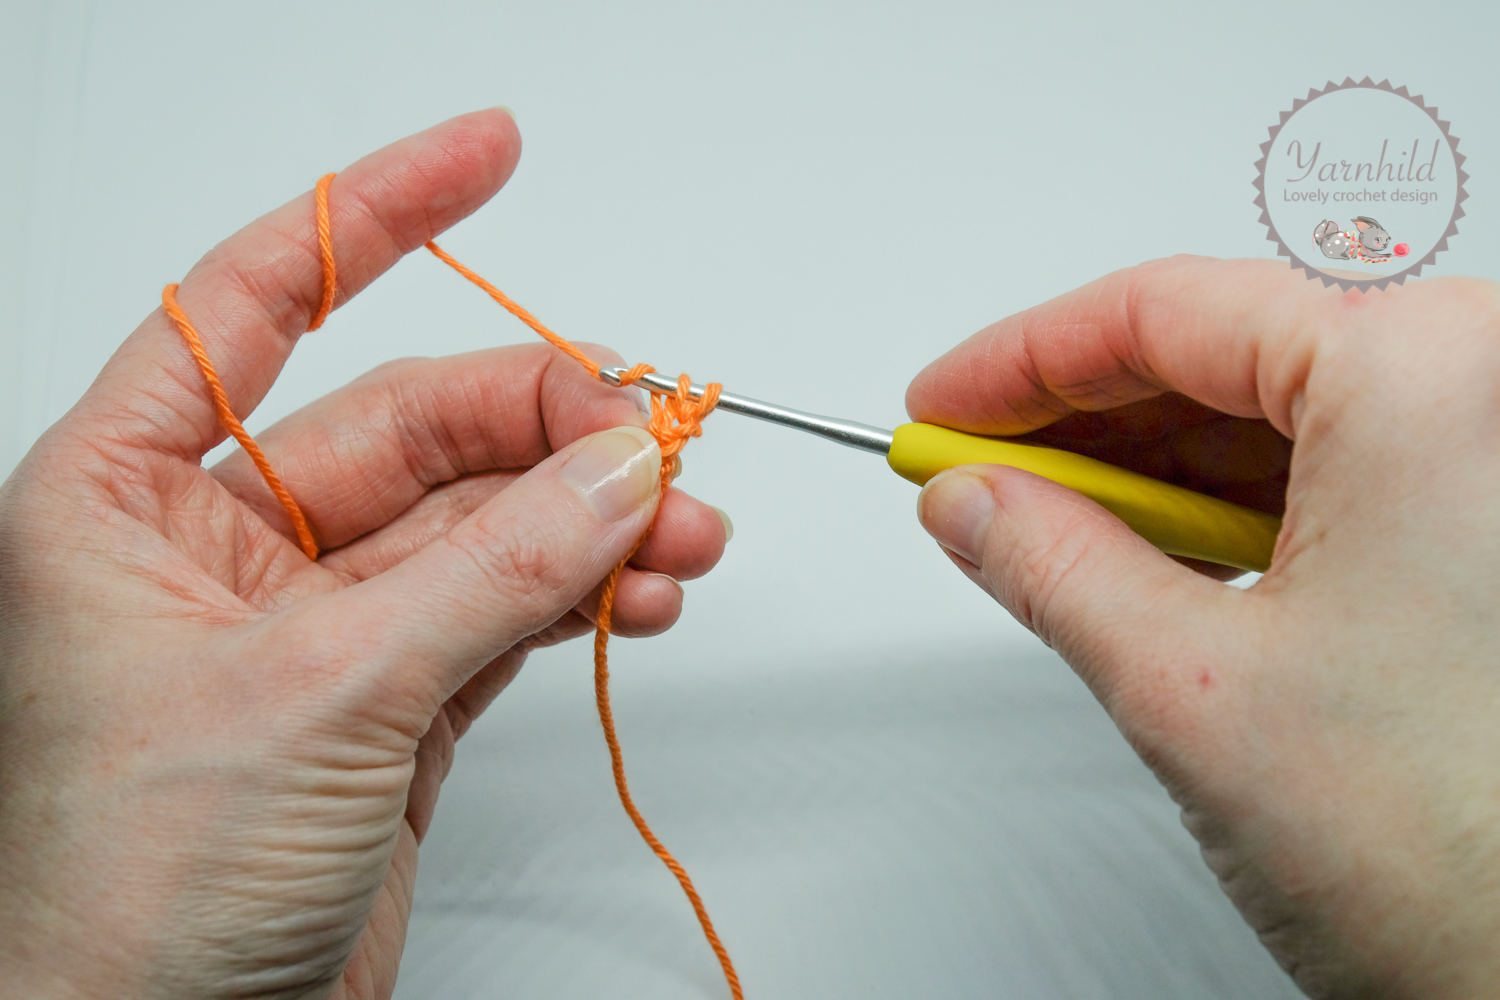
Repeat this for the last loop.
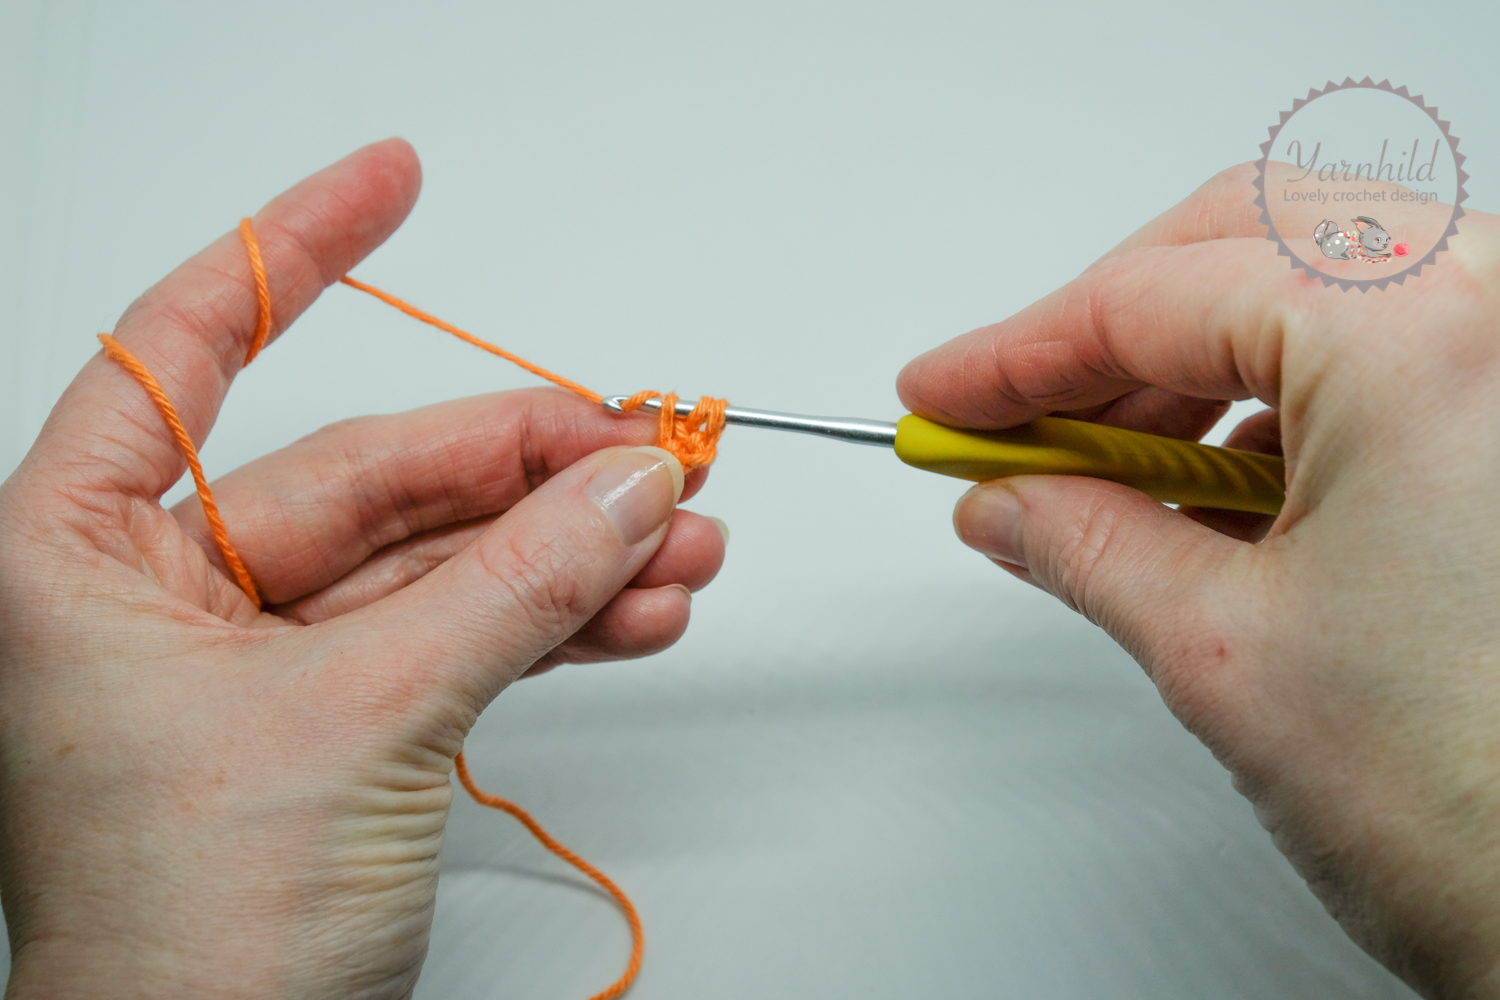
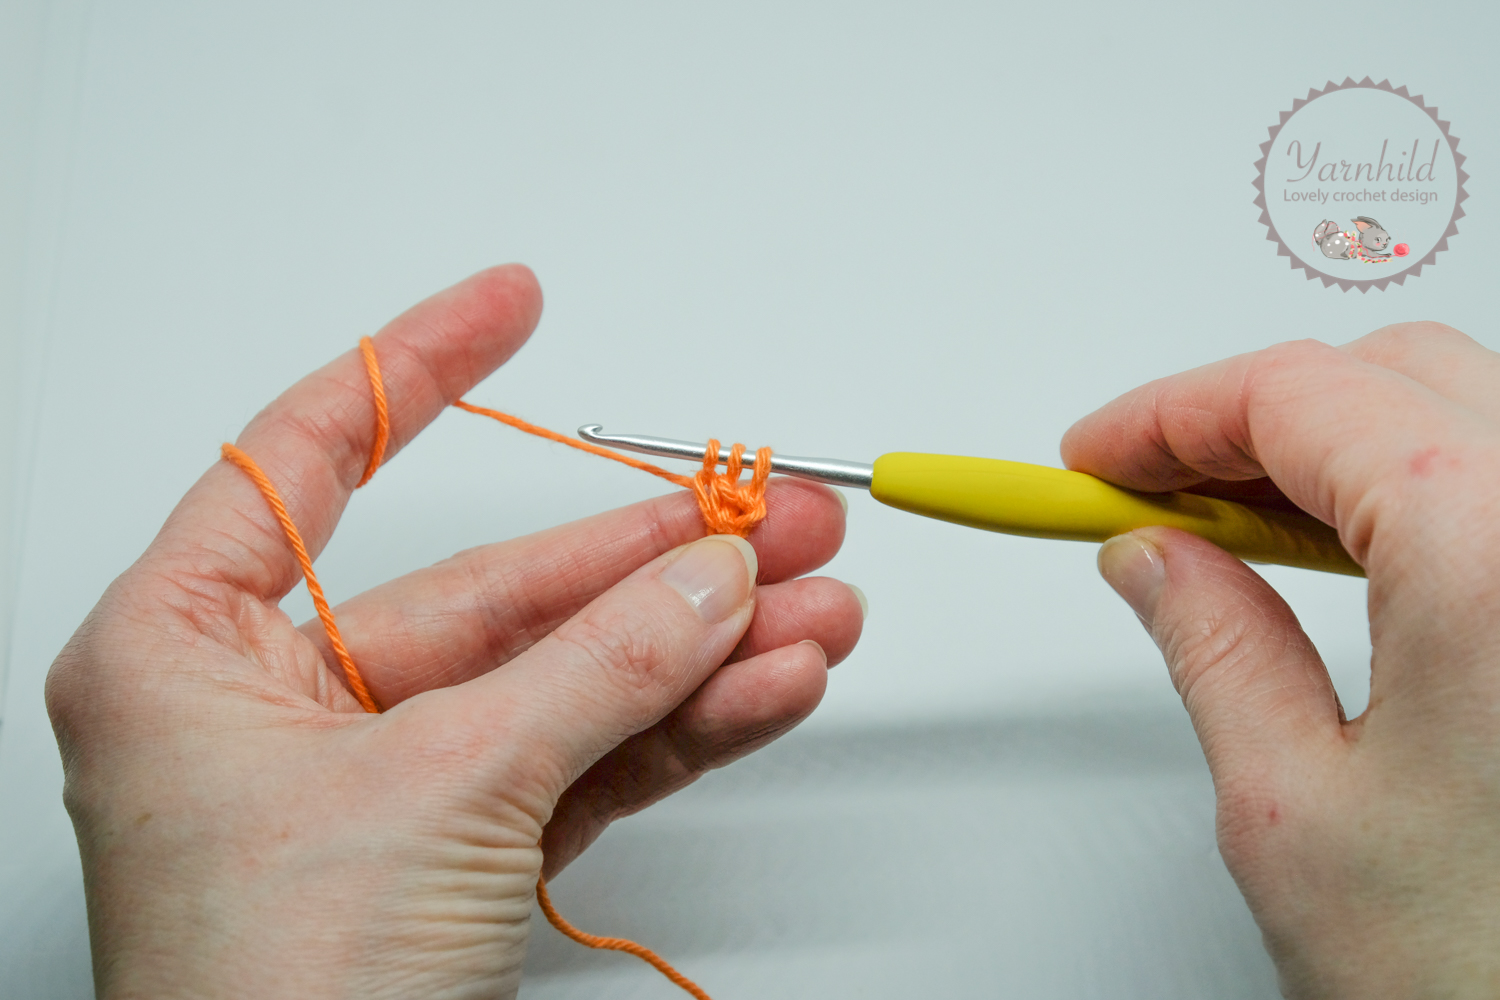
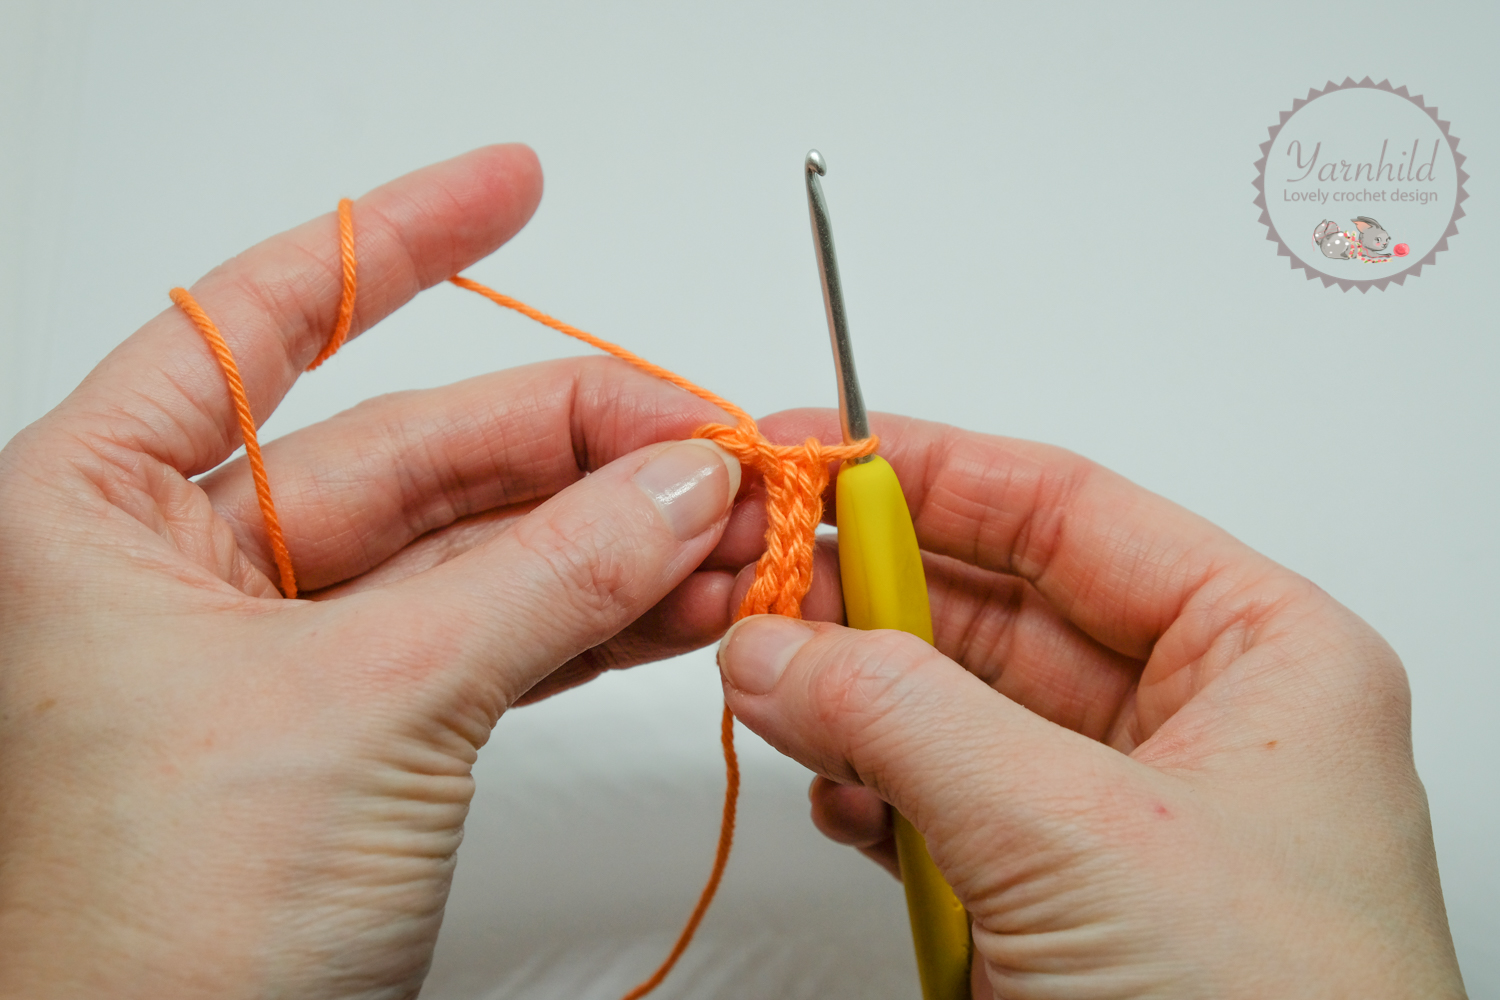
Keep repeating these steps until your I-cord is about 20 cm/ 7.8 inches long. Don’t cut off the yarn. Now make the claws:
Ch 1. 3 ch,
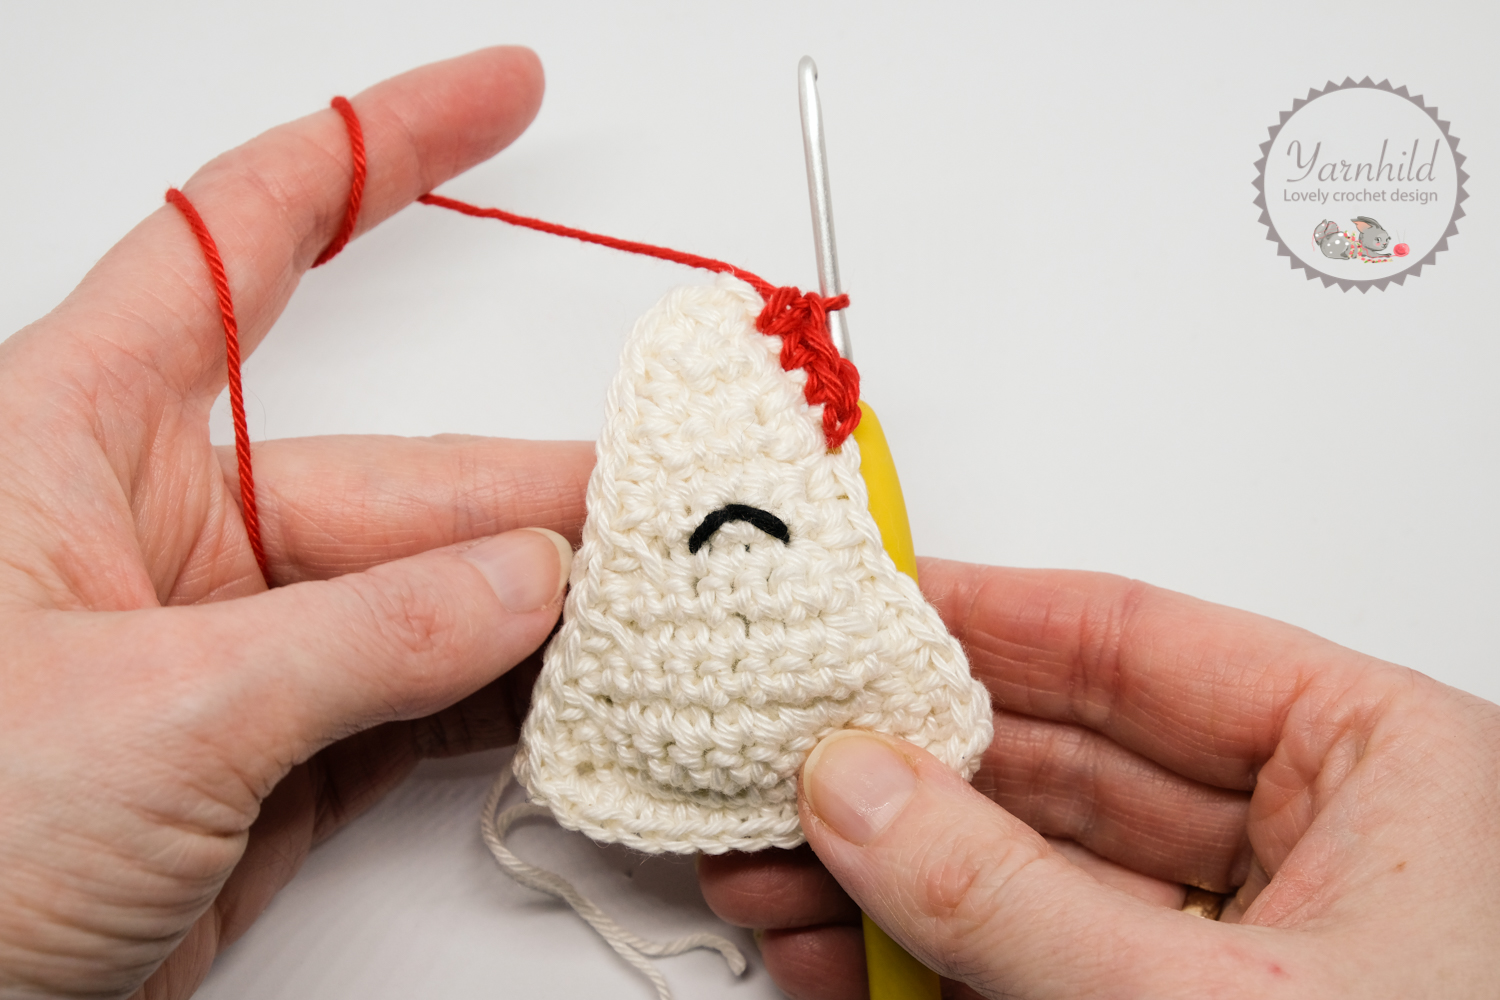
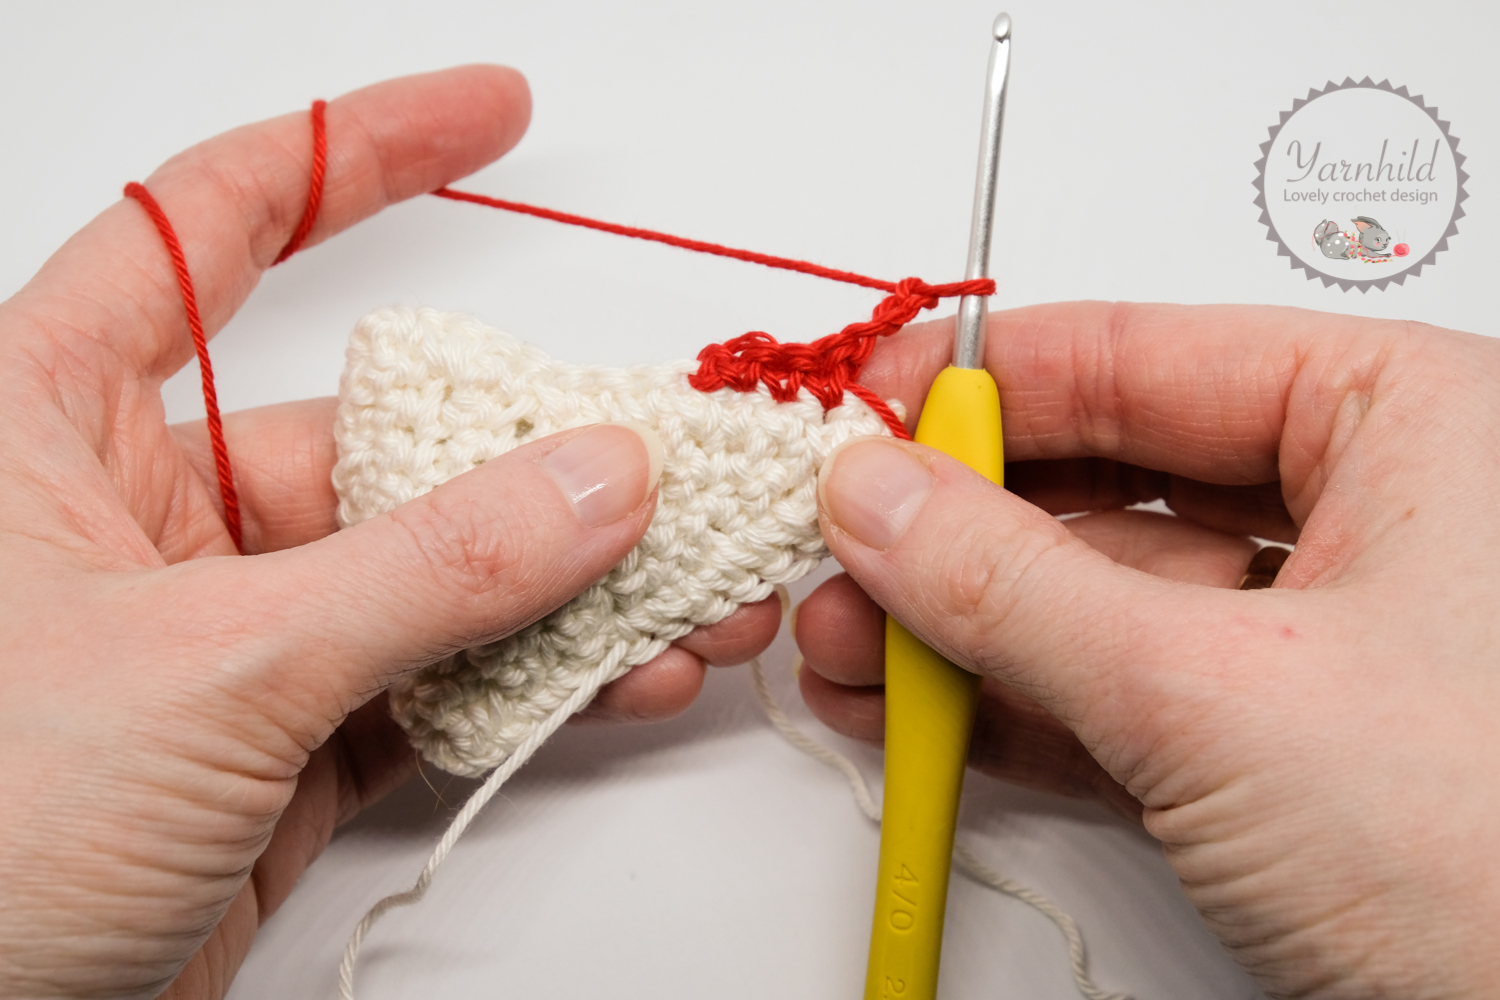
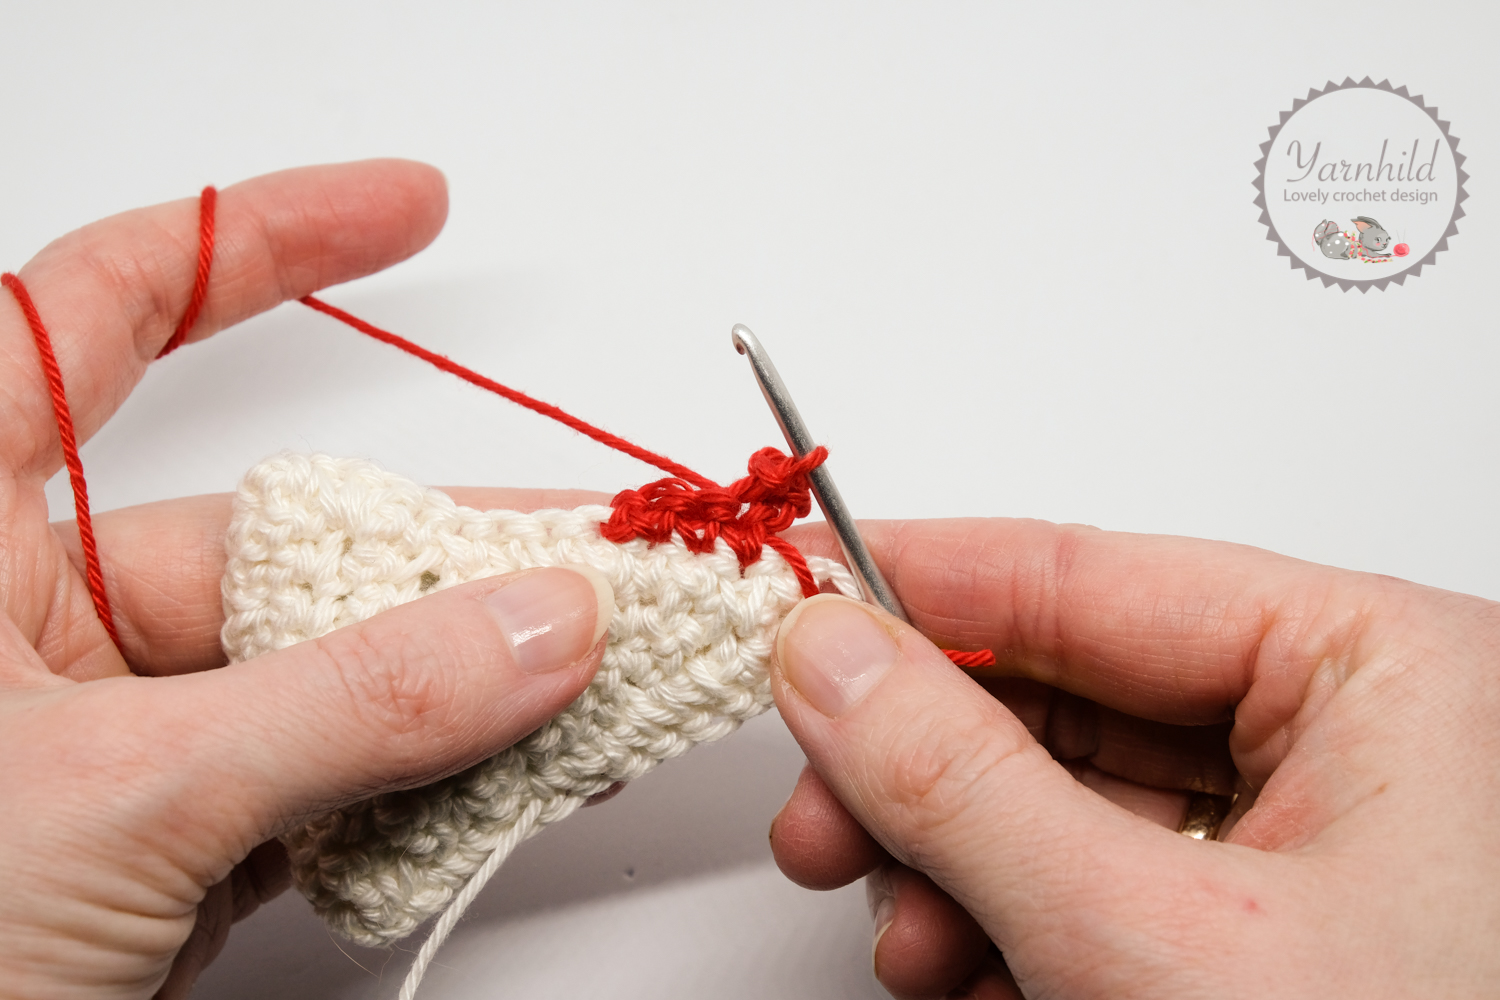
Comb. Color red
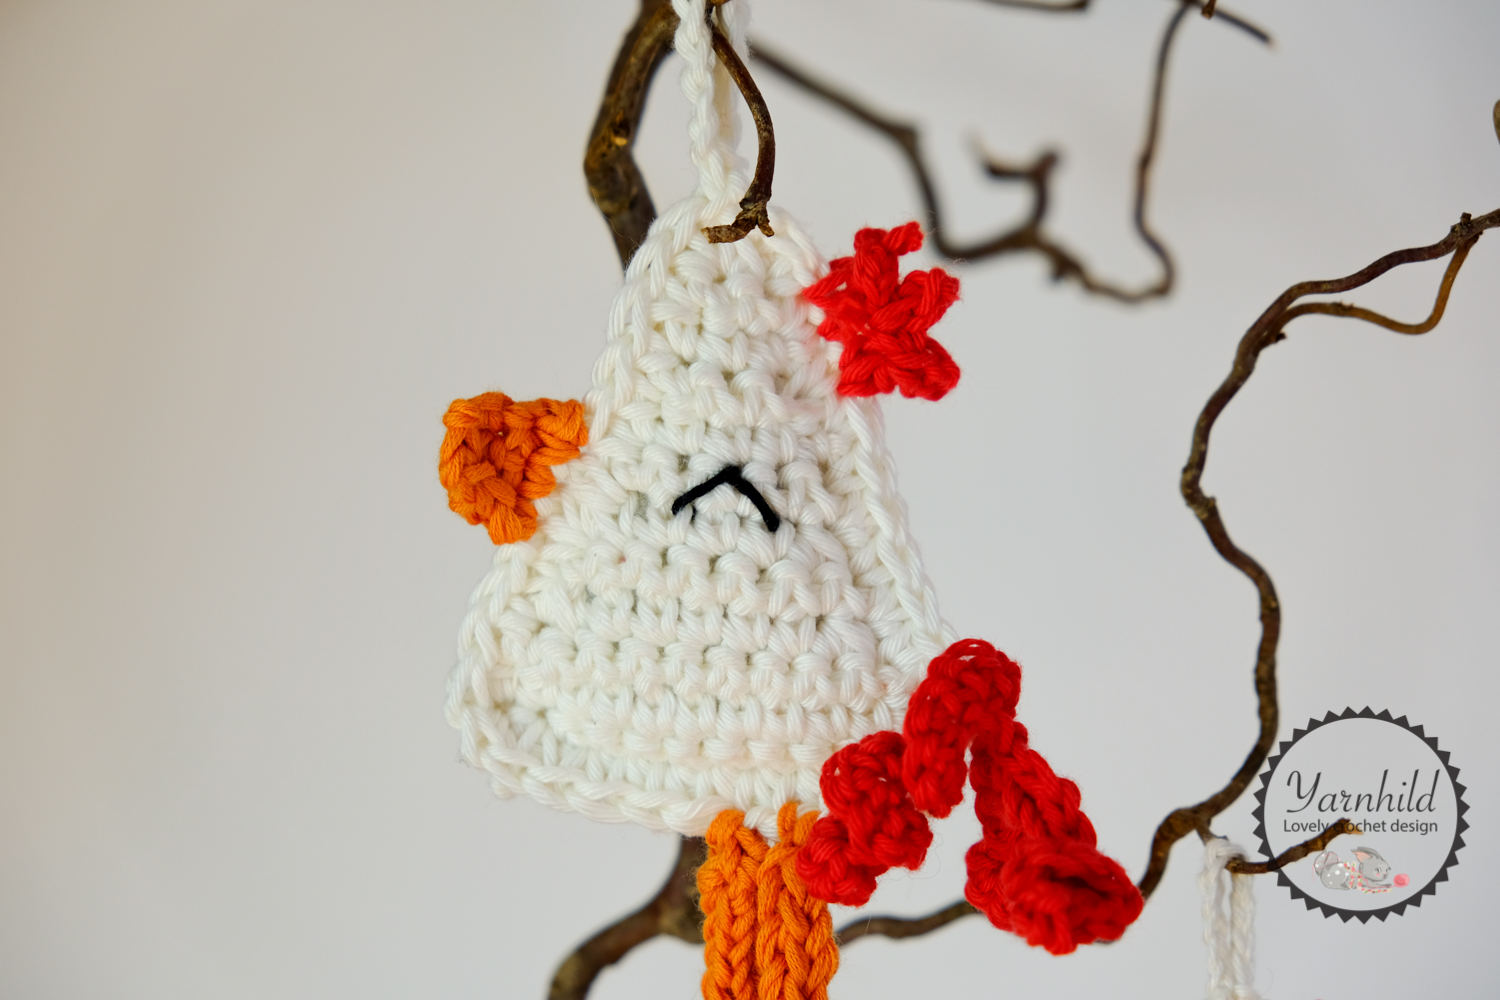
Fasten the yarn right above the eye. Ch 1. 1 sc in next st 3 stitches. Ch 3 turn, sl st in the sc. Sl st in the next stitch, ch 3, sl st in the sc, repeat one more time. Fasten off with a sl st in the first sc. Weave in ends.
Tail feathers. Color red
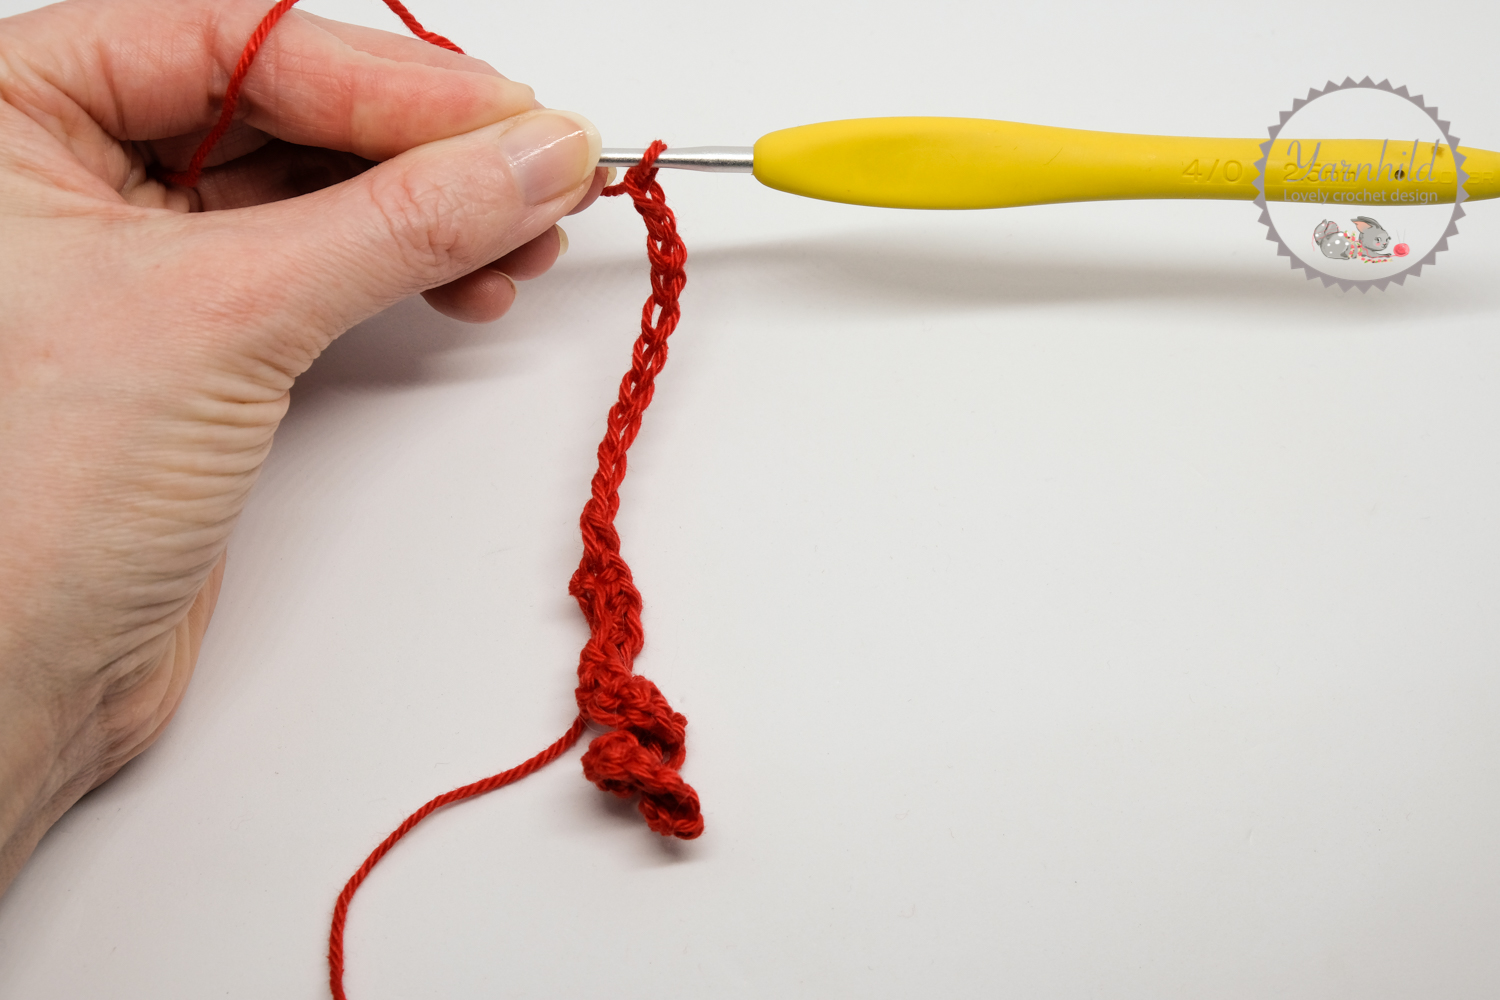
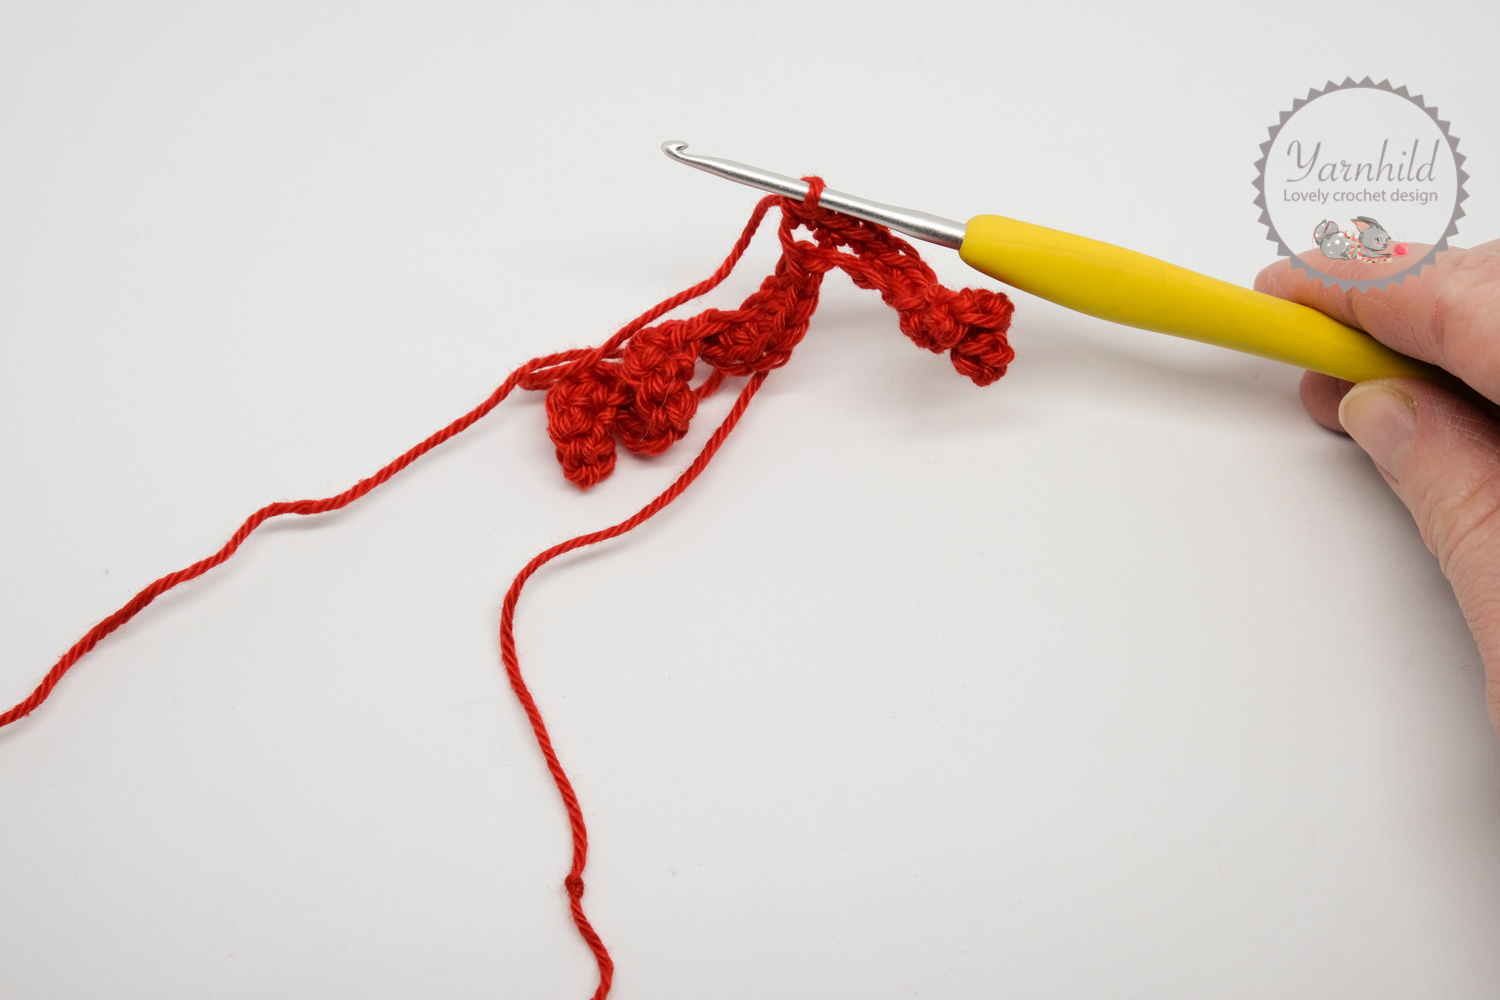
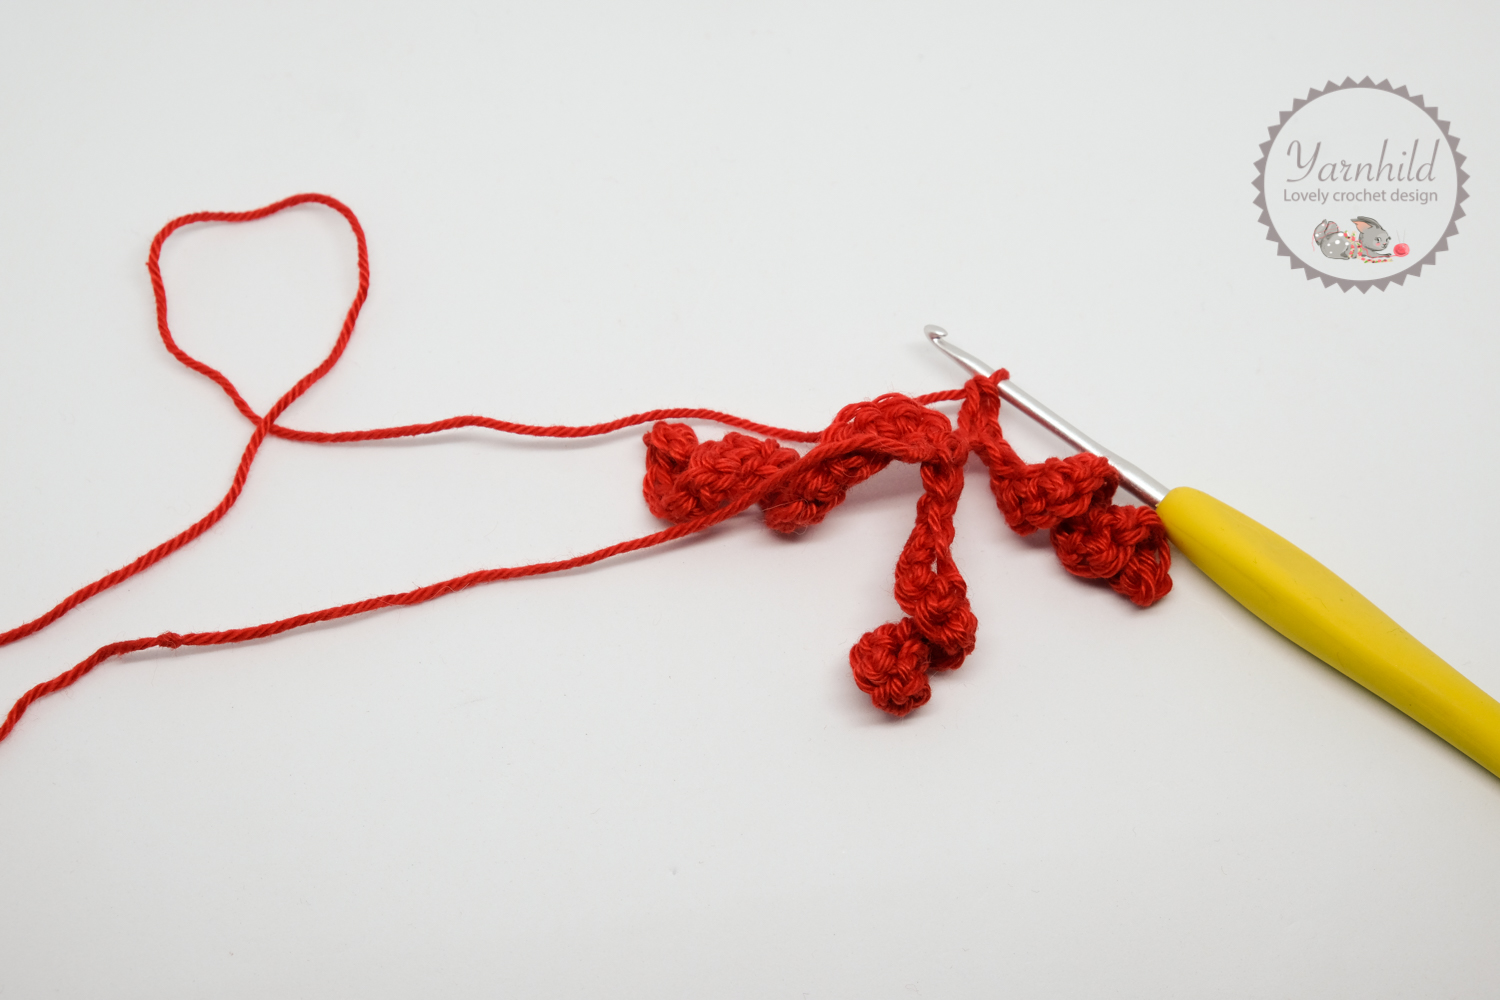
Ch 13, turn, 2 sc in the second ch from the hook and in 2 sc in each stitch, all the way back to the beginning. Don’t cut the yarn. Chain 10, turn, 2 sc in the second chain from the hook and in each stitch. Sl st in the first sc from the first tailfeather. Chain 13, turn, 2 sc in the second chain from the hook and in each ch, all the way back to the beginning. Sl st in the first sc from the last tailfeather. Fasten off. Leave a tail for fastening.
Beak. In orange
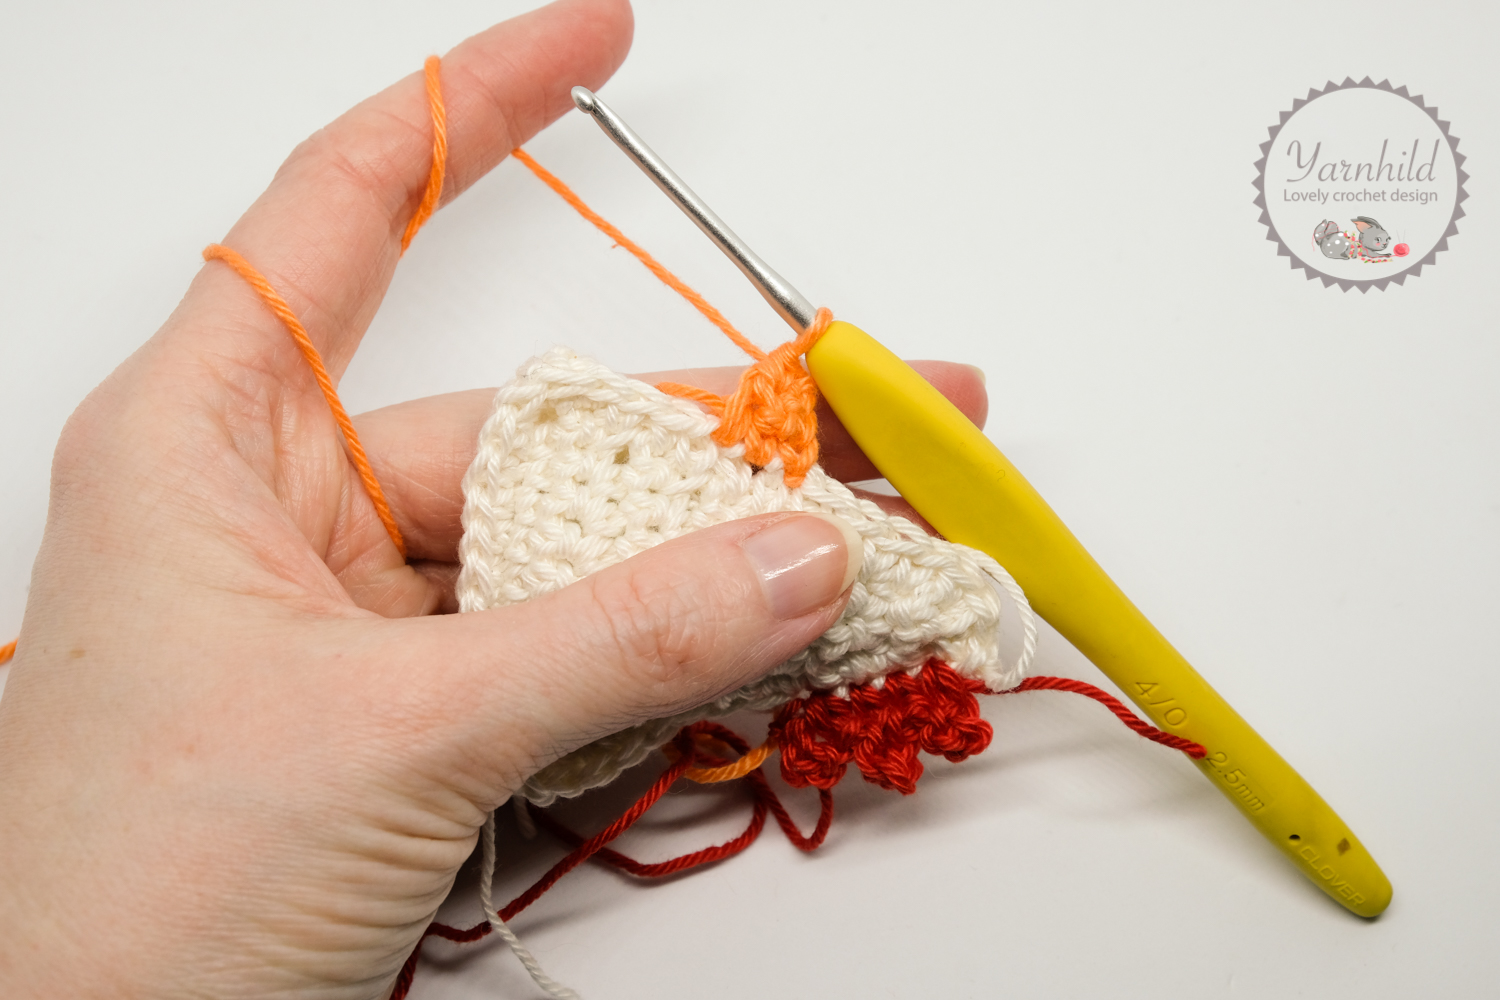
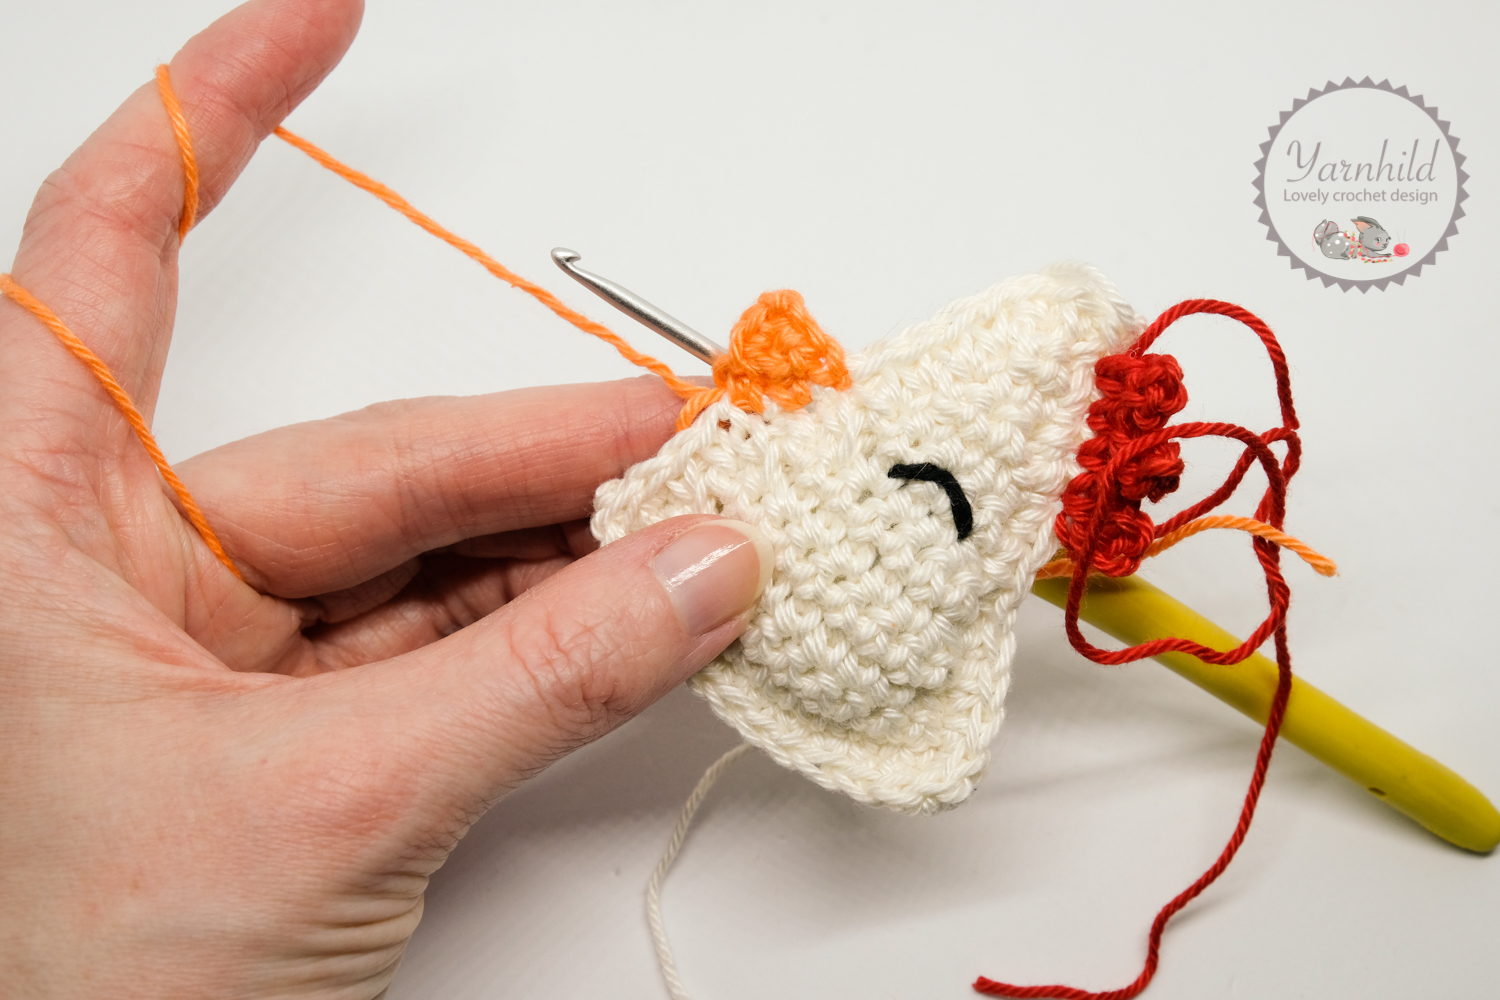
Fasten the yarn on the same level as the eye. Ch 1, 1 sc in next 3 st. Ch 1, turn, sc2tog, 1 sc. Ch 1, turn, sc2tog. Sl st 2 times until you get to the first row and fasten off.
Assembly
Sew on the tailfeathers on the same side as the cockscomb, about 2 stitches above the corner. Fasten the feet on the bottom, leave one stitch space in between. To make a hanger: ch 10,
That’s it, your crochet chick is finished! If you want to, you can share the finished result of your crochet chicks with me, tag me on social media. Facebook and Instagram: @Yarnhild


