Who else wants to crochet a penguin? I was looking through my amigurumi collection the other day, and I realized, a penguin was missing!
So I decided to make one! I also wrote up the pattern, so you can make one too! This little fella is made with the leftovers that I had from the popular shawl that I released last week.
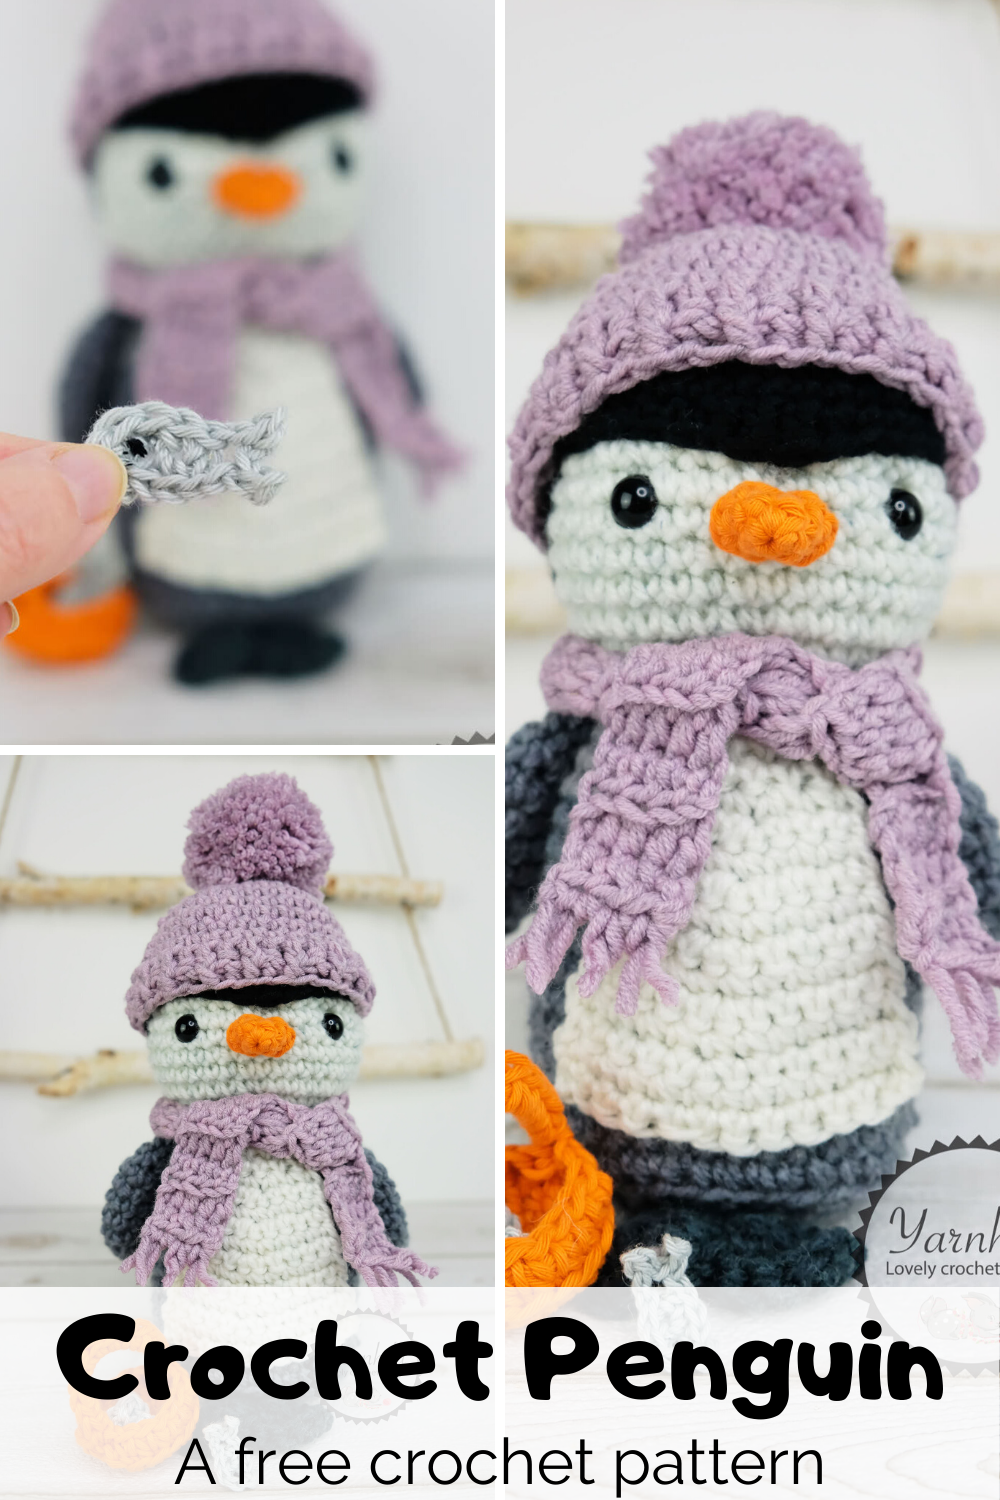
So before you go out and buy new yarn for this project, I'd suggest that you have a look at your stash and maybe you'll find something that is fitting.
I sometimes include affiliate links in my blog posts. That means I earn a small commission if you purchase any of the products I recommend, on no extra costs on your behalf. Thank you for supporting my work!
yarn
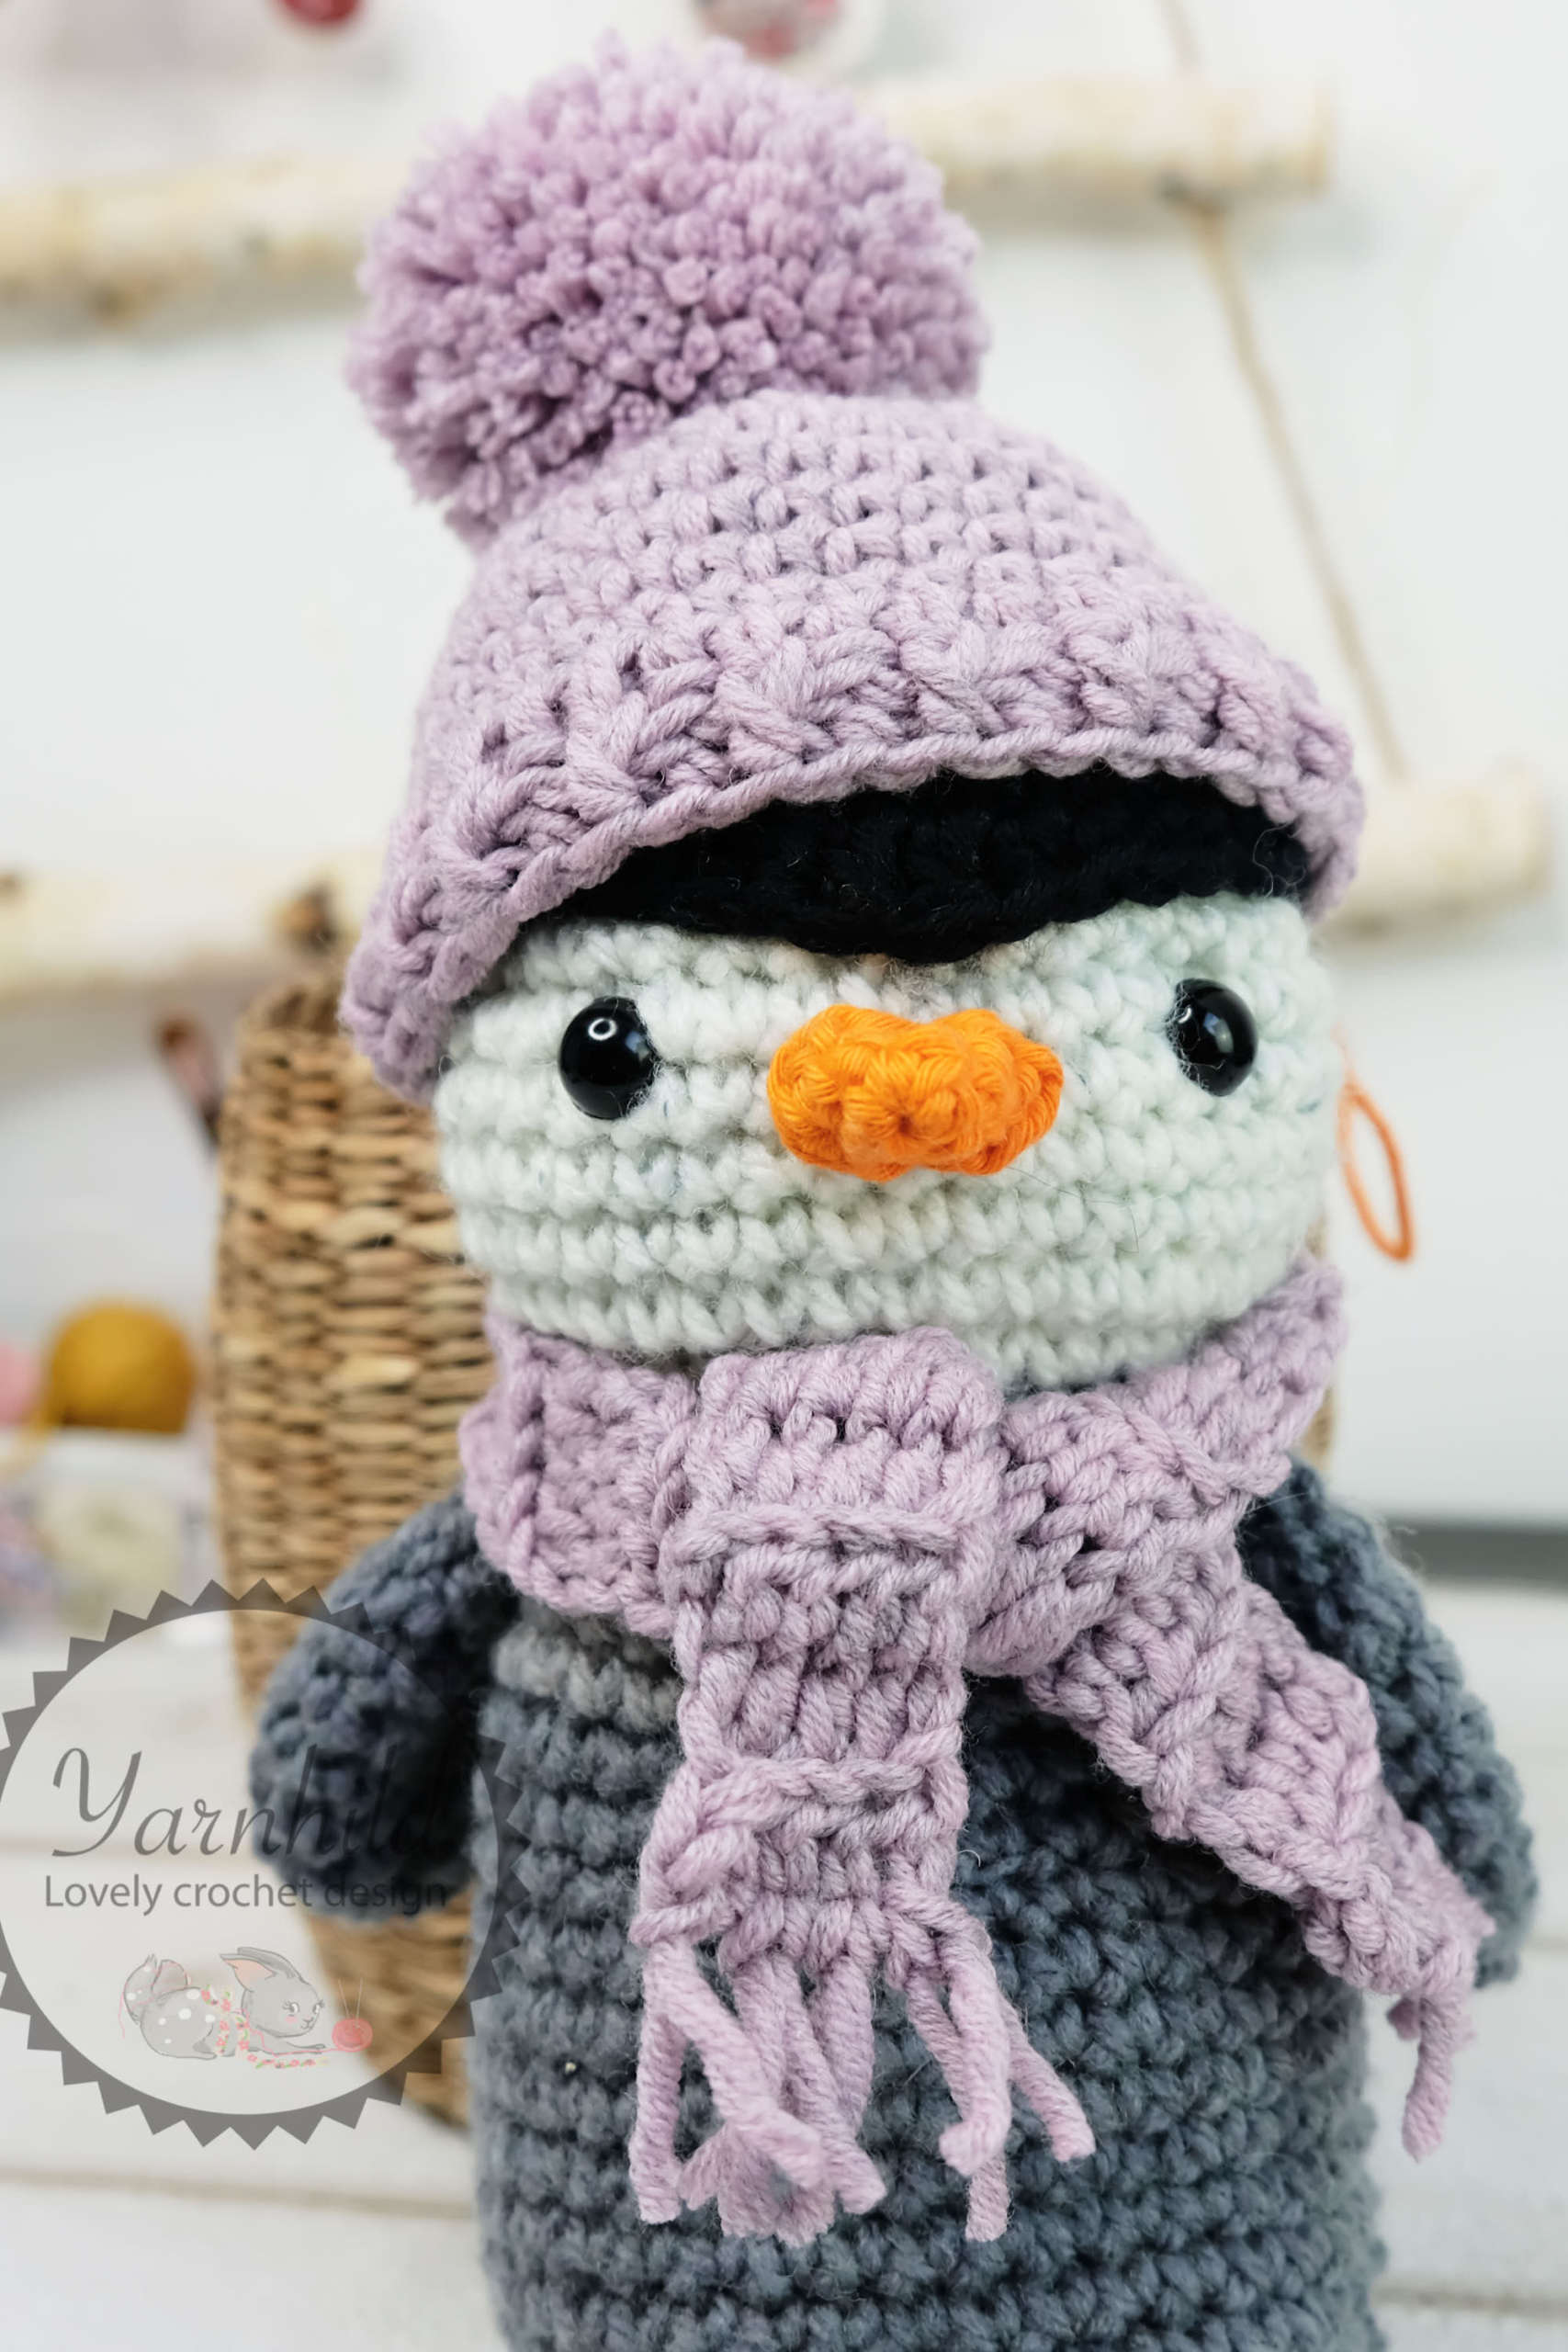
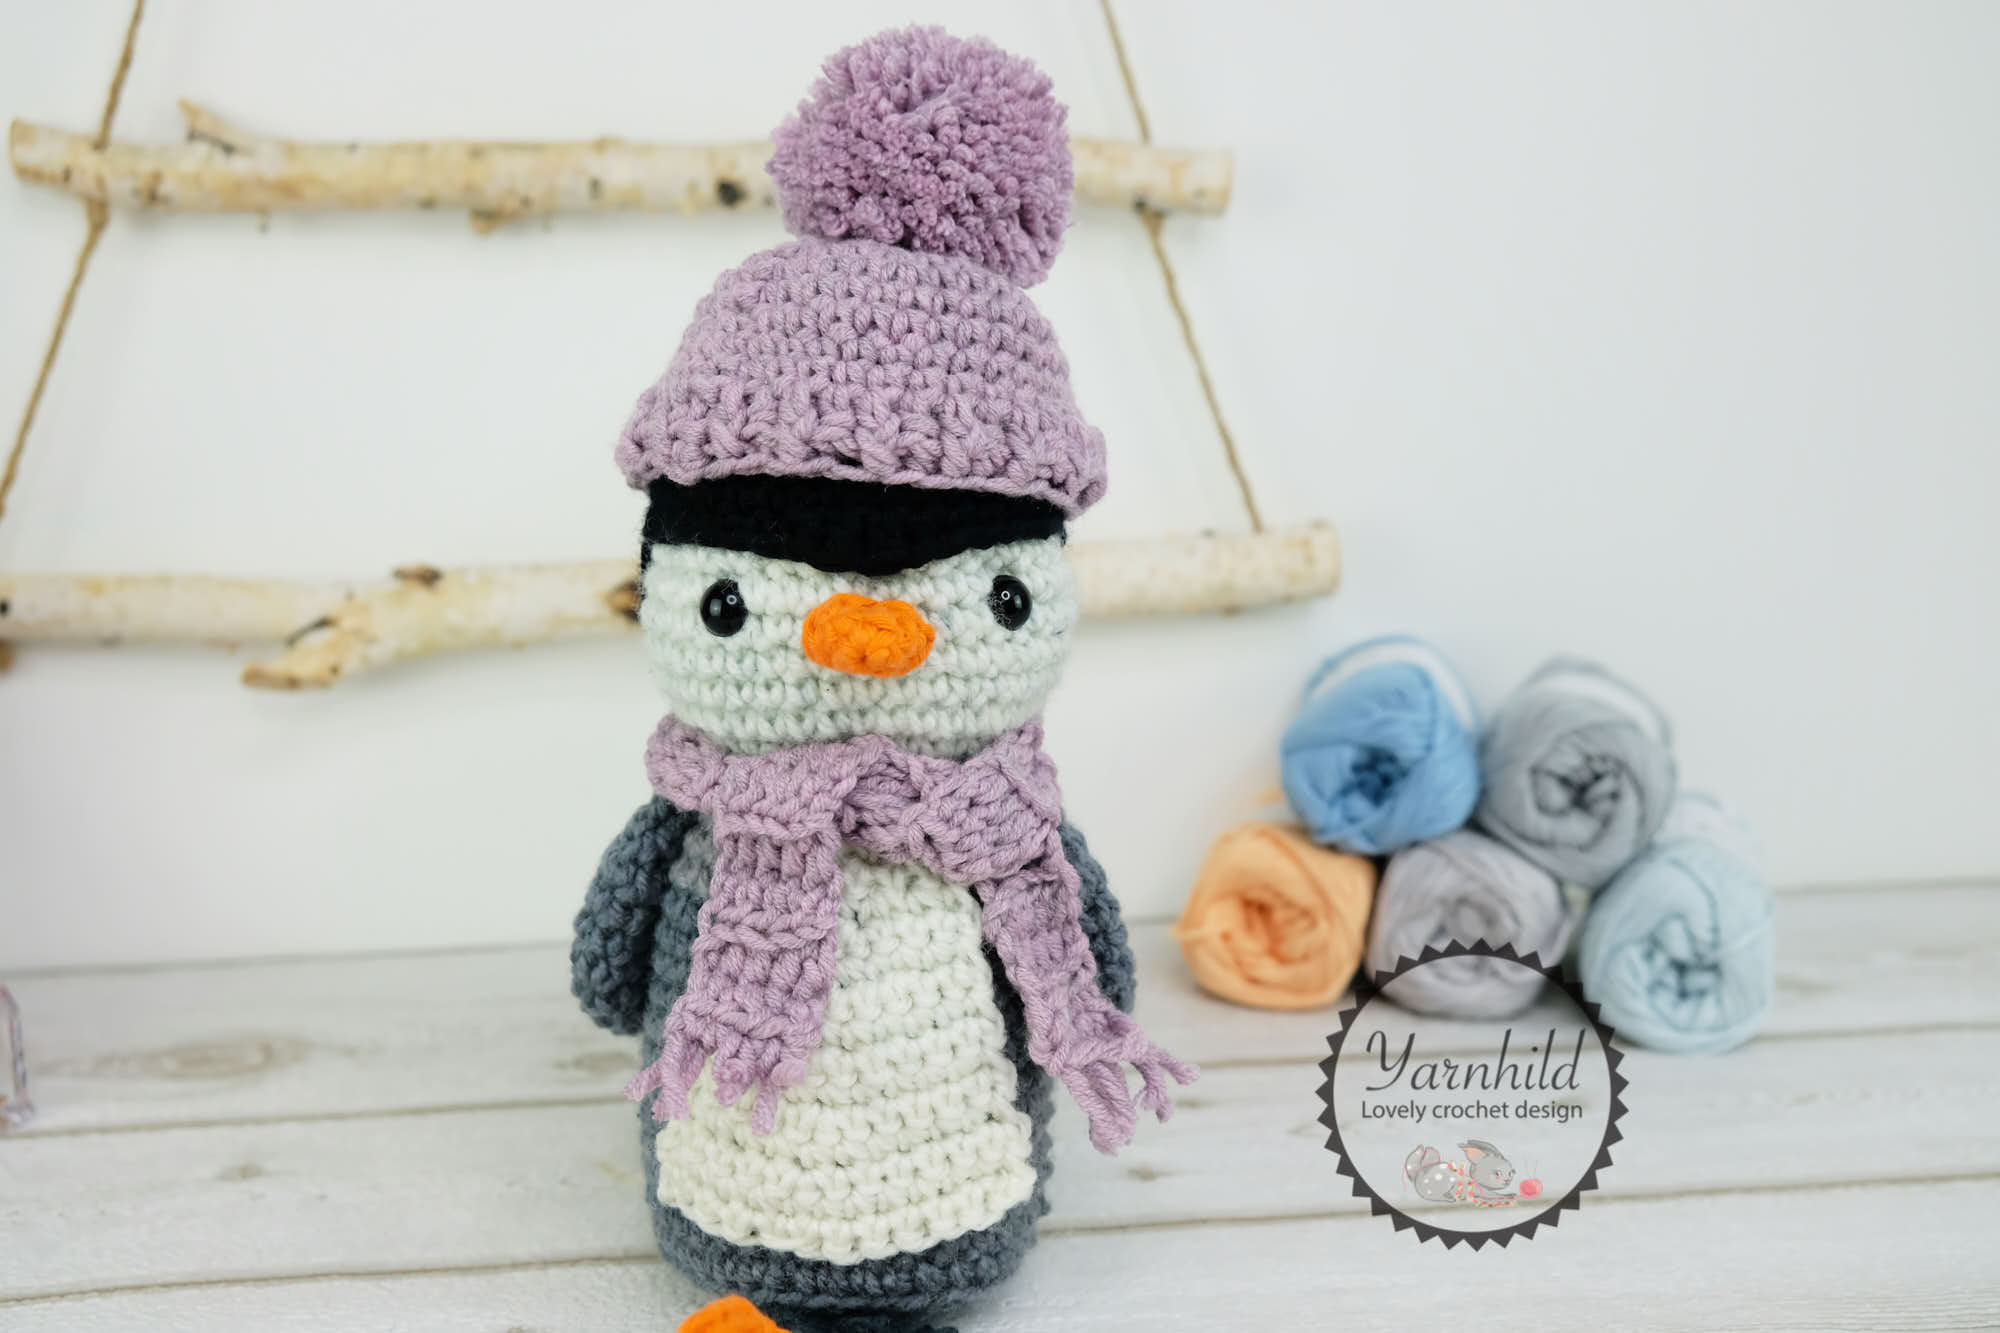
As I said, I used leftovers for this project. I really want to reduce my yarn stash in 2020! This is worsted weight yarn, and I had balls of white, dark gray and light gray. I added some black from another similar yarn for the head.
other amigurumi patterns
If you love amigurumi patterns, you have come to the right place! Lisa the mouse is also a quick and fun project. She even has a boyfriend and a baby mouse!
let's connect
If you aren't on my newsletter list, you are very welcome to subscribe. You'll get an email every time there is a new, free pattern on the blog.
Also, I'd like to invite you to join our Facebook group to share a picture of your finished penguin.
Do you have other pattern ideas?
I try to do at least 3 patterns a month, and sometimes I run out of ideas. If you have some, you can comment below and I will see if I can create a pattern from your idea! My most popular patterns on the blog are amigurumi, but I am also interested in making shawls and maybe other accessories. Hit me with your ideas below!
You can
- Save it on Pinterest for later
- add it to your queue on Ravelry
About the crochet penguin pattern
The crochet penguin is made from bottom up. We are crocheting in joining rounds this time. That means after each round, you slip stitch in the first single crochet, chain 1, and continue to work your stitches.
For the beak, I used a different yarn. Simply because I didn't have any orange color in the same yarn. I find it totally okay to mix and match different yarns, as long as they have the same weight.
If you follow this crochet penguin pattern, I'd love to see your finished work! Please share a picture with me on Instagram or Facebook. The one thing I love most about designing patterns is that other people remake them!
Crochet hooks and materials
I am currently switching between the hooks from Clover amour and the ones from Tulip. I have both sets, and I can't decide which one I love the most! It depends on the day, or what I find! My hooks tend to disappear. Anyone else struggling with the same thing?
Bright and fun colors. Easy grip handles. Optimal hook shape.
Get the pdf here
If you want to have a printable version, you can purchase it here!
All sales help me continue making patterns, so thank you for your support!
Useful video - how to make a magic ring
Crochet penguin pattern
Crochet pattern written by Ragnhild Hynne Uebler – Yarnhild ©
This pattern is the intellectual property of Yarnhild. The pattern must not be altered, translated, copied or republished without approval.
You are welcome to sell the items that you have made from my patterns, but please be sure to give me credit for the pattern that you sell online. For private use only, no mass production. 2020– Yarnhild ©
Abbreviations – US terms
ch – chain
yo – yarn over
st(s) – stitch(es)
sl st – slip stitch
sc – single crochet
sc2tog – single crochet decrease
sc inc – single crochet increase, 2 single crochet in one stitch
BLO – back loop only
dc -double crochet
hdc – half double crochet
Fphdc- front post half double crochet
Bphdc -back post half double crochet
Mr – magic ring
R – round
Materials
Filling materials
Stitch marker
Crochet hook 4.0 mm, 4.5 mm and 3.0 mm
Safety eyes 12 or 14 mm
Scissors
Stitch marker
Yarn, worsted weight. Can use different thinner or thicker yarn, but keep in mind that this will impact the size.
Colors black, grey, white and a color of choice for hat and scarf. Small amounts of orange for the beak and the basket.
Information about the pattern
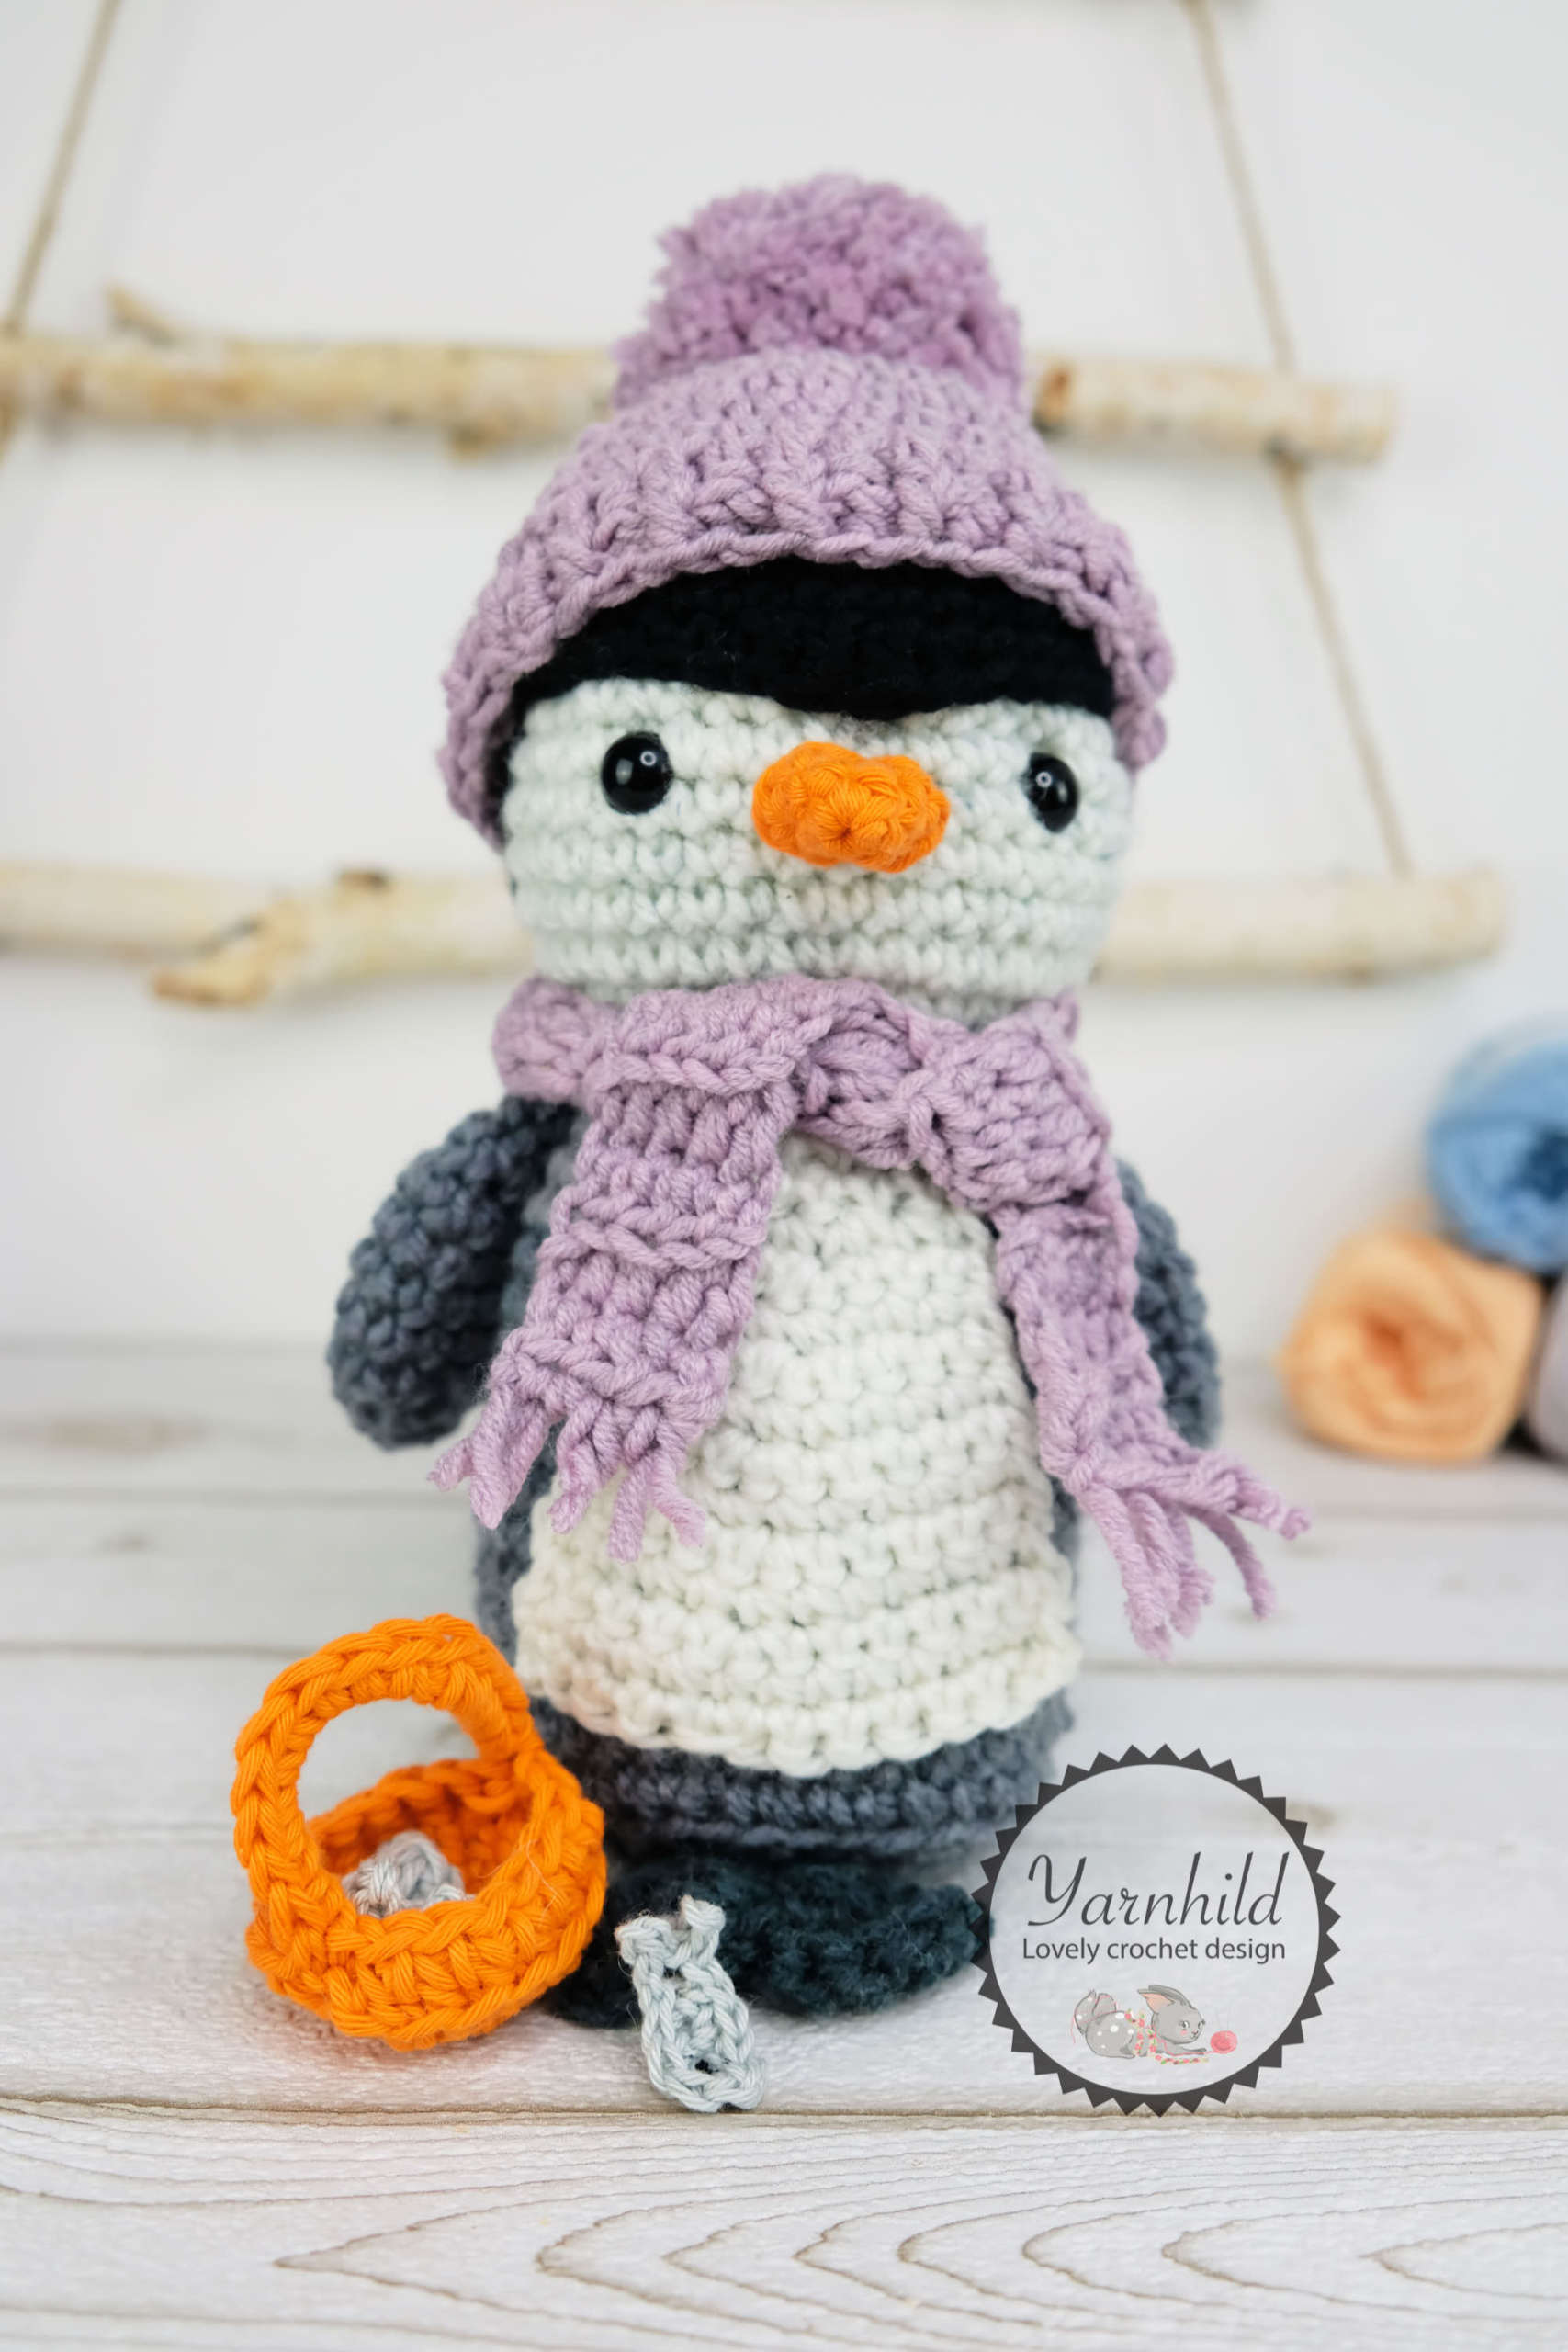
The penguin is crocheted in joined rounds. The body and head are worked from bottom-up and in one piece. All parts, except the wings, are crocheted with a 4 mm crochet hook. The wings are crocheted with a 4.5 mm hook. If you want to, you can add a hat and a scarf to your penguin. I recommend to use a stitch marker and move it up after finishing each round.
Finished size: About 26 cm, without the hat. (Gauge: 7 sc sts and 7 rows = 5 x 5 cm)
Skill level: Some experience required.
Extra help. Back Post half double crochet
Insert the hook from the back to the front of the post and work around the post of the stitch. Complete as normal.
Front Post half double crochet
Front post: Insert the hook from the front to the back and work around the post of the stitch. Complete as normal
Body and head
Colors dark grey and white.
The body and head are worked in rounds with a 4 mm crochet hook.
In dark grey:
R 1: 6 sc in a mr, join, ch 1 = 6 sc
R 2: sc inc x. 6, join, ch 1 = 12 sc
R 3: (1 sc, sc inc) x 6, join, ch 1 = 18 sc
R 4: (2 sc, sc inc) x 6, join, ch 1 = 24 sc
R 5: (3 sc, sc inc) x 6, join, ch 1 = 30 sc
R 6: (4 sc, sc inc) x 6, join, ch 1 = 36 sc
R 7: In BLO: 1 sc in each st, join, ch 1 = 36 sc
R 8-16: 1 sc in each st (9 rounds), join, ch 1 = 36 sc
R 17: (4 sc, sc2tog) x 6, join, ch 1 = 30 sc
R 18-20: 1 sc in each st (3 rounds), join, ch 1 = 30 sc
R 21: (3 sc, sc2tog) x 6, join, ch 1 = 24 sc
R 22: 1 sc in each st, join, ch 1 = 24 sc
R 23: (2 sc, sc2tog) x 6, join, ch 1 = 18 sc
Change color to white
R 24: sc inc in every st, join, ch 1 = 36 sc
R 25- 30: 1 sc in every st (6 rounds), join, ch 1 = 36 sc
R 31: (4 sc, sc2tog) x 6, join, ch 1 = 30 sc
R 32: 1 sc in every st, join, ch 1 = 30 sc
Place eyes between rows 28-29, 7 sc stitches apart.
Start stuffing your penguin.
R 33: (3 sc, sc2tog) x 6, join, ch 1 = 24 sc
R 34: (2 sc, sc2tog) x 6, join, ch 1 = 18 sc
R 35: (1 sc, sc2tog) x 6, join, ch 1 = 12 sc
R 36: sc2tog x 6 = 6 sc
Join with a sl st to the first st. Fasten off leaving a long tail for sewing. Finish stuffing and sew the hole closed.
Wings
Make 2
The wings are worked in rounds with a 4.5 mm hook
In dark grey:
R 1: 4 sc in a mr, join, ch 1 = 4 sc
R 2: sc inc x. 4, join, ch 1 = 8 sc
R 3: (1 sc, sc inc) x 4, join, ch 1 = 12 sc
R 4: (2 sc, sc inc) x 4, join, ch 1 = 16 sc
R 5-8: 1 sc in every st, join (4 rounds), ch 1 = 16 sc
R 9: (2 sc, sc2tog) x 4, join, ch 1 = 12 sc
R 10: (1 sc, sc2tog) x 4, join, ch 1 = 8 sc
R 11: As row 5 = 8 sc
Join with a sl st, to the first st, fasten off. Leave a long tail for sewing. Leave the hole open.
Head part
In black
R 1: 6 sc in a mr, join, ch 1 = 6 sc
R 2: sc inc x. 6, join, ch 1 = 12 sc
R 3: (1 sc, sc inc) x 6, join, ch 1 = 18 sc
R 4: (2 sc, sc inc) x 6, join, ch 1 = 24 sc
R 5: (3 sc, sc inc) x 6, join, ch 1 = 30 sc
R 6 - 9: 1 sc in every st for 4 rounds, join, ch 1 = 30 sc
R 10: 13 sc. 1 hdc in next st, 1 dc in next 2 sts, 1 hdc in next st, 13 sc = 26 sc, 2 hdc, 2 dc
Join with a sl st to the first st. Fasten off. Leave a long tail for fastening.
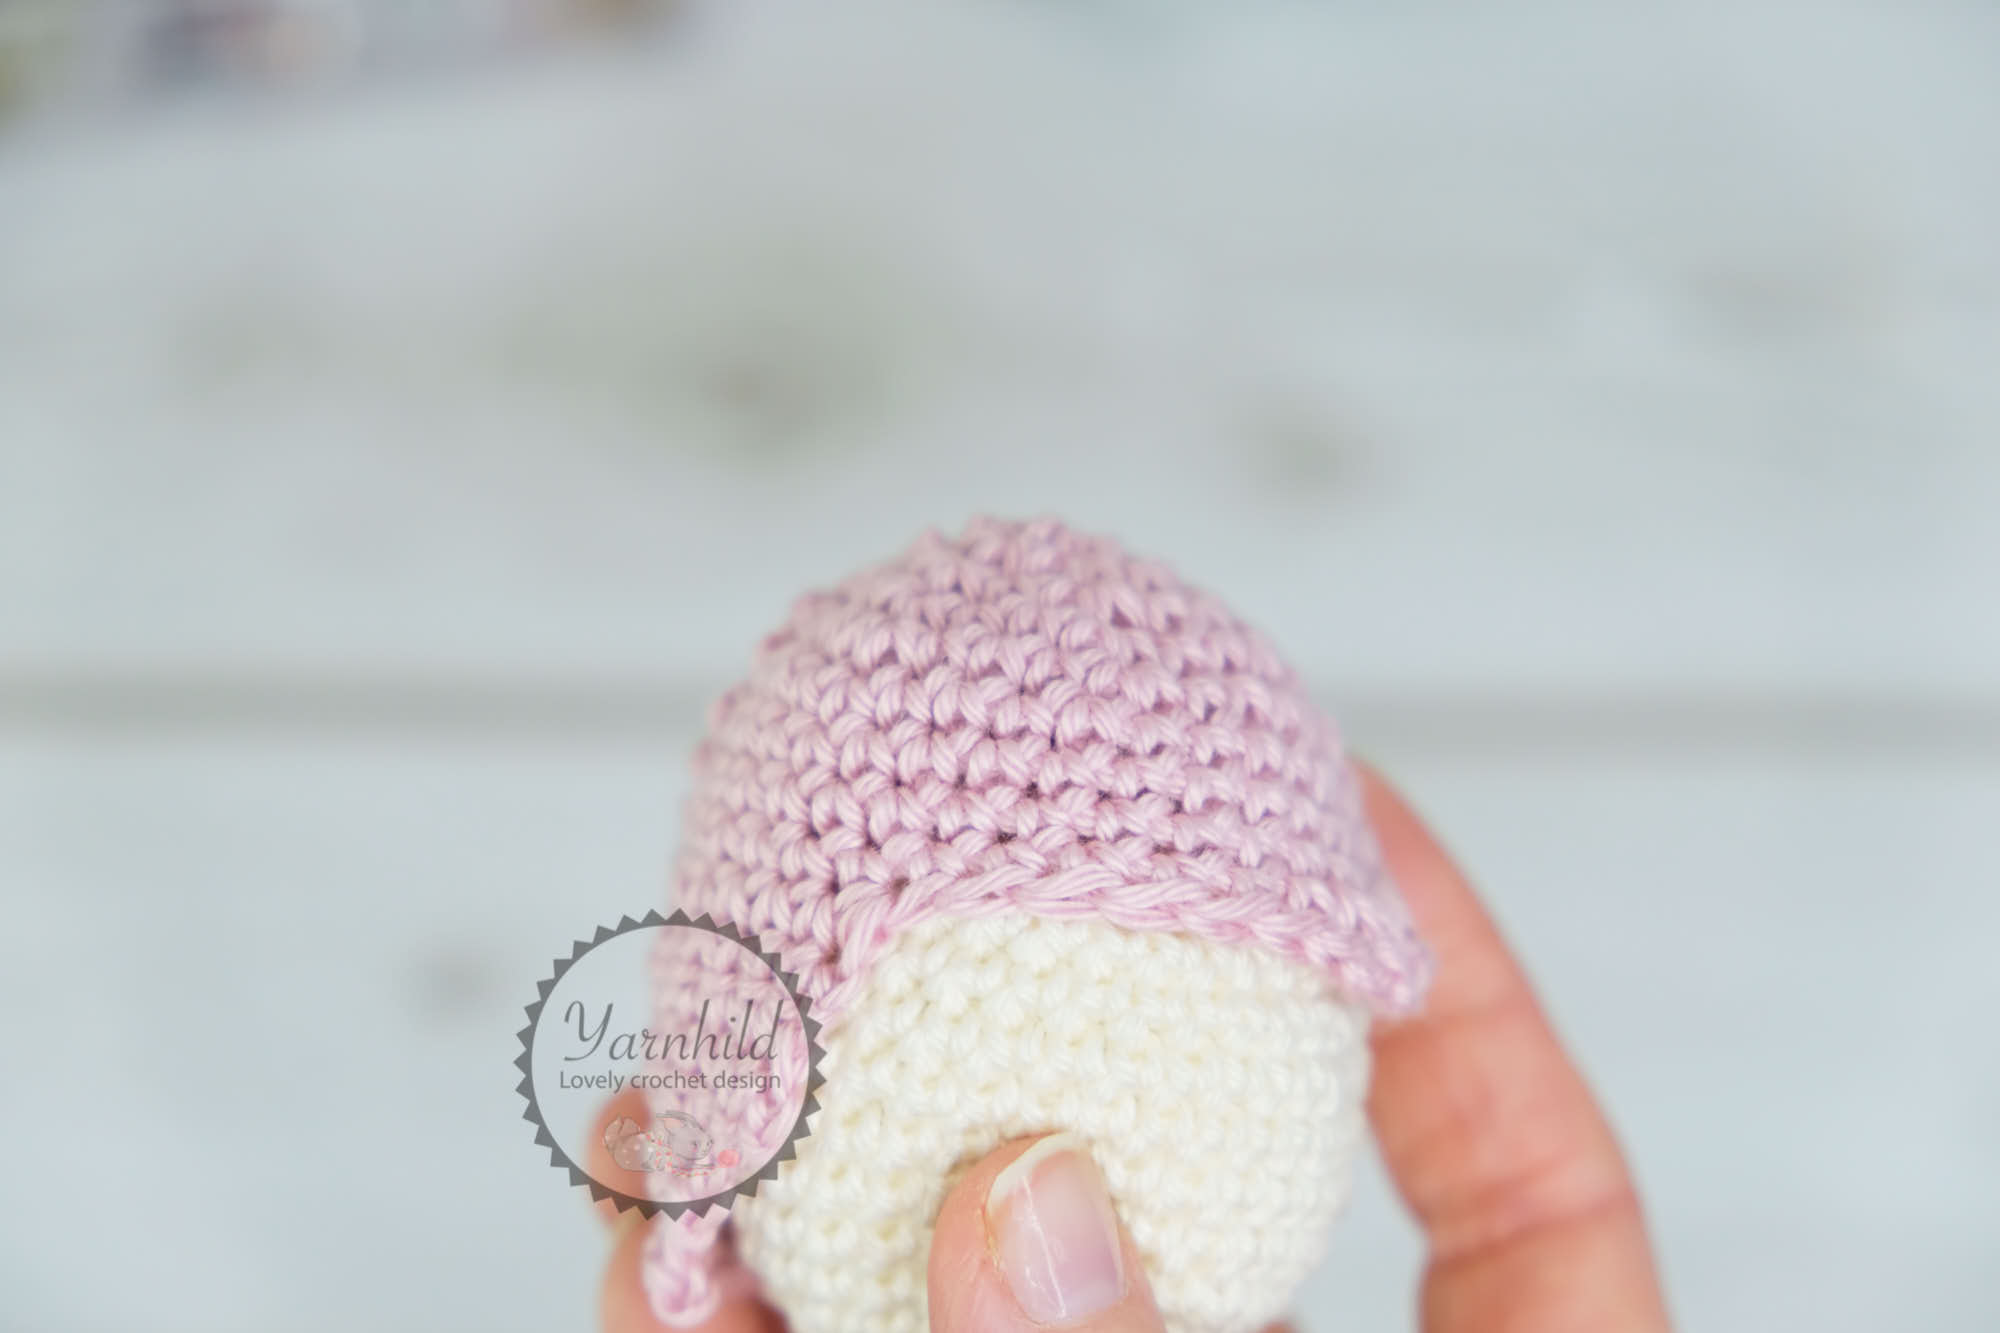
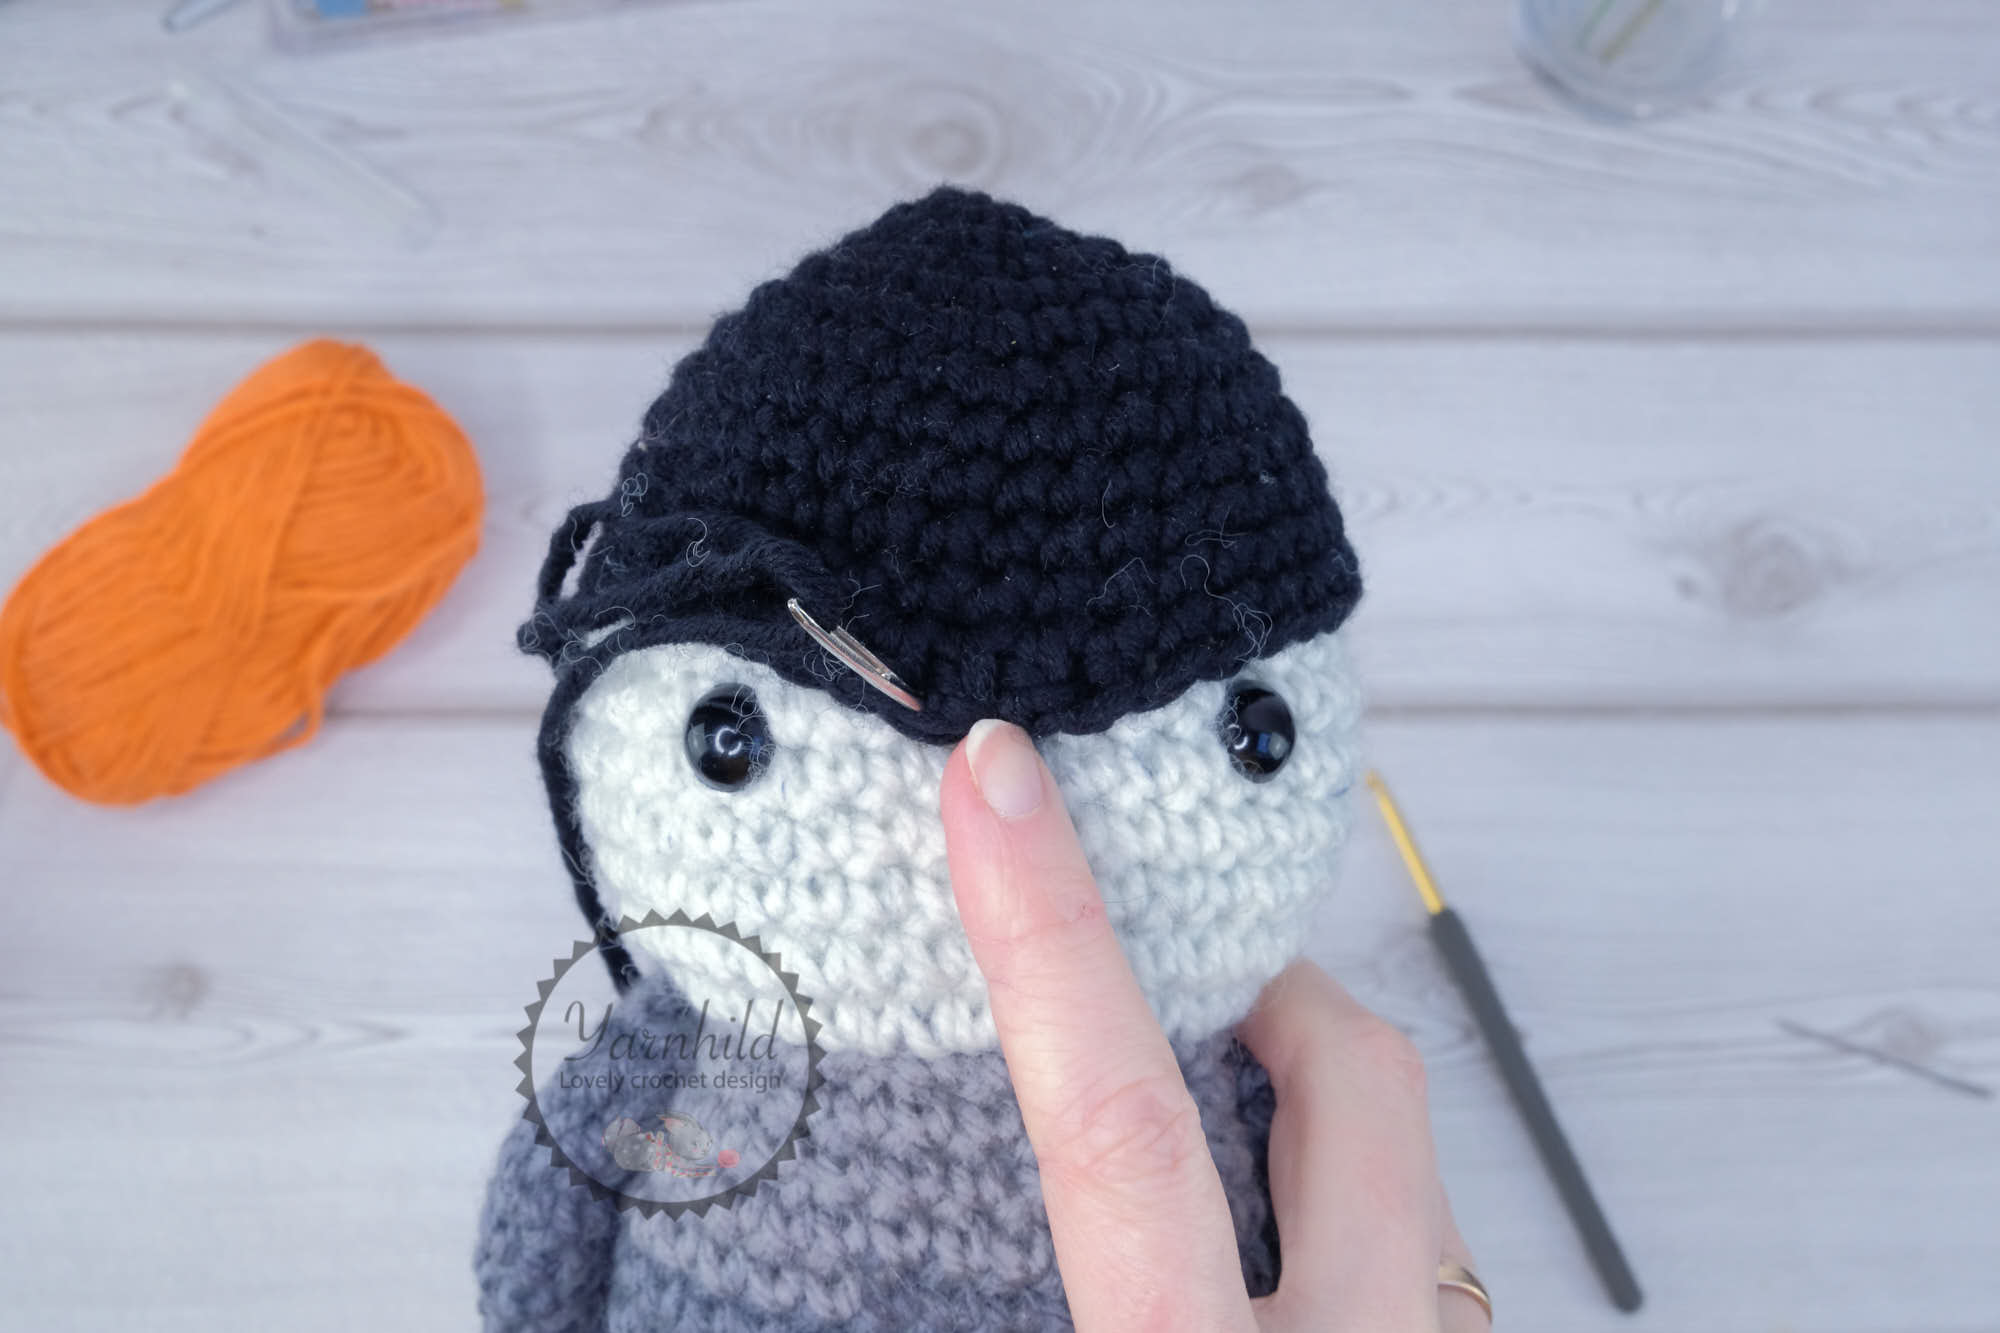
A little comment to row 11. The hdc’s and the dc’s will mark the middle front and will be placed on the head as shown in the picture below.
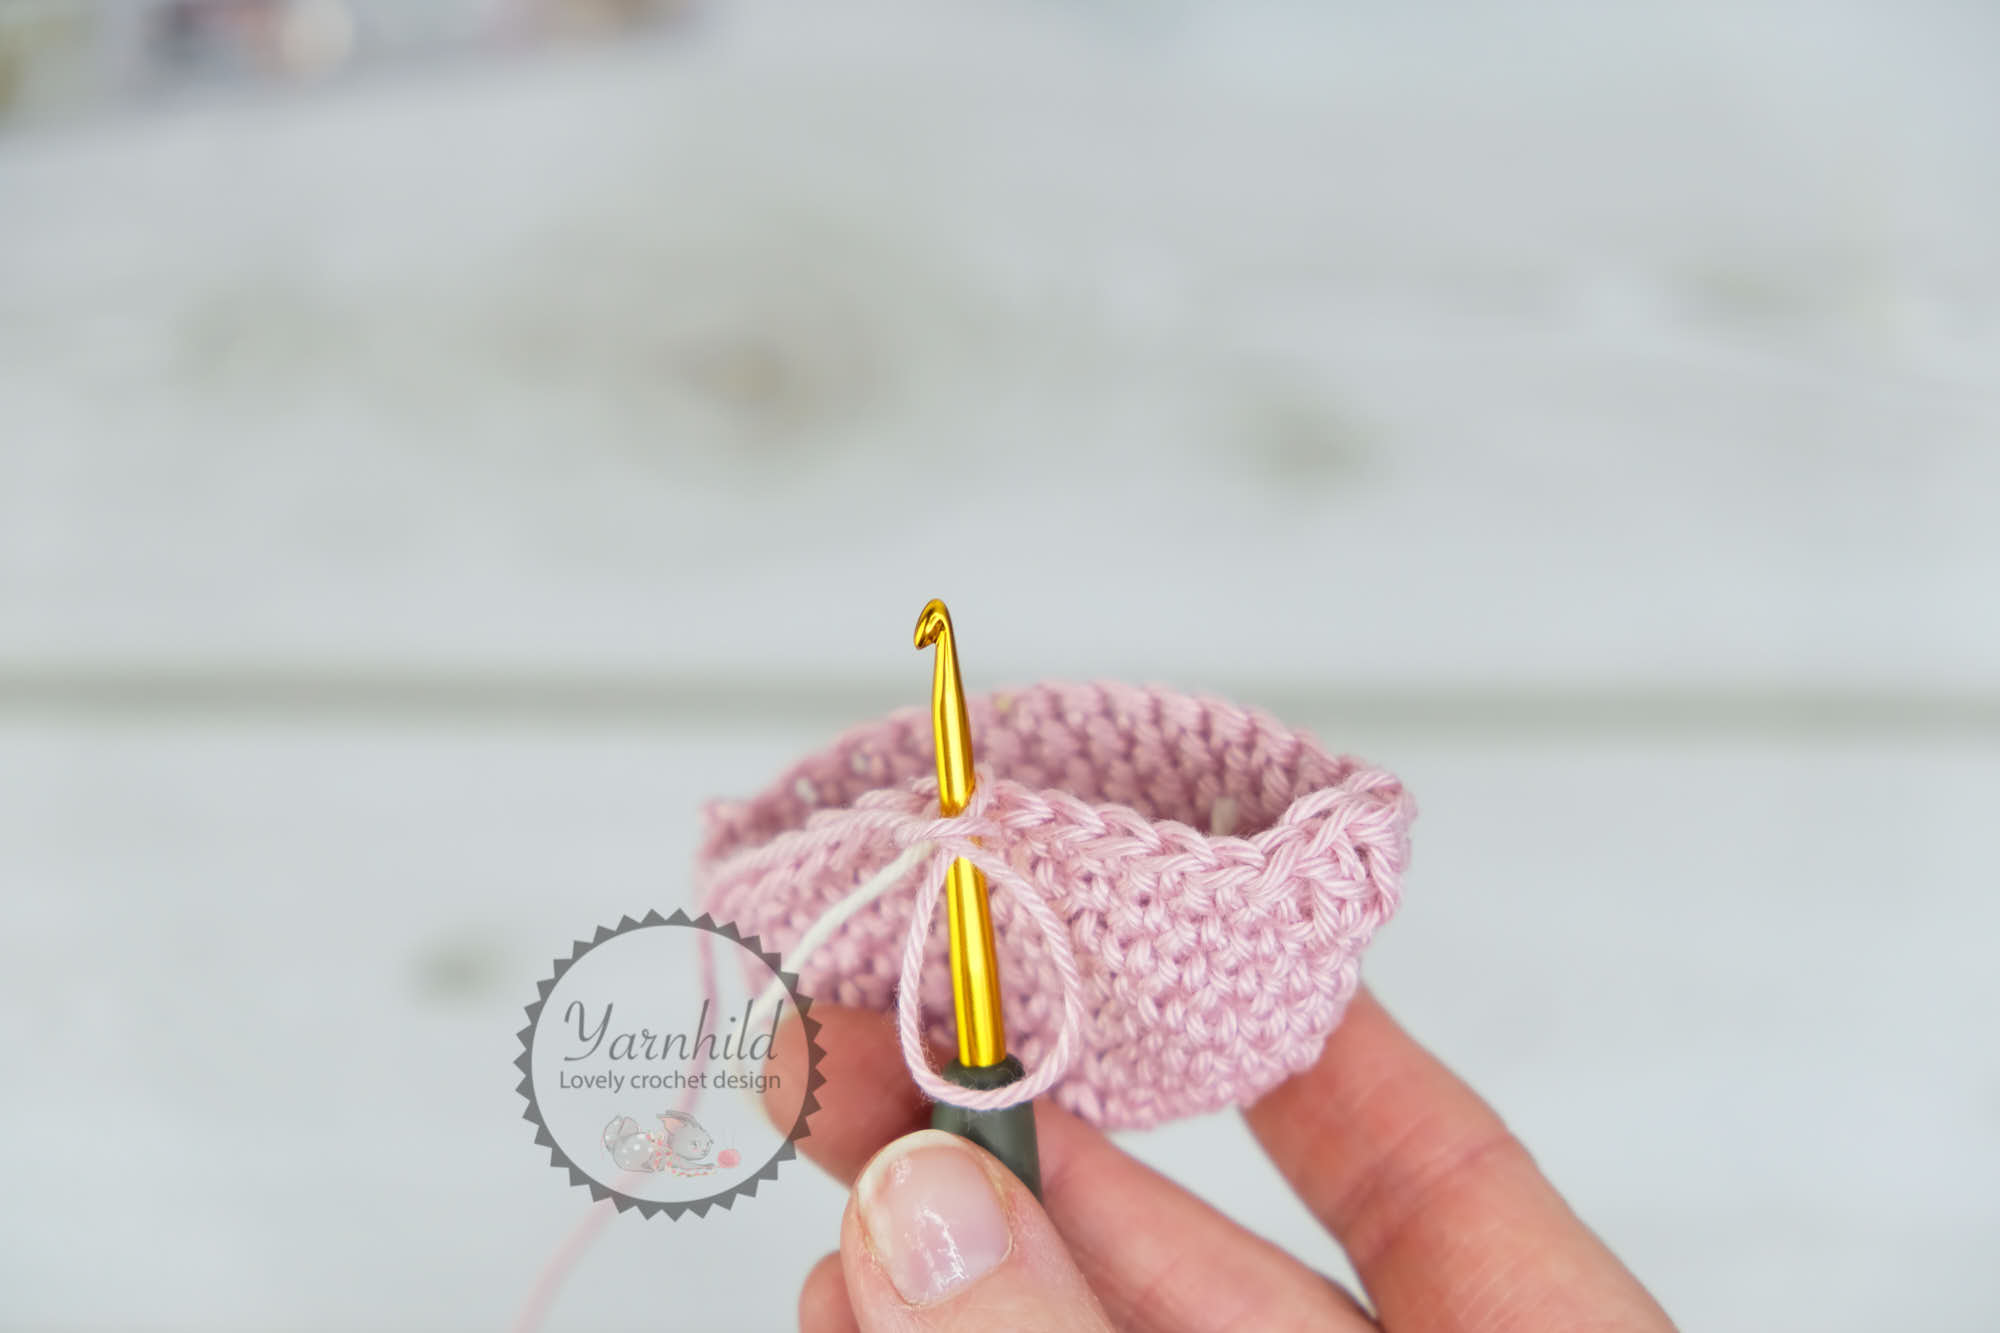
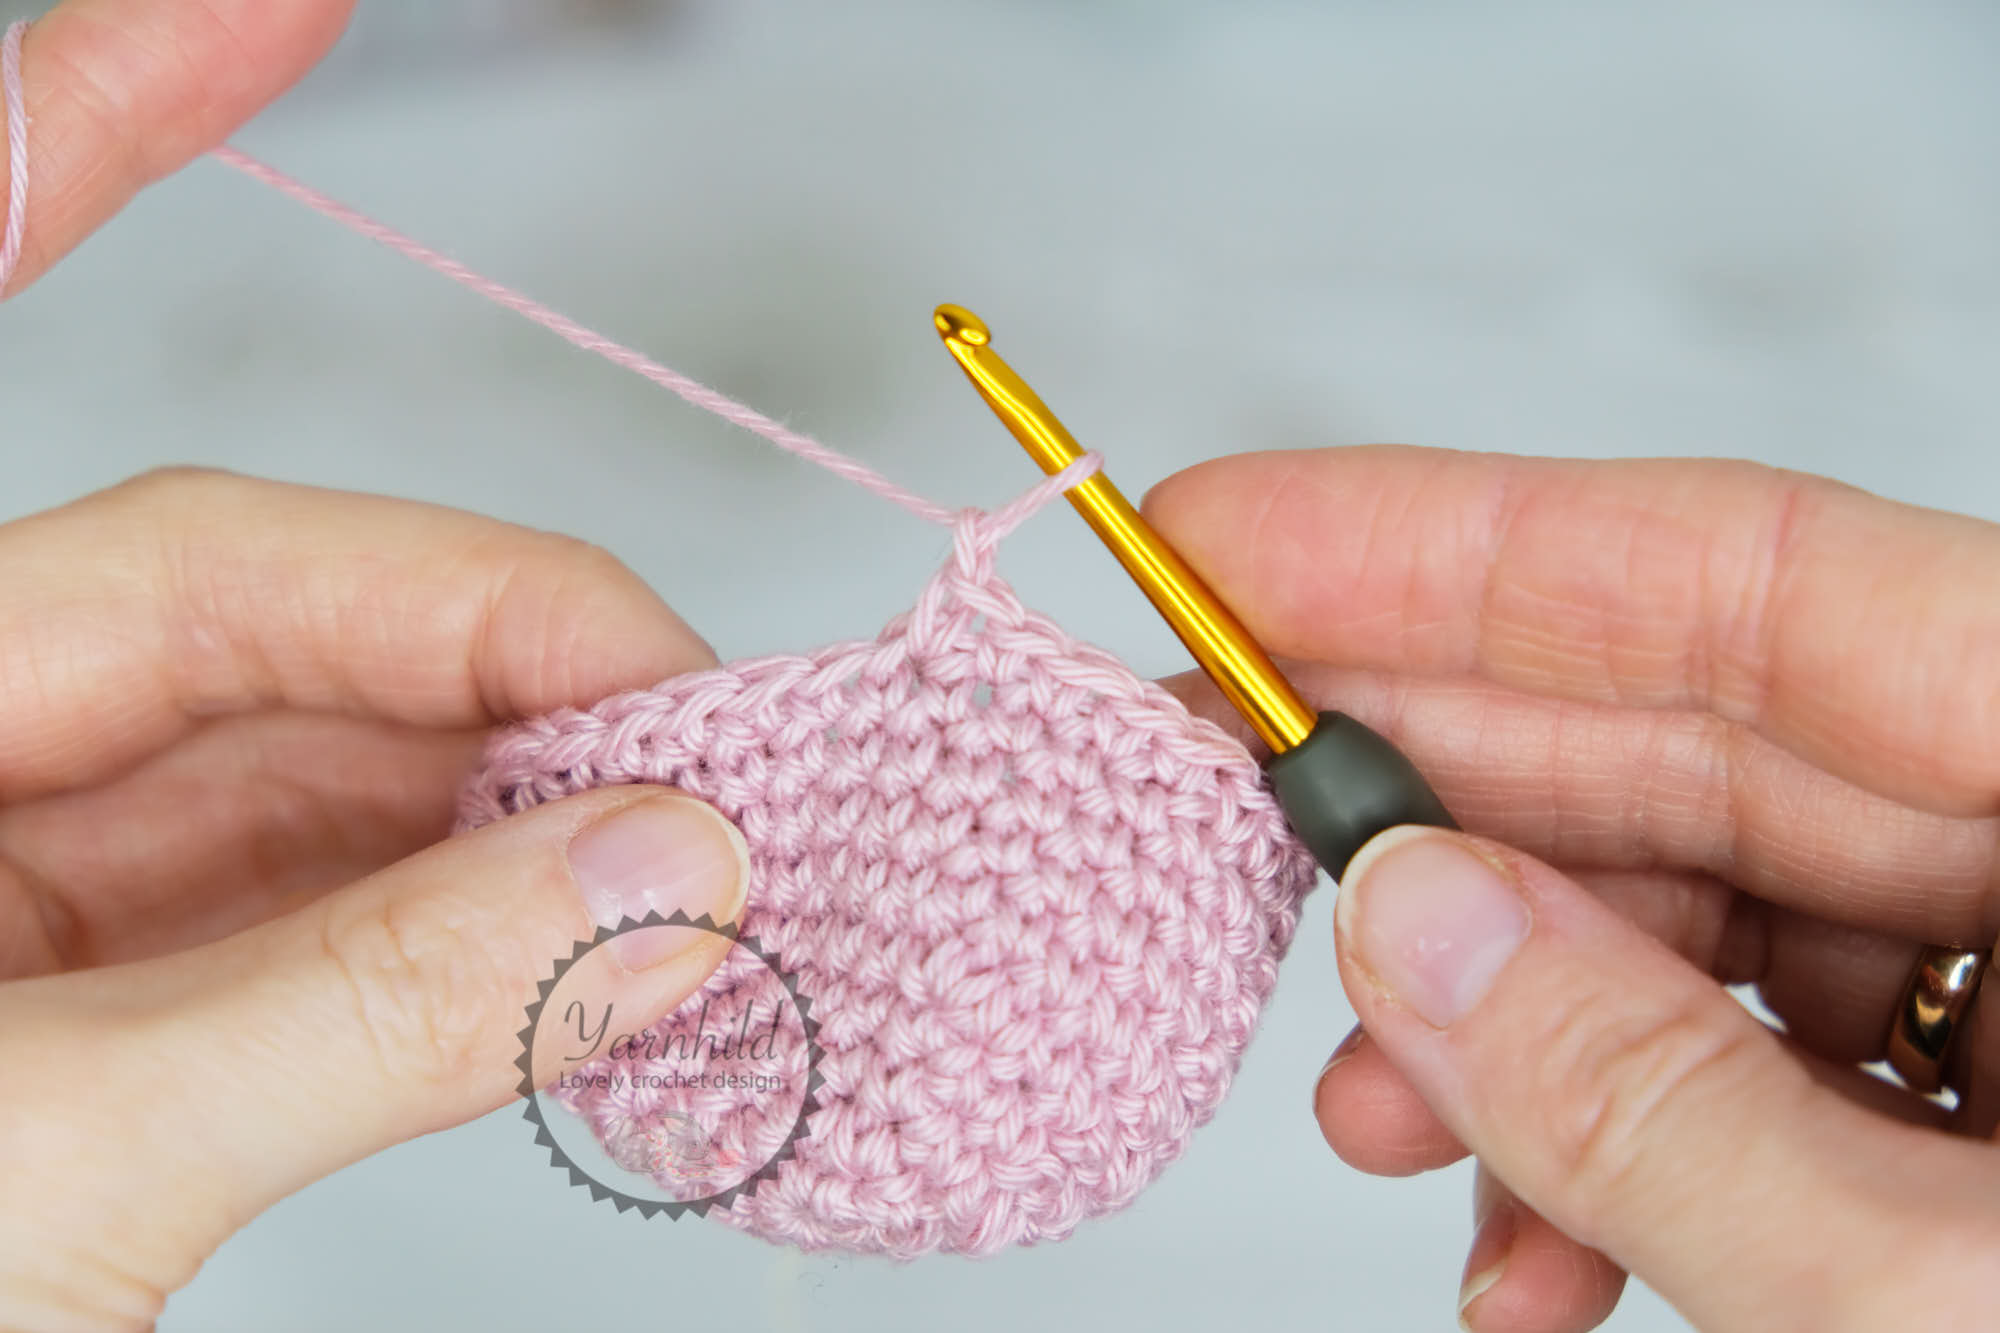
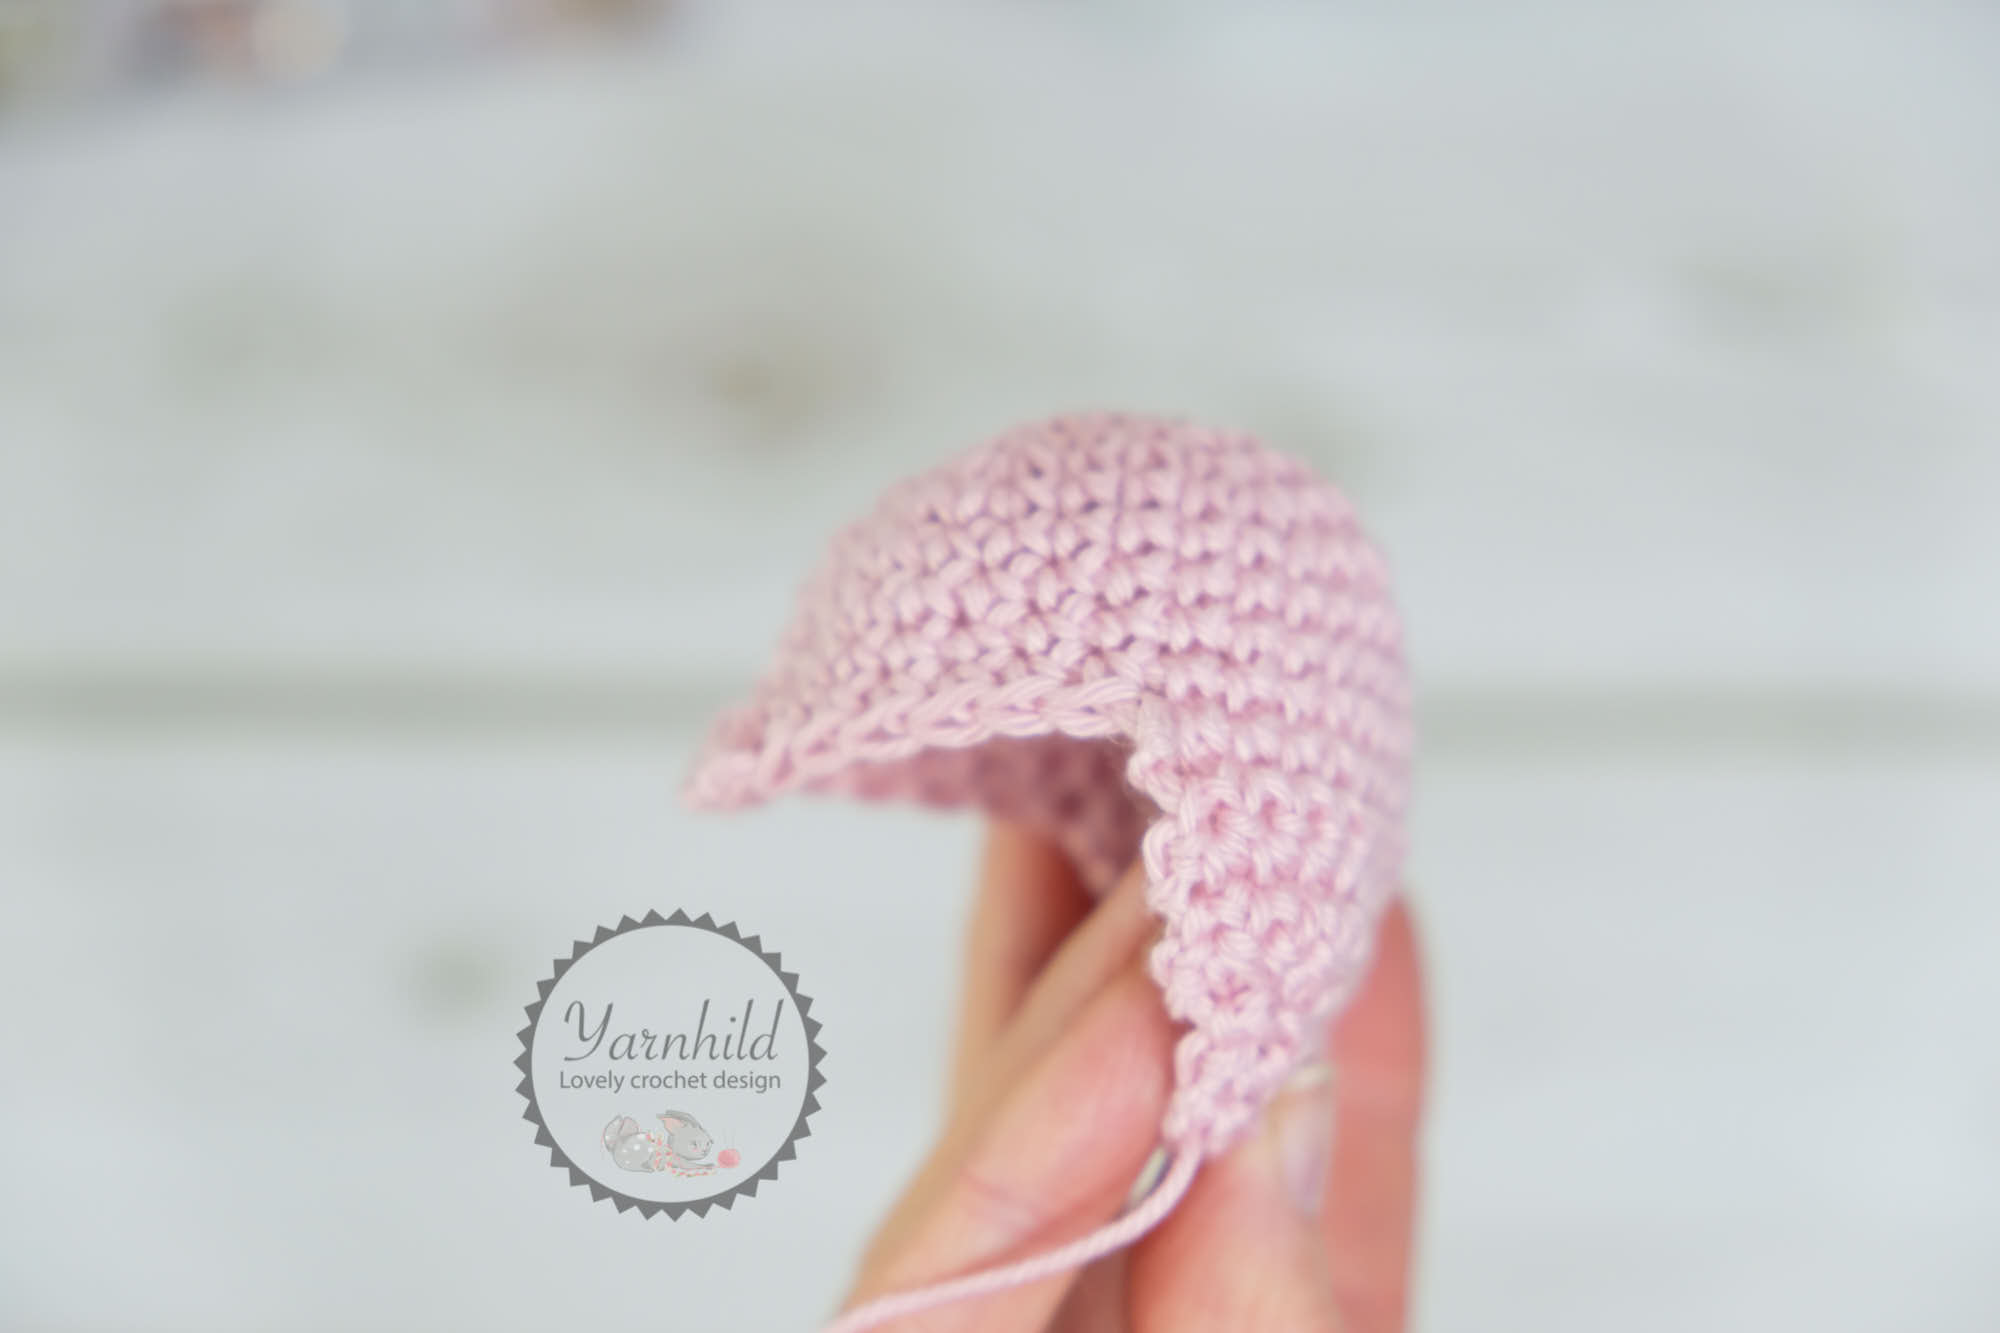
We will be crocheting in rows now. We will be crocheting the back part of the head with black yarn. See pictures for more details.
Reattach the black yarn. Count from where the hdc is. Reattach yarn in the 6thsingle crochet from the hdc on the left side
Row 1: Ch 1, 1 sc in the same st and in the next 15 sts, ch 1, turn = 16 sc
Row 2-5: 16 sc, ch 1, turn. (4 rows)
Row 6: sc2tog x 2, 8 sc, sc2tog x 2, ch 1 turn = 12 sc
Row 7 – 8: 12 sc, ch 1, turn. (2 rows).
Row 9: sc2tog, 8 sc, sc2tog, sc2tog = 10 sc
Fasten off. Leave a long tail for fastening.
Please don’t get confused by the pictures. I used different colors because it is hard to see black. I also only made a ball in the same size as the head instead of the whole body, just to make it clear how the head part is being made.
Count from the last half double crochet stitch, 5 stitches and reinsert the yarn in the 6thsingle crochet like shown on the picture.
After 16 single crochet, chain 1 and turn.
Keep crocheting in rows like instructed above.
Beak
In orange. The beak is worked in continuous rounds with a 4 mm crochet hook.
R 1: 4 sc in a magic ring
R 2: (1 sc, sc inc) x 2 = 6 sc
R 3 (2 sc, sc inc) x 3 = 9 sc
Join with a sl st to the first st. Fasten off, leave a long tail for fastening.
Feet
The feet are worked with grey or black yarn and with a 4 crochet hook.
Make a magic ring
Row 1: Ch 3 (counts as 1 dc, for all rows), 2 dc, sl st in the ring, 3 dc. Pull the ring closed. = 6 dc
Row 2: Ch 3, turn, 1 dc in first st, dc inc x 2. Sl st in next st, dc inc x 3. Sl st in the top of chain 3 from the previous row. = 12 dc
Fasten off, leave a long tail for fastening.
Hat
The hat is worked in a hat color with a 4 mm crochet hook
4 mm crochet hook
R 1: 6 sc in a magic ring join, ch 1 = 6 sc
R 2: sc inc x. 6, join, ch 1 = 12 sc
R 3: (1 sc, sc inc) x 6, join, ch 1 = 18 sc
R 4: (2 sc, sc inc) x 6, join, ch 1 = 24 sc
R 5: (3 sc, sc inc) x 6, join, ch 1 = 30 sc
R 6- 10: 36 sc for 5 rounds, join, ch 1 = 30 sc
Chain 2 instead of 1 after round 10
R 11: Ch 2. 1 hdc in the next 30 st. Ch 2.
R 12: 1 FPhdc in the next, 1 BPhdc in the next. Repeat all around. Join with a sl st to first st and fasten off.
Weave in ends. Make a pom pom for the hat.
Scarf
In scarf color
Ch 2 does not count as a stitch.
Row 1: Ch 6, turn, 1 hdc in the third ch from the hook and in next 3 = 4 hdc
Row 2 – 30: Ch 2, turn, 1 hdc in the BLO across. = 4 hdc
Fasten off, weave in ends. Make a fringe for your scarf if you want.
Sew on the beak between the eyes.
Tummy
In white using 4 mm hook. The tummy is worked in rows.
Row 1: 7 ch, 1 sc in second ch from hook, 1 sc in each ch across, ch 1, turn = 6 sc
Row 2: 1 sc in each ch across, ch 1, turn = 6 sc
Row 3: 1 sc in each of first 3 sc, sc inc in next sc, 1 sc in each sc across, ch 1, turn = 7 sc
Row 4: Repeat Row 3 = 8 sc
Rows 5: Repeat Row 2 = 8 sc
Row 6: 1 sc in each of first 4 sc, sc inc in next sc, 1 sc in each sc across, ch 1, turn = 9 sc
Row 7: Repeat Row 2 = 9 sc
Row 8: 1 sc in each of first 5 sc, sc inc in next sc, 1 sc in each sc across, ch 1, turn = 10 sc
Row 9: Repeat Row 2 = 10 sc
Row 10: Repeat Row 8 = 11 sc
Row 11: Repeat Row 2 = 11 sc
Row 12:1 sc in each of first 6 sc, sc inc in next sc, 1 sc in each sc across, 1 ch, turn = 12 sc
Row 13: Repeat Row 2 = 12 sc.
Fasten off leaving a long end for sewing to the front of your penguin. Sew with the narrow end meeting the white of his head under his chin.
Basket
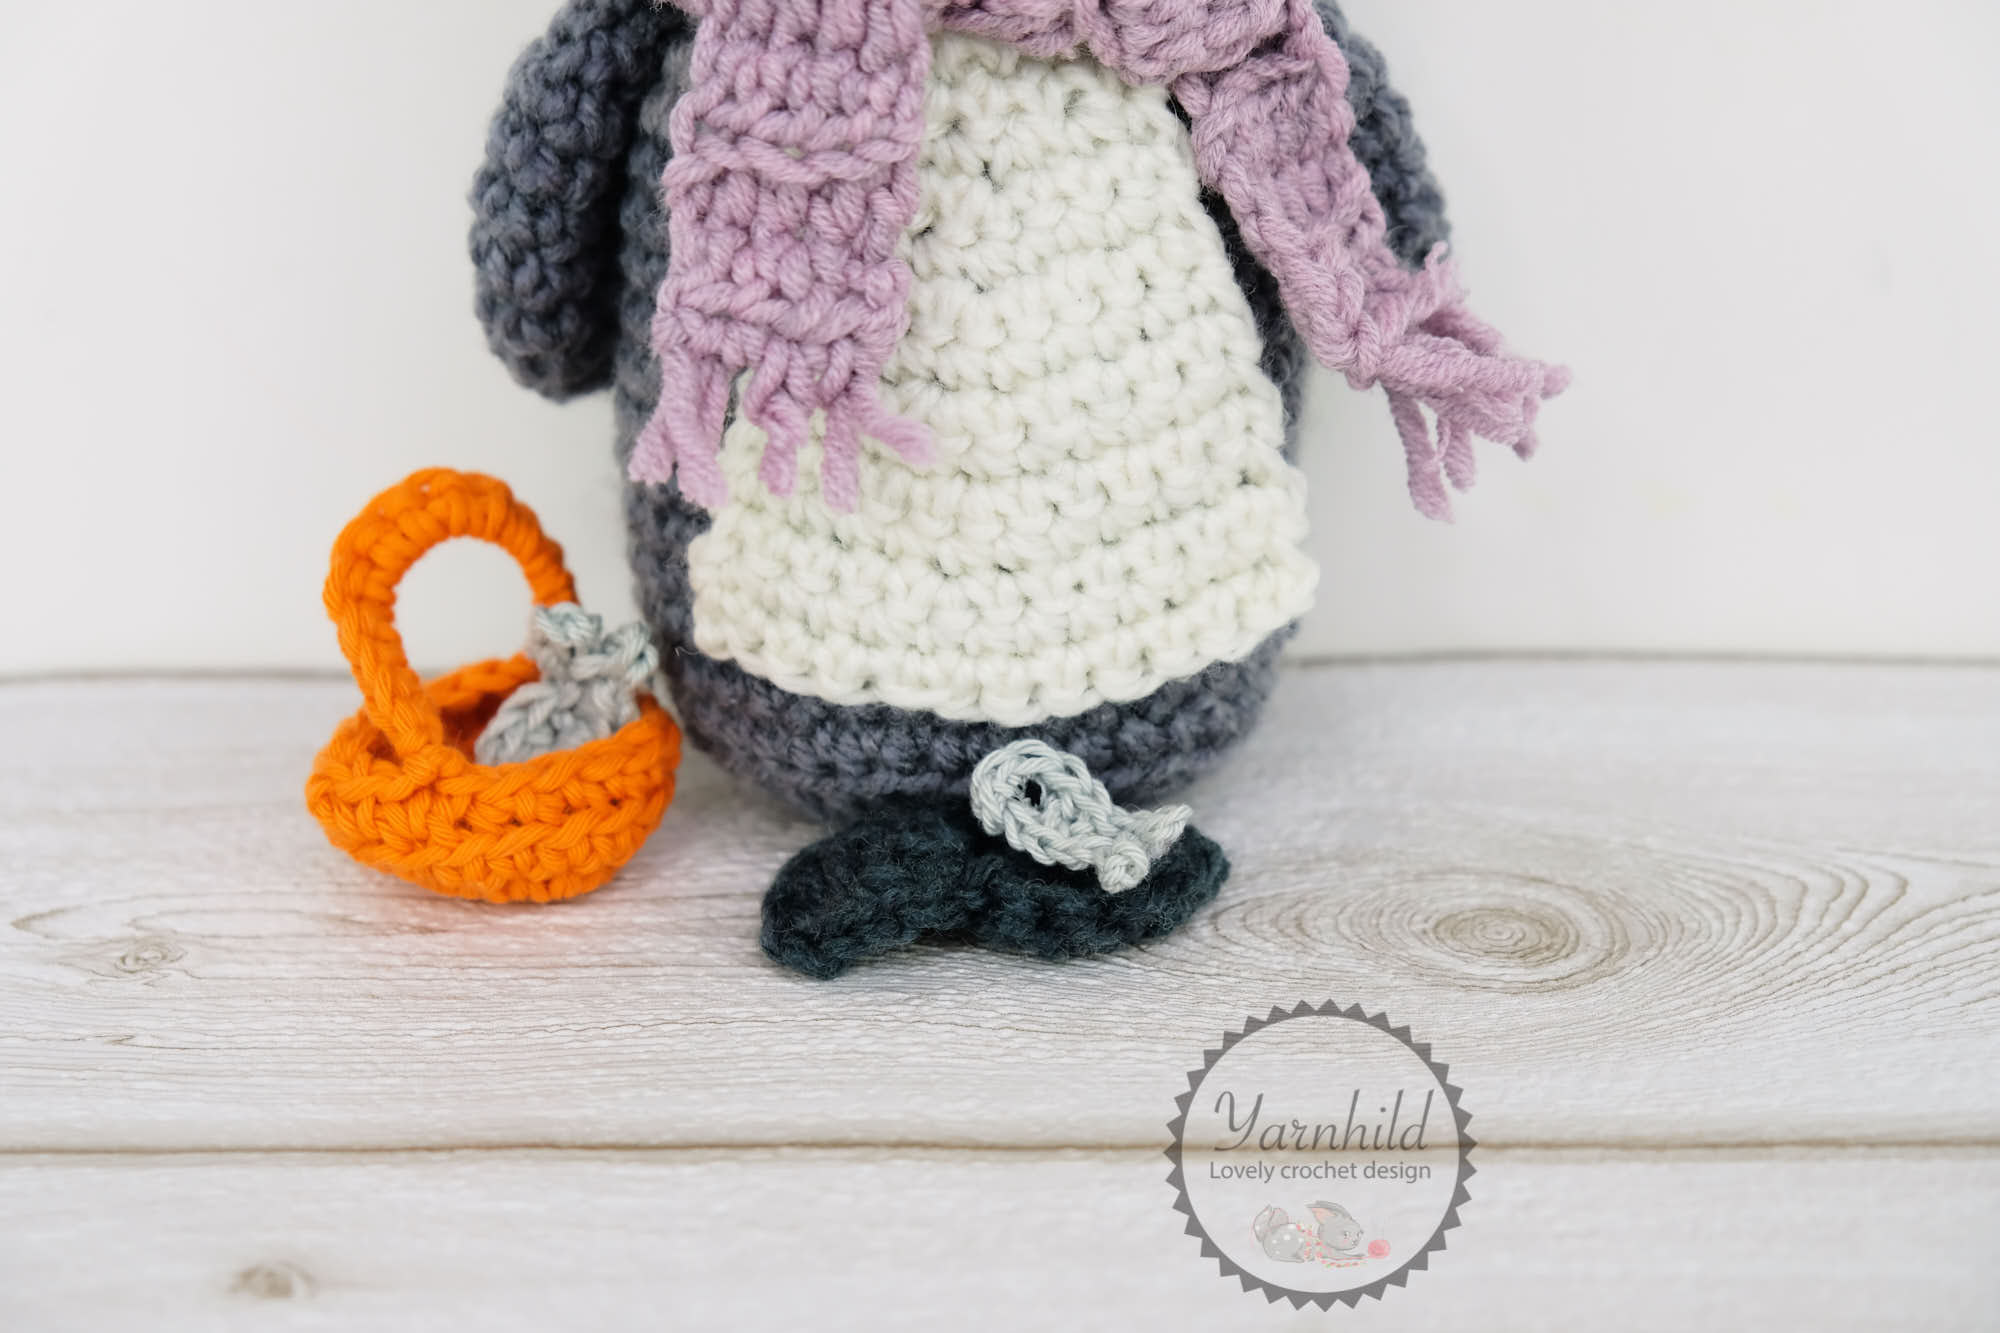
In orange using 4 mm hook. The basket is worked in rounds.
R 1: 6 sc in a mr, join, ch 1 = 6 sc
R 2: sc inc x 6, join, ch 1 = 12 sc
R 3: (1 sc, sc inc) x 6, join, ch 1 = 18 sc
R 4: In BLO: 1 sc in each st, join, ch 1 = 18 sc
R 5 In both loops: 1 sc in each st, join, ch 10 (this makes the handle), skip 9 sc, sl st in next sc. Sc around the chains on the handle until you are on the other side. Sl st in the next sc. Fasten off. Sew in ends.
Fish
In grey and using 3 mm hook and sports weight yarn. Worked on both sides of the foundation ch.
Row 1: 6 ch, sl st in second ch from hook, 1 sc in next ch, 1 hdc in next, 1 sc in next, 1 sl st in last ch. Turn your work and work the following row on the opposite side of the foundation ch.
Row 2: 1 sl st in first st, 1 sc in next ch, 1 hdc in next ch (this should be the opposite side of the same ch as the hdc of Row 1), 1 sc in next ch, 1 sl st in next ch, 3 ch, turn. We will now make the tail.
Row 3: *skip first ch, sl st in each of next 2 ch*, 3 ch, and repeat from * to *. Fasten off and sew in ends. Place a dot with a permanent marker pen on each side of the head of your fish to make the eyes.
Assembly
Sew fast the black part on the head. Make sure that the 2 double crochet of the last round are in the middle. Use small stitches when sewing the head part on and try to do this as neatly as possible. Sew on the white part on the belly. Use small stitches so it will look neat.


Deb
Wednesday 29th of January 2020
Thank you for this pattern. I have a little person who will just absolutely love this penguin with the basket of fish and accessories, it still enchants children to have sweet, soft toys like this. Ragnhild would you ever consider creating a sweet magical dragon with wings? One that maybe is not so scary that a little person could cuddle at bedtime. Thank you again for sharing this pattern and your time with us all. I hope you and your son feel much better soon.
yarnhild
Thursday 30th of January 2020
Hello Deb! Thank you for your kind words! I will definitely start to plan a pattern for a little magical dragon with wings! What a great idea! I am glad your little person likes the penguin! I am making him a crochet ice bear so he'll have a friend! I wish you a great day!