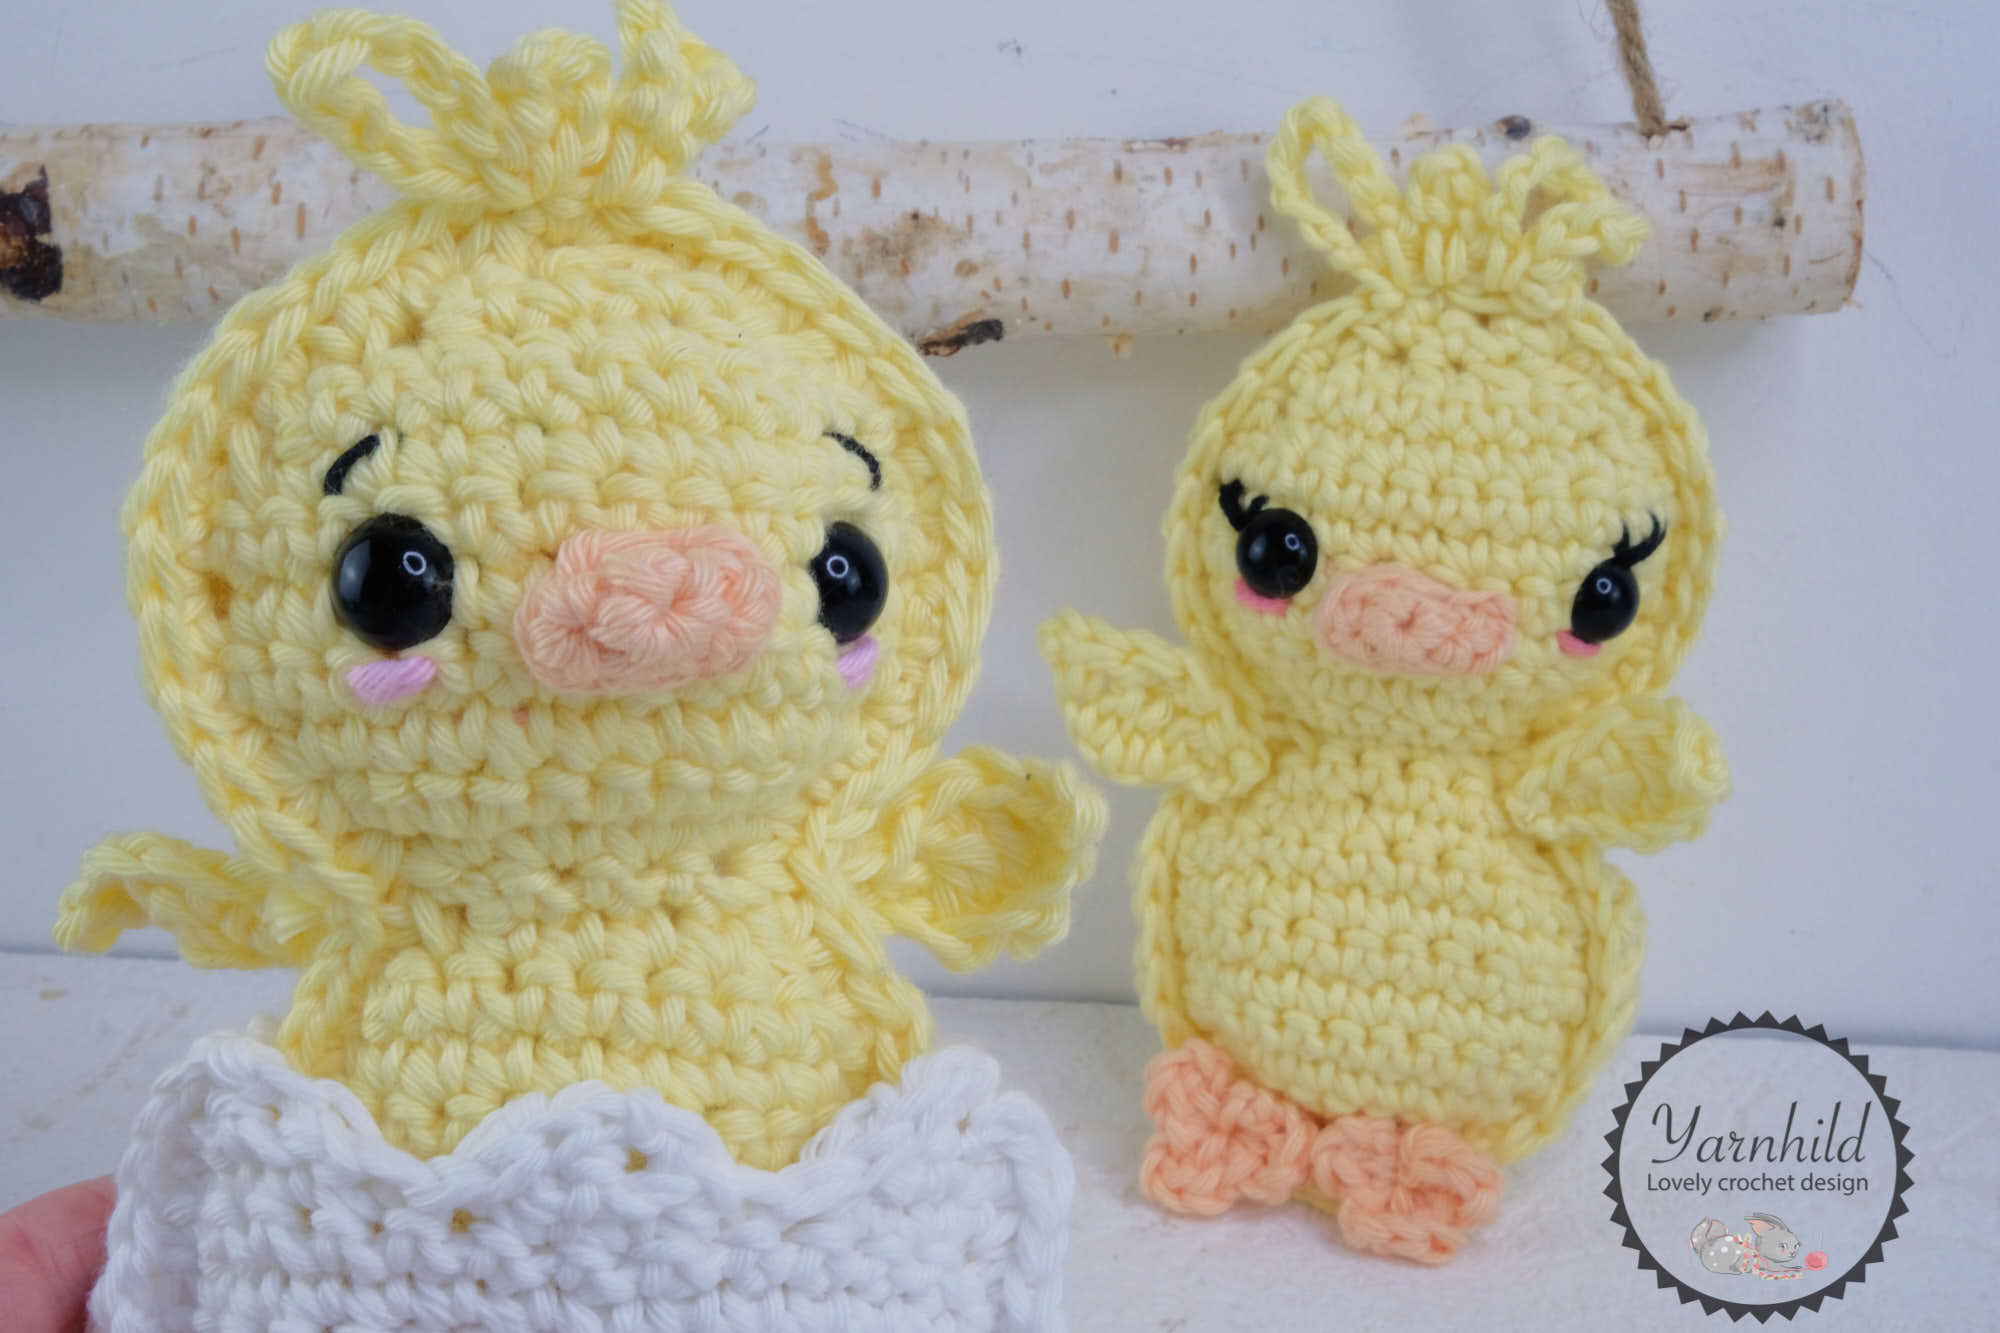
I am so excited to release my latest pattern with you! These little chubby crochet ragdoll chicks are a perfect addition to those Easter baskets!
Today we are testing out a new style for pattern part. This template is supposed to give you a pattern structure and overview. Also, there is an addition to print it, for free, if you wish so! Please tell me what you think of the new layout in the comments below.
The video pattern is available in German and English. The written pattern is in English only. Keep scrolling to get to the good stuff.
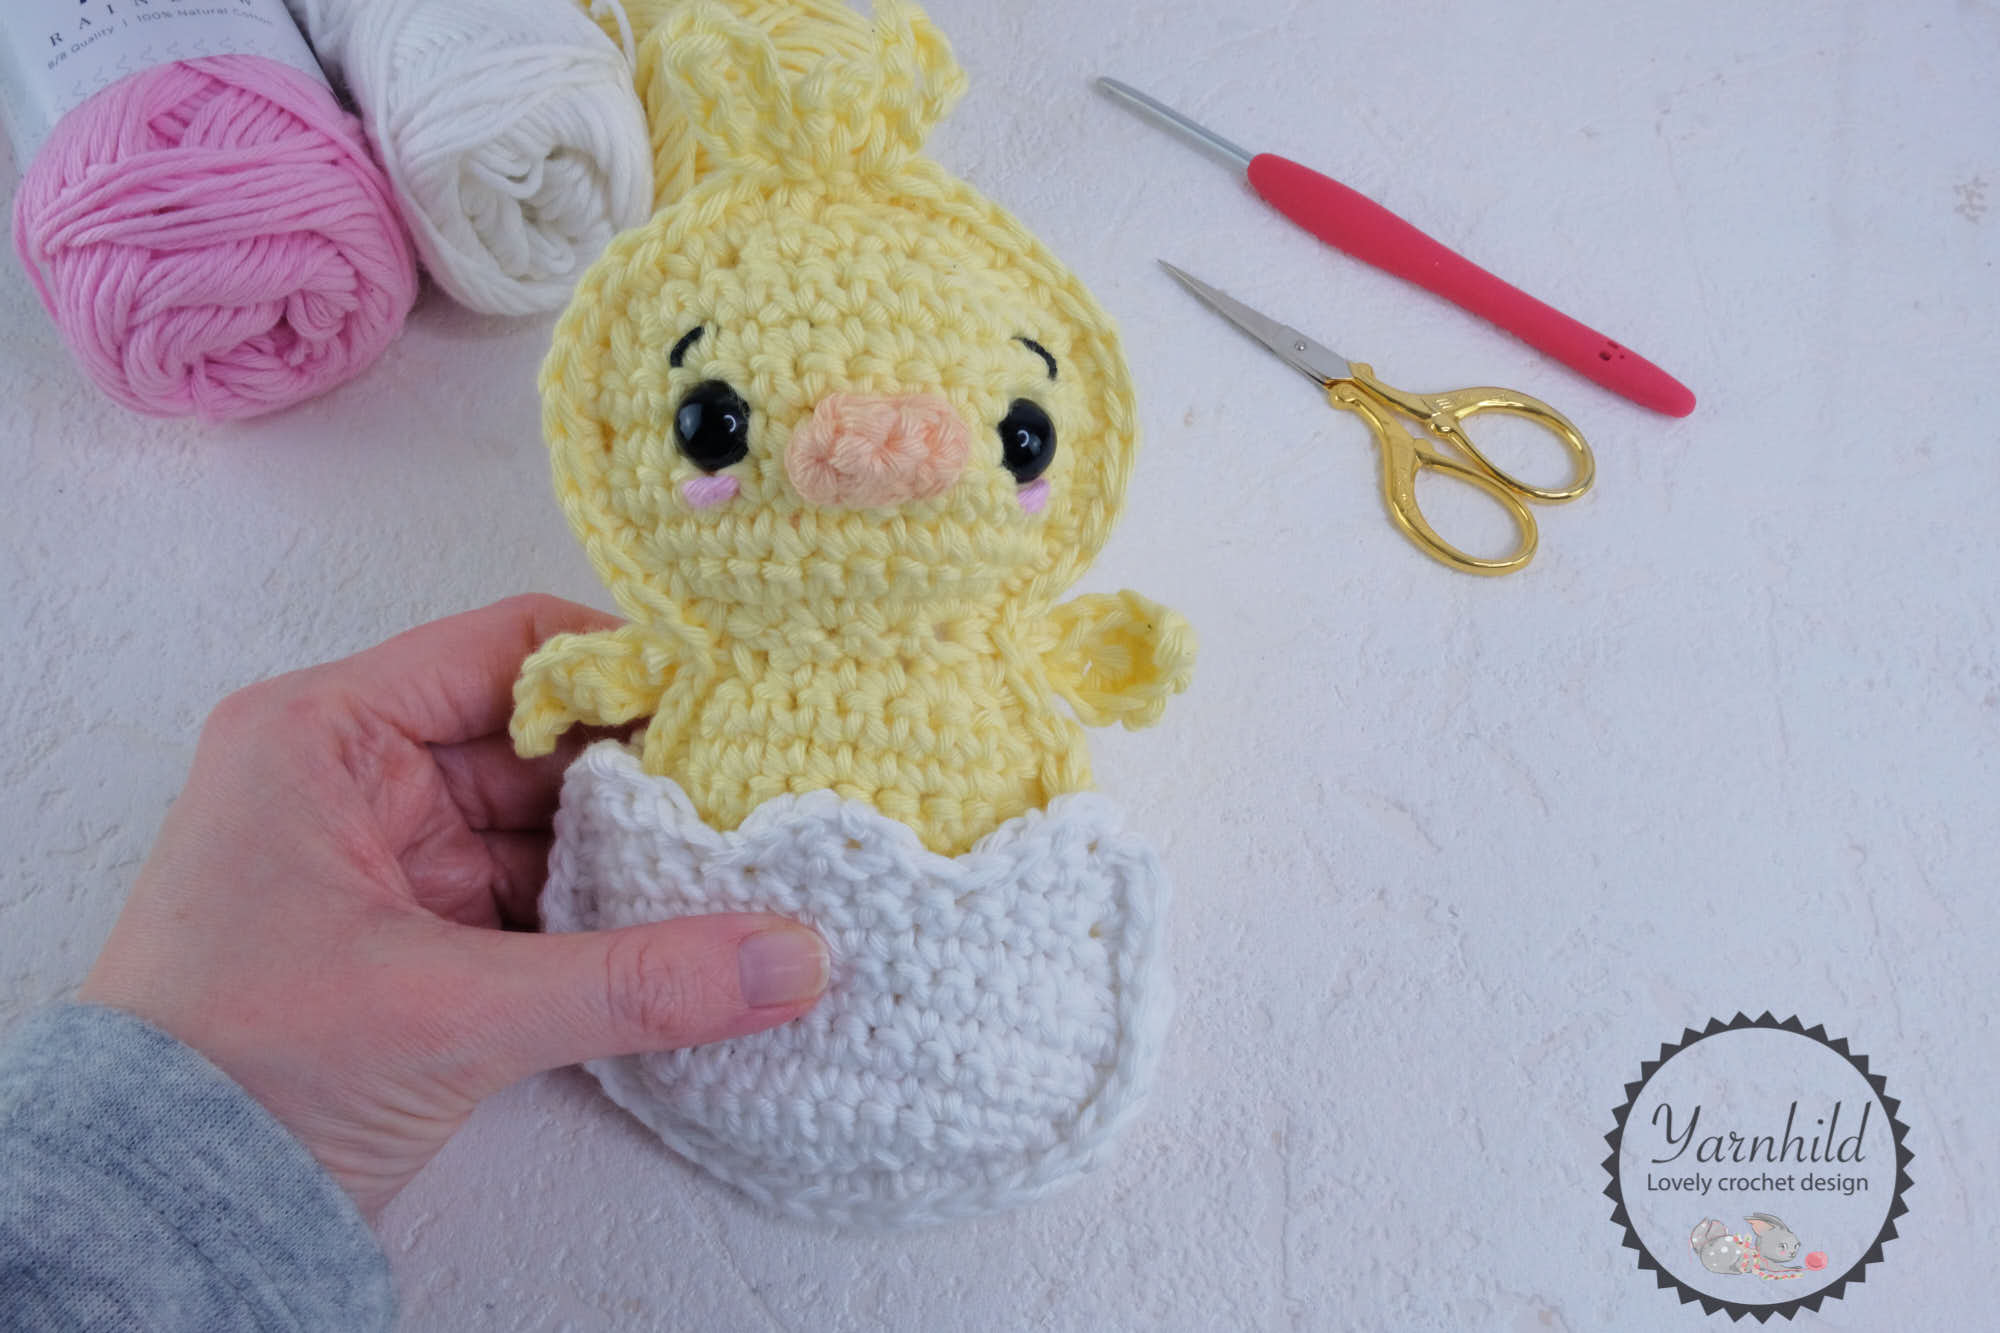
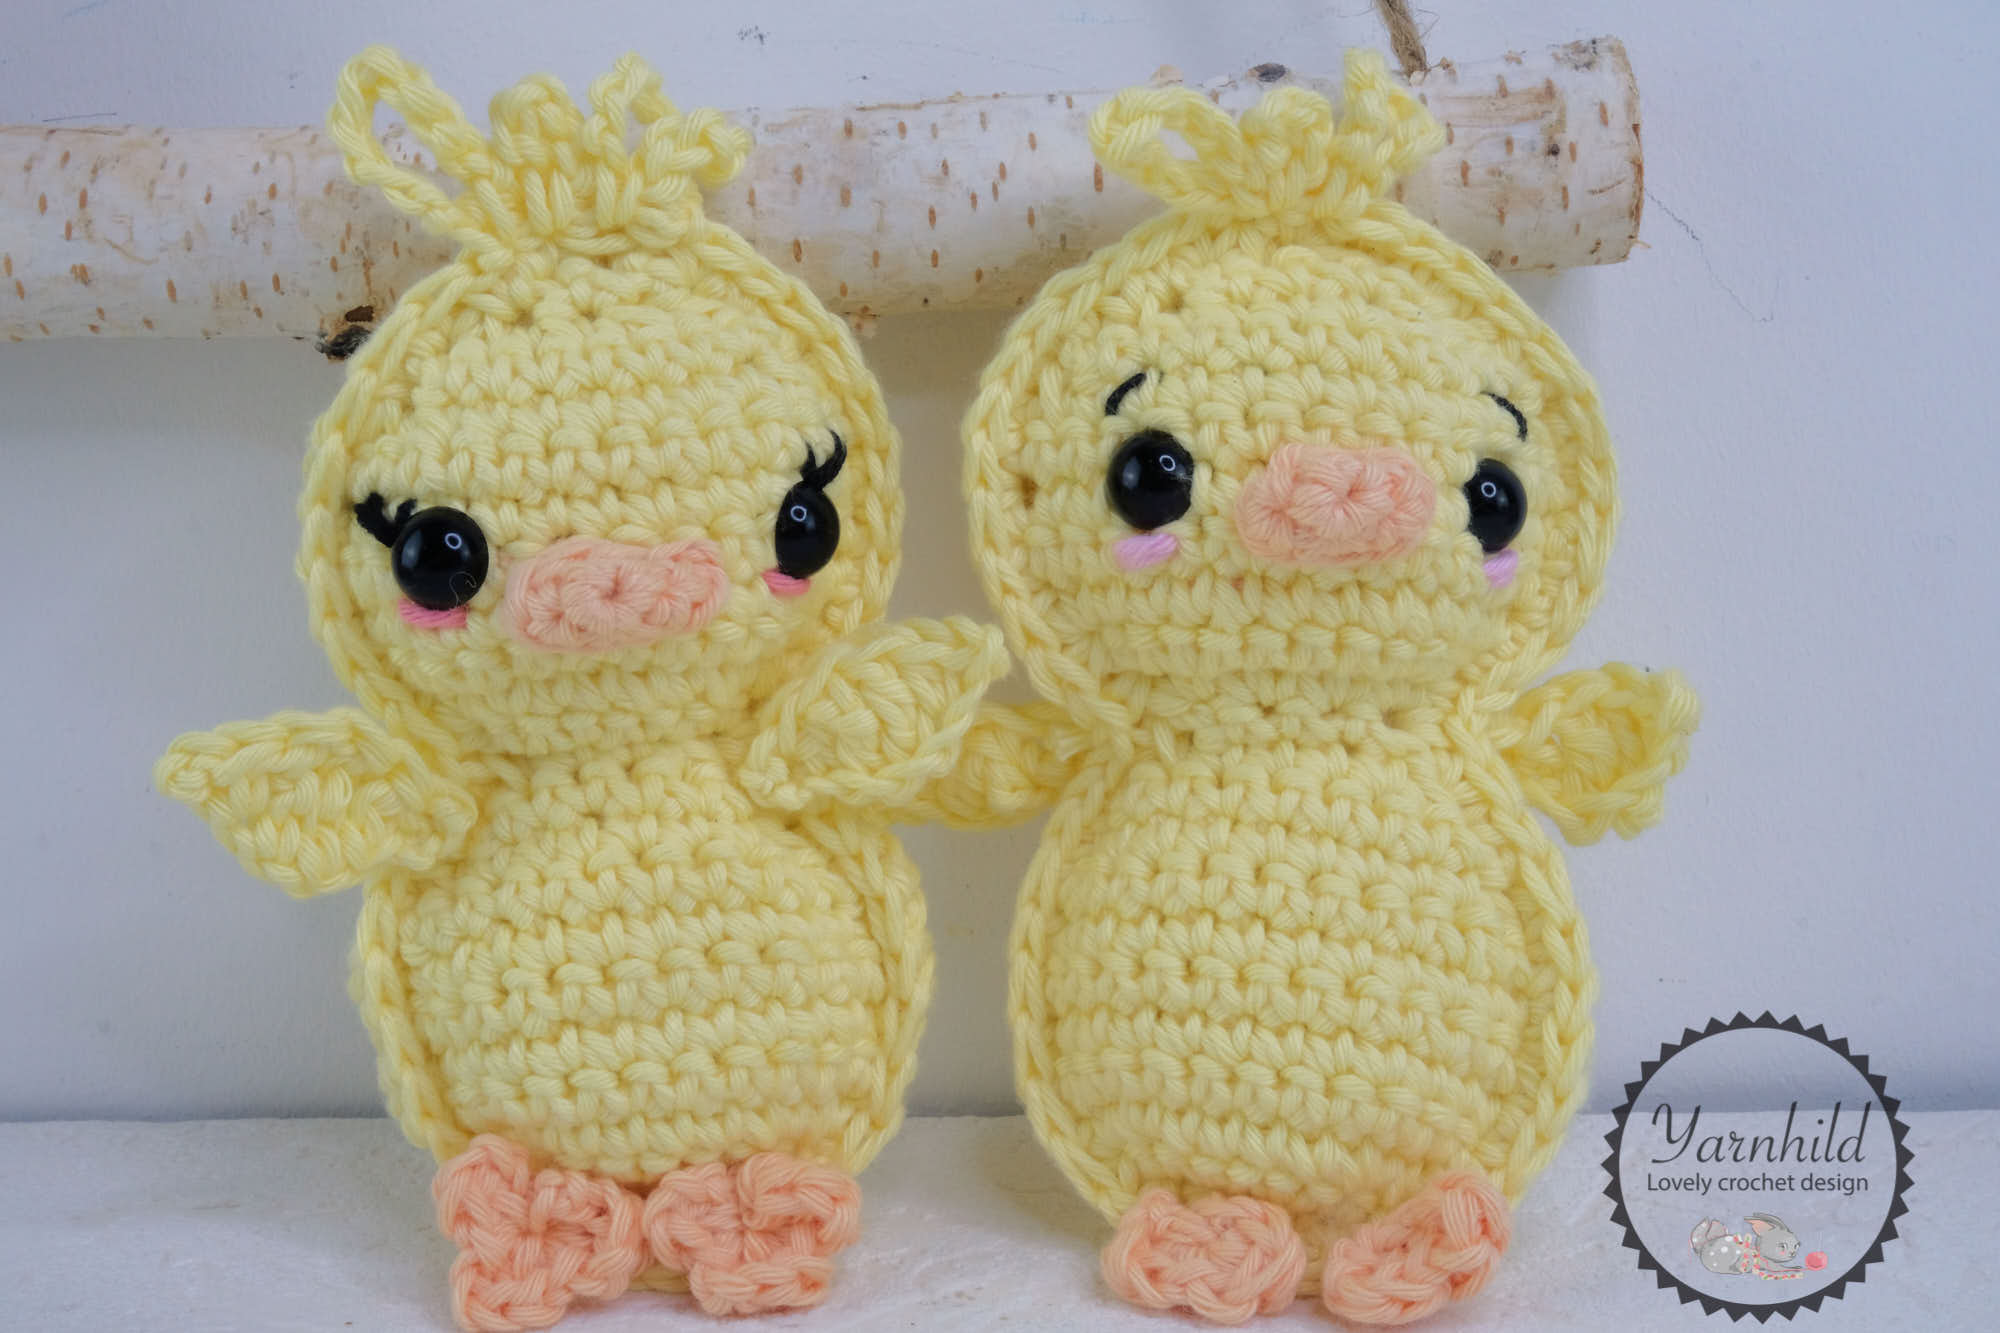
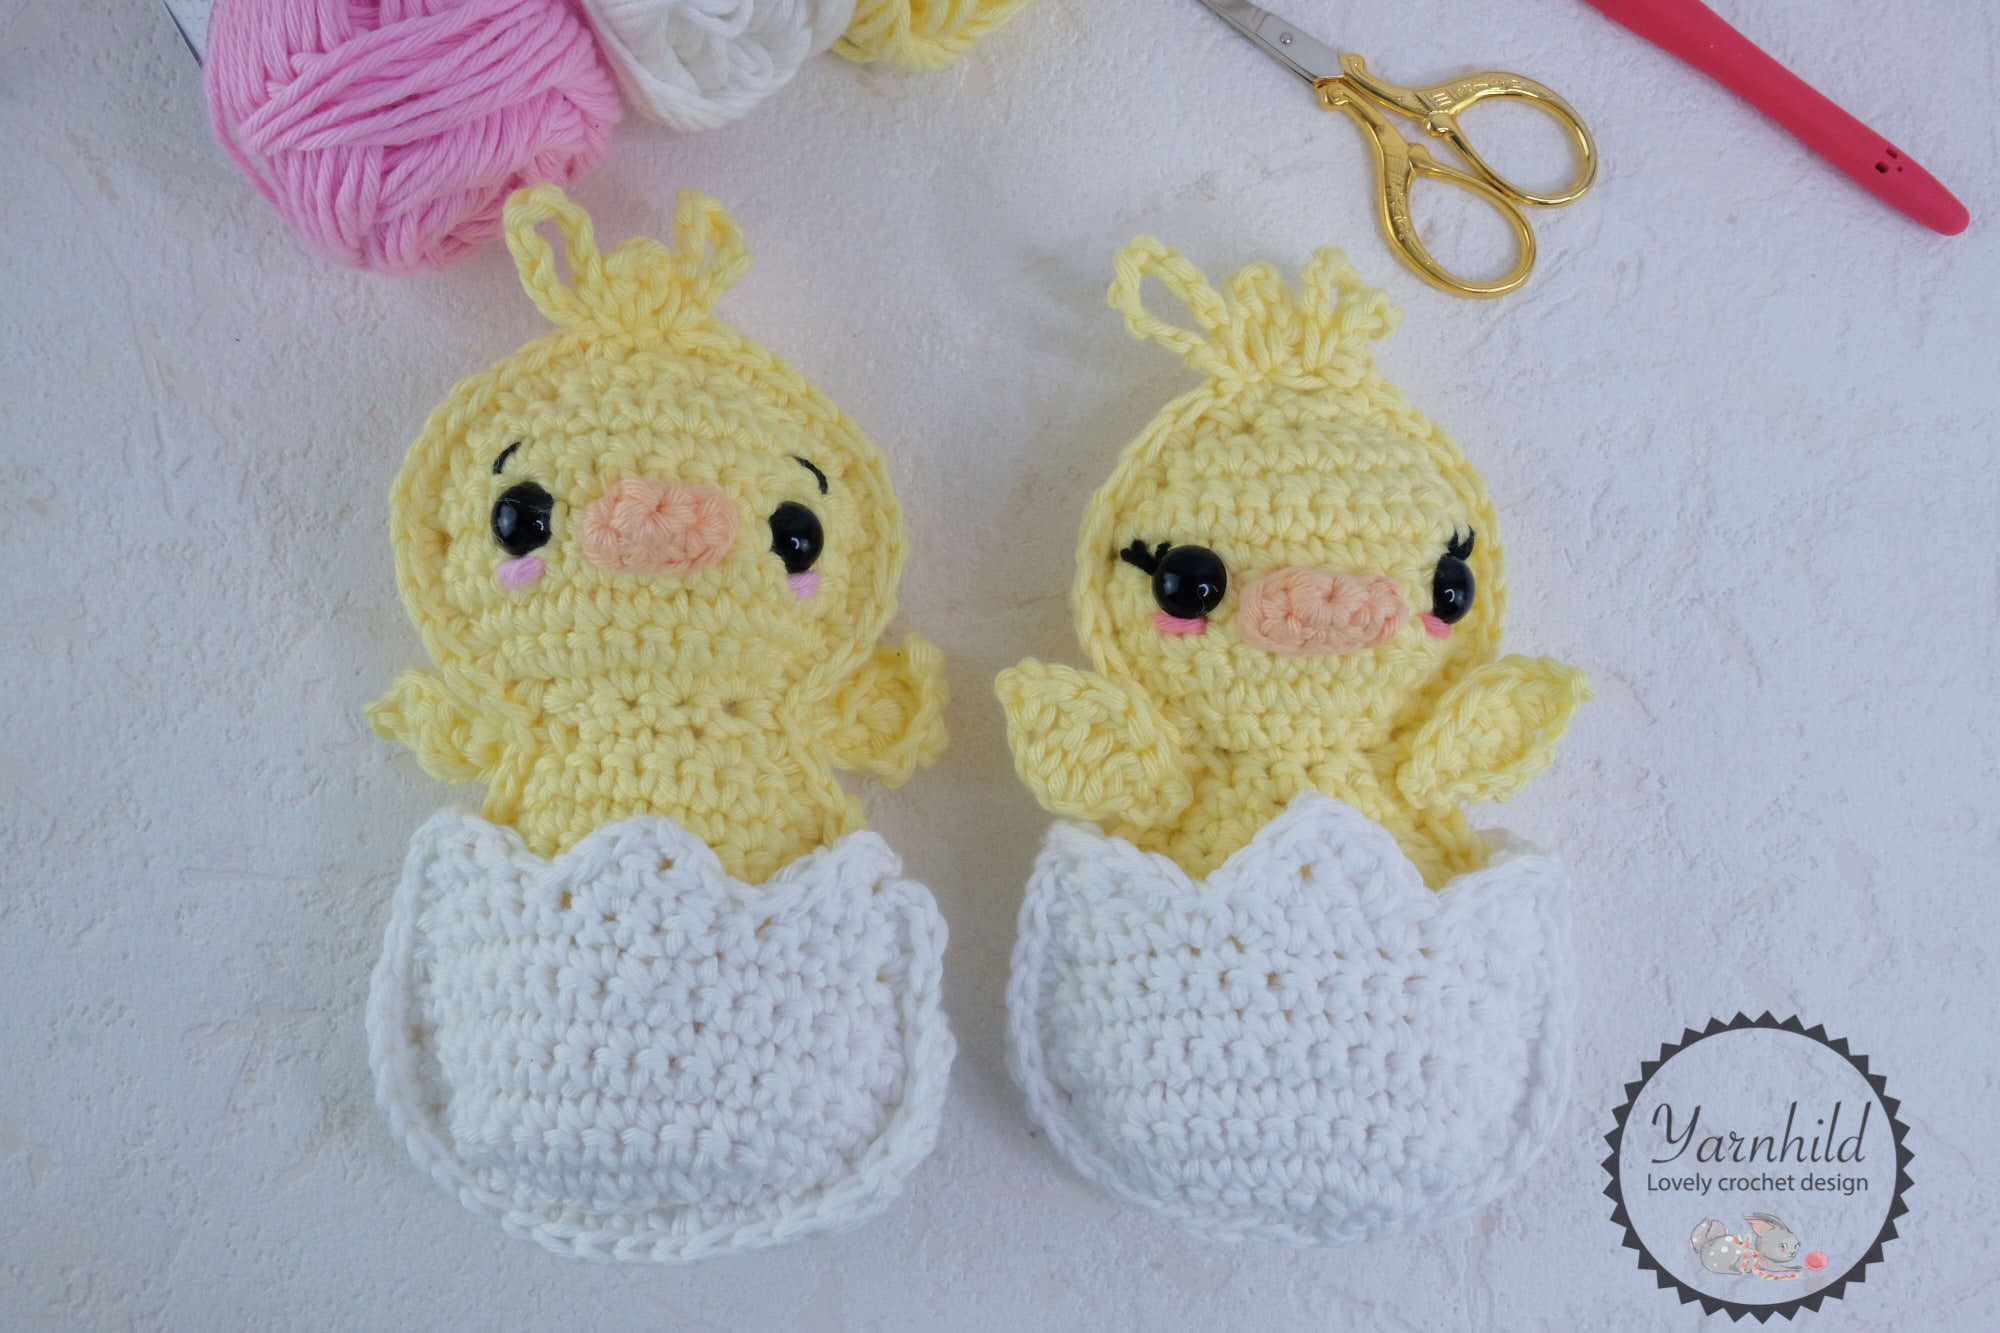
These little chicks are quick and easy to make. Like all my ragdoll patterns, they are made with two separate panels. The crochet ragdoll chicks are very simple to make since the pattern mostly consists of single crochet.
I sometimes include affiliate links in my blog posts. That means I earn a small commission if you purchase any of the products I recommend, on no extra costs on your behalf. Thank you for supporting my work!
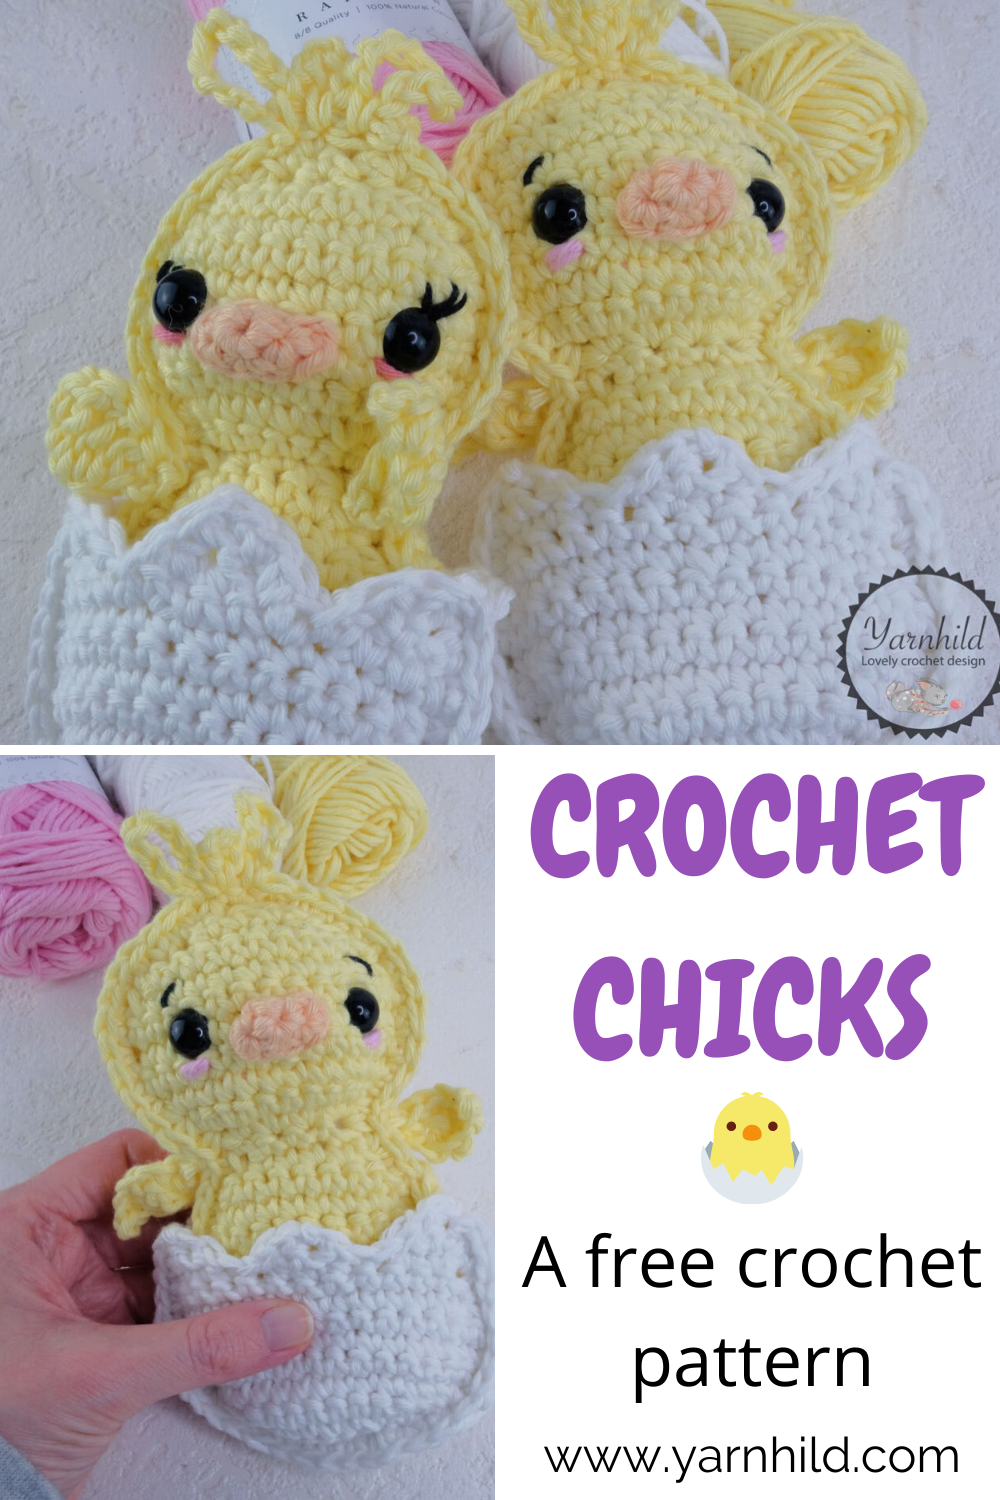
I like creating simple crochet patterns. If you like this ragdoll style, check out my other patterns in that category.
Newsletter
Subscribe to our newsletter and get updated when the next parts are up! It's 100% free and we never spam
Ad-free pdf
Here you can get the ad-free pdf. Thank you for supporting my work!
Video tutorial
Here is a video tutorial for those of you who are the visual type.
Please subscribe to my channel! If you hit the little bell you'll also get notified every time I upload a video.
I am having so much fun creating videos, and there will be more in the future! Maybe because I learned to crochet from watching other YouTube tutorials.
Have fun crocheting!
English video
German video
crochet ragdoll chicks - free pattern
©Yarnhild 2020.
This pattern is the intellectual property of Yarnhild. The pattern must not be altered, translated, copied or republished without approval.
You are welcome to sell the items that you have made from my patterns, but please be sure to give me credit for the pattern that you sell online. For private use only. If you wish to sell these chicks, I kindly ask you to purchase the PDF. 2020– Yarnhild ©

Easter Chicks
The chick and the eggshell consist of two panels. The panels are crocheted separately
and then the pieces are placed together and crocheted together. Make sure that
the face part is facing up. I lightly stuffed my chick with some filling
material.
Finished size: 15 cm
Materials
- Filling materials
- Stitch marker
- Crochet hook 3.5 mm/ E4
- Safety eyes 10 mm (or 12)
- Scissors
Tools
- ch – chain
- yo – yarn over
- st – stitch
- sl st – slip stitch
- sc – single crochet
- hdc – half double crochet
- sc2tog – single crochet decrease
- inc – single crochet increase, 2 single crochet in one stitch
- dc – double crochet
- tr – triple crochet
- *-* repeat action
- R – round
- Mr – Magic ring
Instructions
Eggshell
3.5 mm crochet hook. Make 2 panels in white colored
yarn. The eggshell panels are worked bottom up.
Row 1: ch 5, 1 sc in the 2nd ch from the
hook and in each ch, ch 1 turn = 4 sc
Row 2: sc inc x 4, ch 1, turn= 8 sc
Row 3: sc inc x 2, 4 sc, sc inc x 2, ch 1, turn = 12
sc
Row 4: sc inc, 10 sc, sc inc, ch 1, turn = 14 sc
Row 5: sc inc, 12 sc, sc inc, ch 1, turn = 16 sc
Rows 6 – 7: 1 sc in each st (2 rows), ch 1, turn = 16
sc
Row 8: sc2tog, 12 sc, sc2tog, ch 1, turn = 14 sc
Row 9: sc2tog, 10 sc, sc2tog, ch 1, turn = 12 sc
Now we will be making the points of the eggshell. Don’t fasten off, but continue:
*Row 1: 4 sc, ch 1, turn = 4 sc
Row 2: sc2tog x 2, ch 1, turn = 2 sc
Row 3: sc2tog = 1 sc
Ch 1, sl st 3 times, until you get to row 9 again. *
Continue in the next stitch and repeat *-* 2 more times.

Make another panel. Fasten off the first eggshell, but
not the second.
Place them on top of each other and sc them together.
Remember to only close three sides. The upper part is left open, this is where
the chick is being placed. Fasten off and weave in ends.
Chicken
3.5 mm crochet hook. Make 2 panels in yellow colored
yarn. The chick is worked bottom up.
Row 1: ch 3, 1 sc in the 2nd ch from the
hook and in next ch. Ch 1, turn = 2 sc
Row 2: sc inc x 2, ch 1, turn = 4 sc
Row 3: sc inc x 4, ch 1, turn = 8 sc
Row 4: sc inc x 2, 4 sc, sc inc x 2, ch 1, turn = 12
sc
Rows 5 – 8: 1 sc in each st, ch 1, turn (4 rows) = 12
sc
Row 9: sc2tog, 8 sc, sc2tog, ch 1, turn = 10 sc
Row 10: sc2tog, 6 sc, sc2tog, ch 1, turn = 8 sc
Row 11: sc2tog, 4 sc, sc2tog, ch 1, turn = 6 sc
Row 12: sc2tog, 2 sc, sc2tog, ch 1, turn = 4 sc
Row 13: sc inc x 4, ch 1, turn = 8 sc
Row 14: sc inc x 2, 4 sc, sc inc x 2, ch 1, turn = 12
sc
Row 15: sc inc, 10 sc, sc inc, ch 1, turn = 14 sc
Rows 16 – 18: 1 sc in each st (3 rows), ch 1, turn = 14
sc
Row 19: sc2tog x 2, 6 sc, sc2tog x 2 ch 1, turn = 10
sc
Row 20: sc2tog, 6 sc, sc2tog, ch 1, turn = 8 sc
Row 21: sc2tog x 4, ch 1, turn = 4 sc
Row 22: sc2tog x 2 = 2 sc
Fasten off on the first panel, but not on the second.
Make the face on the second part. Fasten safety eyes between rows 17 -18, 5 sc
stitches space apart (or whatever looks best). Sew on the beak, cheeks,
eyebrows/lashes and cheeks under the eyes.
Just sew back and forwards with some pink yarn to make the cheeks.

Beak
3.5 mm crochet hook. Use orange colored yarn for the
beak. The beak is worked in continuous rounds.
R 1: 4 sc in a mr = 4 sc
R 2: sc inc x 4 = 8 sc
Fasten off, but leave a long tail for sewing the beak
on the head.
Now place the parts on each other and single crochet
them together. Sl St in row 12, where the neck is. Add filling material, but
not where the neck is. Stuff the head and the body part. Sl st in the first and don’t fasten off.
Now make the hair:
*Chain 10, sl st in sc, sl st in next sc*, chain 5, sl st in the sc and
repeat from *-*
Wings
3.5 mm crochet hook. Make 2 wings in yellow colored
yarn.
Ch 7, sl st in the 2nd
ch from the hook, 1 hdc in next, 1 tr in next 2, 1 dc in next, sl st in last.
Fasten off, leave a long tail for fastening.
Feet
Use a 3.5 mm crochet hook.
Make 2 feet in orange colored yarn.
Make a magic ring. *Ch 2, 1 hdc, 1 dc, 1hdc, sl st in the ring*. Repeat
*-* 1 more time. Fasten off, leave a longer tail for fastening.
Assembly
Sew the feet on the body. Place the beak between the
eyes and sew it on with using small stitches. Sew the wings right under the
neck. Sew on the feet.
Recommended Products
As an Amazon Associate and member of other affiliate programs, I earn from qualifying purchases.


Crochet ragdoll bunny- Easy crochet bunny - Video tutorial and free pattern
Tuesday 24th of March 2020
[…] Easter ragdoll chicks […]
Poppy the potholder - crochet video pattern — - Free video tutorial
Friday 6th of March 2020
[…] you looking for more easy and quick patterns? Check out these chicks that I released last week. I have many free patterns on this blog, so feel free to look […]