Are you looking for a fun and interesting crochet bag pattern so you can stitch up a cute and trendy bag for spring? Then your search could be over because
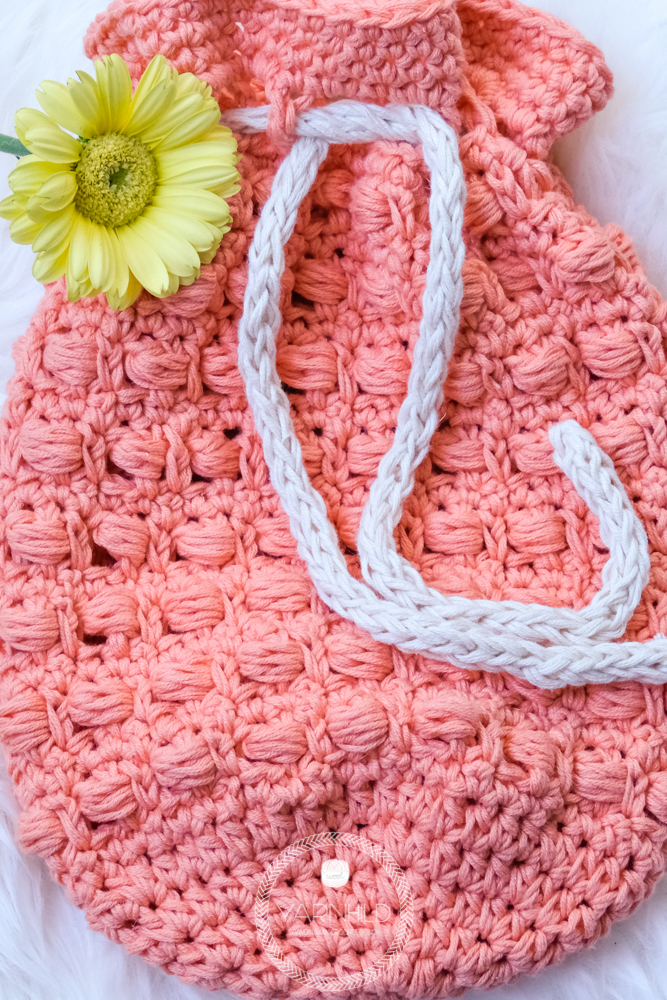
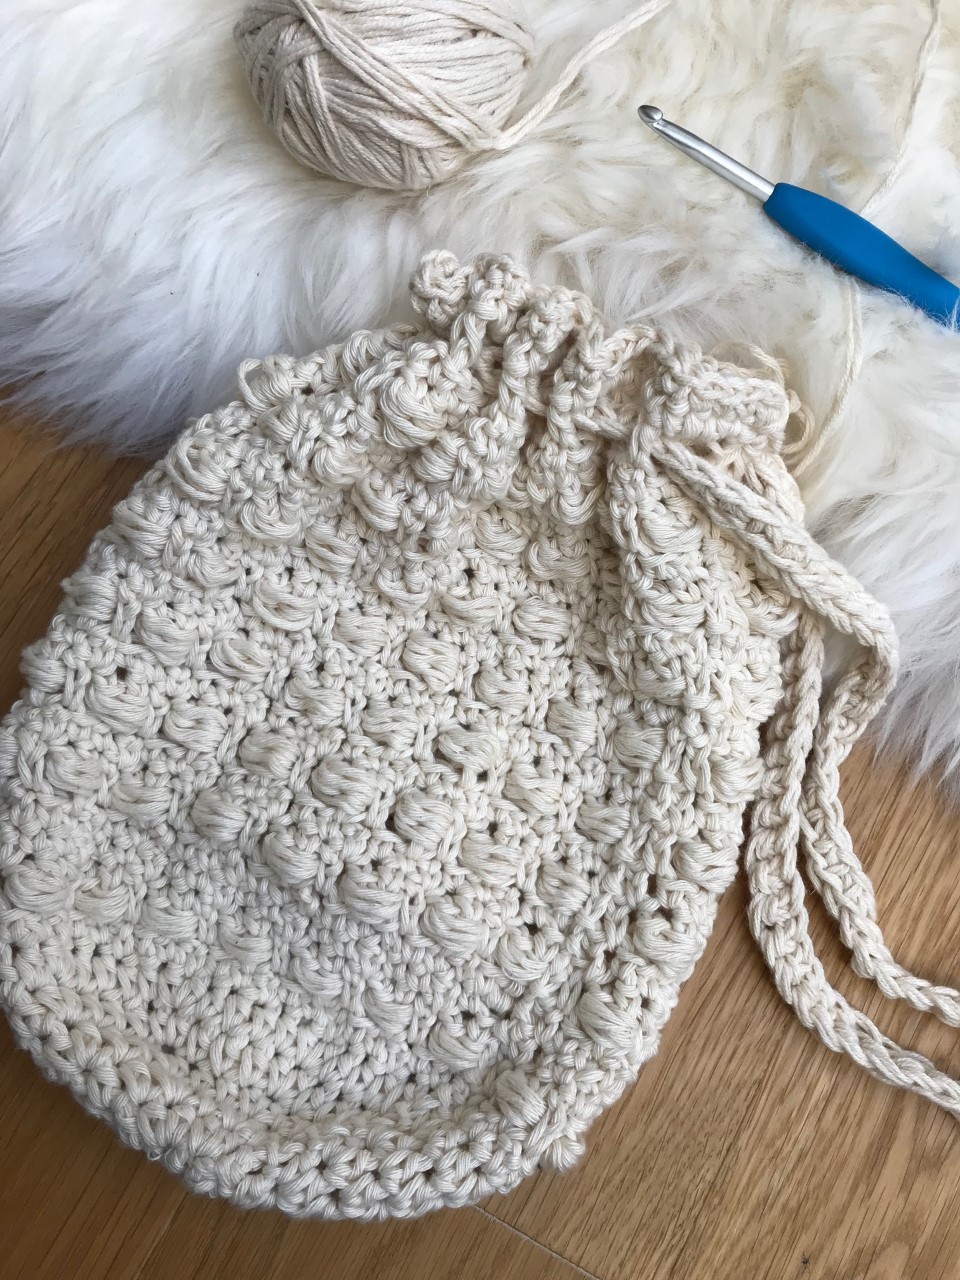
I might have just what you're looking for! This is such a cute and high textured bag and you can make it many different fun colors! I made two bags, one in a cream tone and one in peach. One of the testers used Caron cotton yarn and it was so stunning and I might have to order that shade too!
I am thinking of making one in different colors so I can use up some of the leftovers I have lying around. Am I the only one who doesn't know what to do with all the scarps that seem to multiply on their own? That being said, I didn't make this crochet bag pattern to use up leftovers, but if you have a couple of skeins lying around you can put them to use making yourself a bag.
For this project, you'll need cotton yarn. I do recommend cotton because of its stability, but you can test it out with other fibers too if you're feeling wild. I used a size 6mm crochet hook and a double strand of cotton yarn from Myboshi and the bag measures 26x23 cm when it's done. For the beige pouch, I used yarn from Drops Paris and a 5 mm/H crochet hook.
I used a couple of new stitches when I made the crochet bag pattern. The first one is the extended single crochet and the other is the bead stitch. Don't be intimidated, the ladies testing the pattern all managed to crochet the bag only following the picture tutorial. But, since I know that many of you are more of the visual type, I also made a video on how to crochet the stitches that I'm using in the pattern.
If you have been following my blog you have probably noticed that 90% of my creations consist of crochet animals, so it was fun and inspiring to try something new for a change! As cute as those crochet animals can be, it starts to have a big collection now and my son doesn't play with them either. For now, they serve as decoration and dust collectors. Except for the small baskets that I made last time, I put my office supply in them, and they also make great eggcups.


This blog post contains affiliate links. Read more about it here.
Information about the pattern
Skill level intermediate
- Finished size for the big pouch in peach: 33x24cm/12x9,5 inches. Gauge (the boxed bead stitch) 8 stitches x 7 rows in 10×10 cm or 4×4 inches
- Finished size for the small pouch in beige; 26x19cm/10x7,5 inches (see picture on the last page) Gauge (the boxed bead stitch) 9 stitches x 10 rows in 10×10 cm or 4×4 inches
The pouch in peach is made with yarn from myBoshi. I am using a double strand of yarn and a size 6 mm/J-10 crochet hook. The beige one is made with Drops Paris using one strand and a hook 5 mm. Alternatively, you can use a double strand of the drops Paris yarn and a size 6mm/j-10 crochet hook.
Join with a sl st to complete the rounds.
If you want to make a pouch, I would really appreciate it if you link back to this blog post or my Instagram account or Facebook page. I love seeing your version so please share a picture, use the #yarnhild
The Pearl Stitch Pouch
Abbreviations used:
- ch – chain
- yo – yarn over
- st – stitch
- sl st – slip stitch
- sc – single crochet
- hdc – half double crochet
- dc – double crochet
- rnd – round
- *-* Repeat from start to end of round/row
- Exsc – extended single crochet
- Slcl – Slanting cluster
Materials
- Crochet hook size 6 mm/J-10 or if you want a smaller pouch 5 mm/H8 crochet hook
- Cotton yarn from MyBoshi. Color 441 and 492. 50 g. -100 m. Or 2 skeins of Drops Paris color off white (17) 50g - 75 m
- You’ll need 200 /7,05 oz of color 441 and 5 g/0,17oz from 492. Or 2 skeins of Drops Paris and color number 17 if you want to make the smaller pouch.
- Yarn group: 10ply/ Aran worsted
- Clover Super Jumbo Tapestry Needle Set
- Scissors
- You can use a cord stopper if you want
Scroll for the free version or get the pattern on Etsy for a small fee! The German and the Norwegian version can only be purchased.
Purchase the English PDF pattern here, also in German and Norwegian.
Scroll for the free English pattern.
The pouch is made from the bottom and up. I am using extended single crochet and slating clusters to make this stitch.
Here is a stitch tutorial and you can also find pictures in the blog post on how to crochet the boxed bead stitch.[ytplayer id=9899]
Size 6mm/J-10 with double strand of myBoshi or 5mm crochet hook and one strand of Drops Paris.
Rnd 1) Make a magic, ch 2 and 9 hdc in the ring. Sl st in the first hdc. (9 hdc)
Rnd 2) Ch 2, 2 hdc in each hdc. Sl st in the first hdc (18 hdc)
Rnd 3) Ch 2, *1 hdc in the next hdc, 2 hdc in the next*. Sl st in the frist hdc. (27 hdc)
Rnd 4) Ch 2, *1 hdc in the next 2 hdc, 2 hdc in the next*. Sl st in the frist hdc. (36 hdc)
Rnd 5) Ch 2, *1 hdc in the next 3 hdc, 2 hdc in the next*. Sl st in the frist hdc. (45 hdc)
Rnd 6) Ch 2, *1 hdc in the next 4 hdc, 2 hdc in the next*. Sl st in the frist hdc. (54 hdc)
Rnd 7) Ch 2 (count as 1 exsc). 1* sc in the 2 next hdc, 1 exsc in the next hdc* Rep from *-* end with a sl st on top of chain 2. (54 st (exsc and sc))
Rnd 8) Ch 2, *1 dc in the next sc, 1 Slcl, skip next sc. 1 exsc in the next exsc* Rep from *-* sl st in chain 2. (54 st)
Rnd 9) Ch 2 * 1 sc in Slcl, 1 sc in next dc, 1 exsc in next exsc. Rep from *-*sl st on top of ch 2. (54 st)
Rnd 10-22) Repeat row 8 and 9, ending with a row 8 repeat. (54 st)
[adToAppearHere]
Rnd 23) Ch 1, 1 sc in each stitch for the complete round, end with a sl st in first sc. (54 sc)
Now we are making the bows where the chain will be.
Rnd 24) Ch 4 * skip 2 sc, 1 hdc in next sc, ch 2*. Rep from*-*, end with a sl st on top of chain 2. (54 st)
Rnd 25-29) ch ,1 sc in each stitch. Sl st in the first chain. Cut the yarn and weave in ends.
Make a long chain. I made about 100 but you can make is as long as you want. Cut the yarn and weave in ends. Use this strand and put it between the bows made in round 25. If you want to use a cord stopper you can leave it like this. If you want your chain to be thicker you can turn a single crochet your way back. Only do this if you don’t want to use a cord stopper.
You can also make an I-cord. Grab some yarn and a hook. Chain 3. Put the hook through the second chain, pull up a loop, through the third chain and pull up a loop. Remove the second and third loops from the hook. Hold on to them with your finger. Yo and pull through with the remaining loop on your hook. Now put the second loop that you are holding on to on the hook and yo and pull through, repeat this with the last loop. Repeat these steps until your I-cord is long enough. When you are finished, just yo, grab a strand and pull through all three loops. Weave in ends.
[adToAppearHere]

