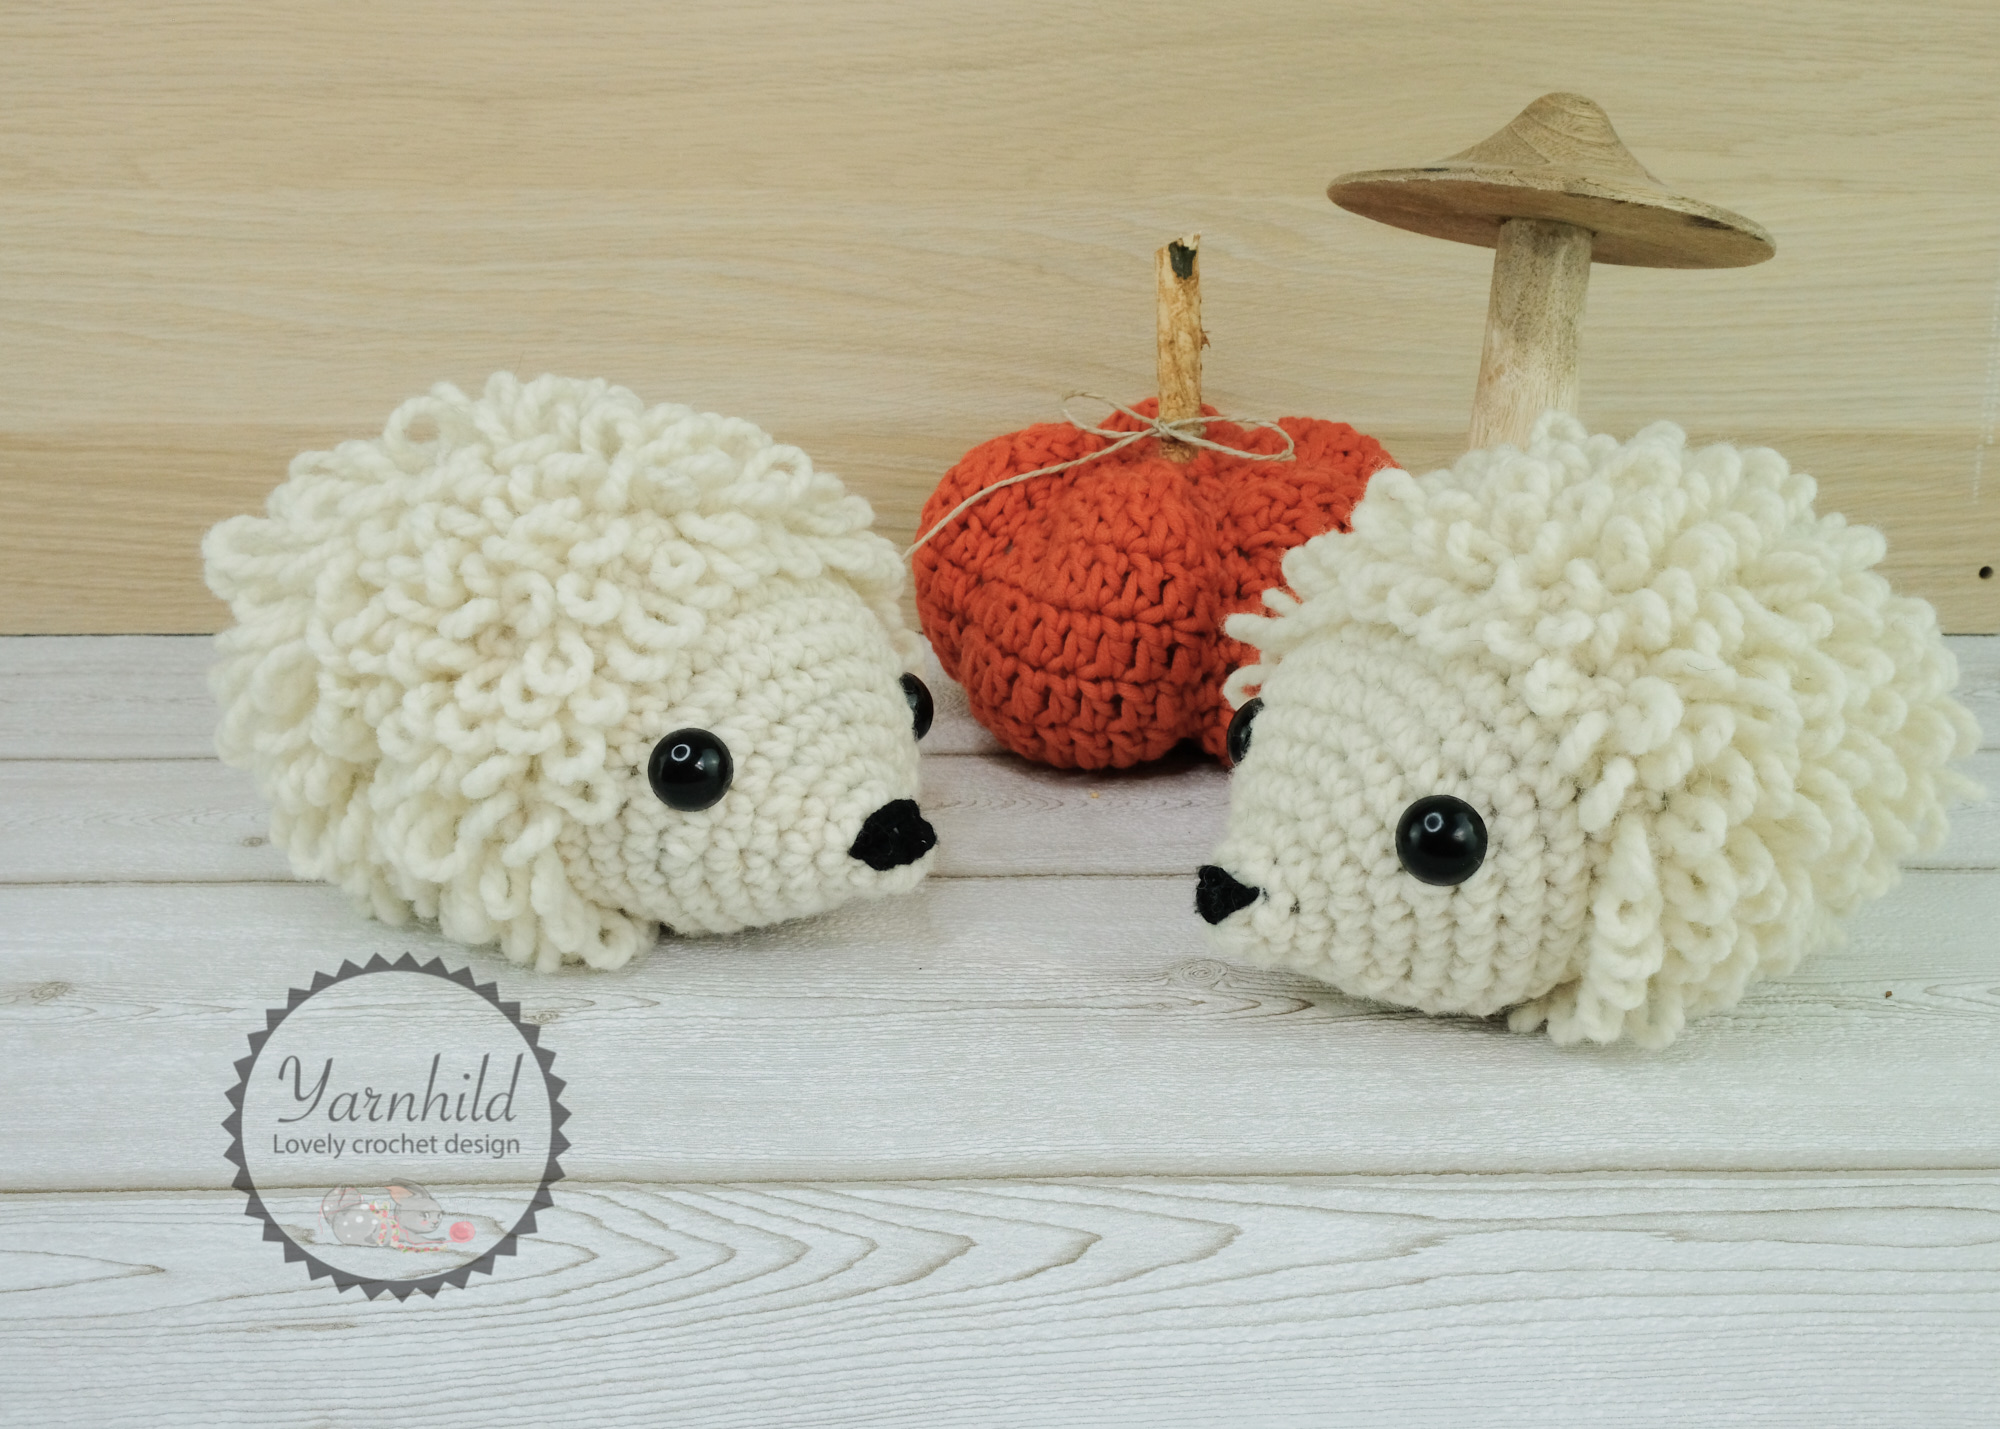
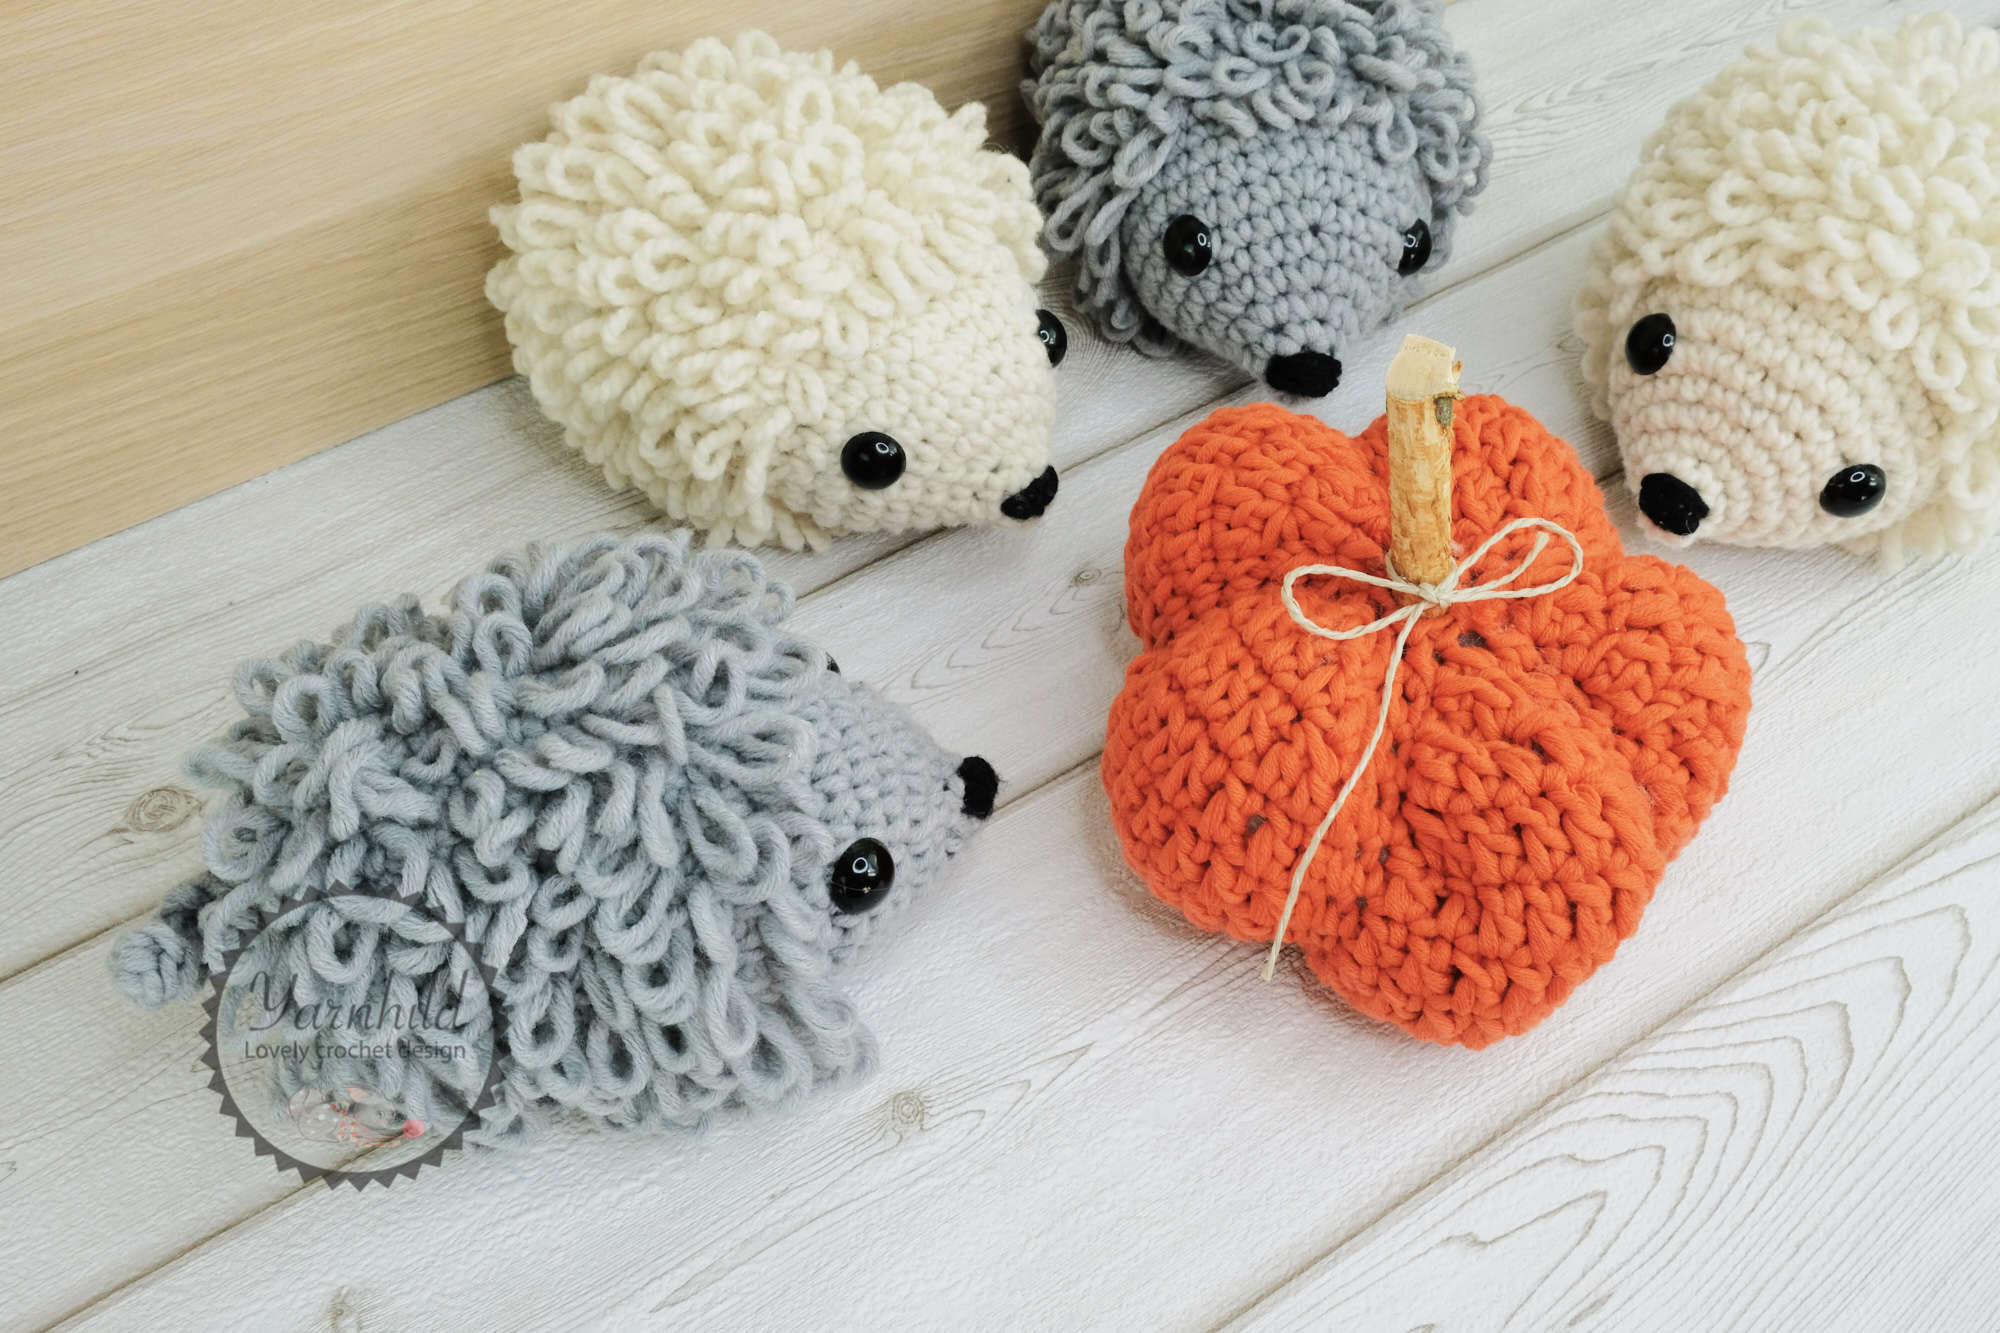
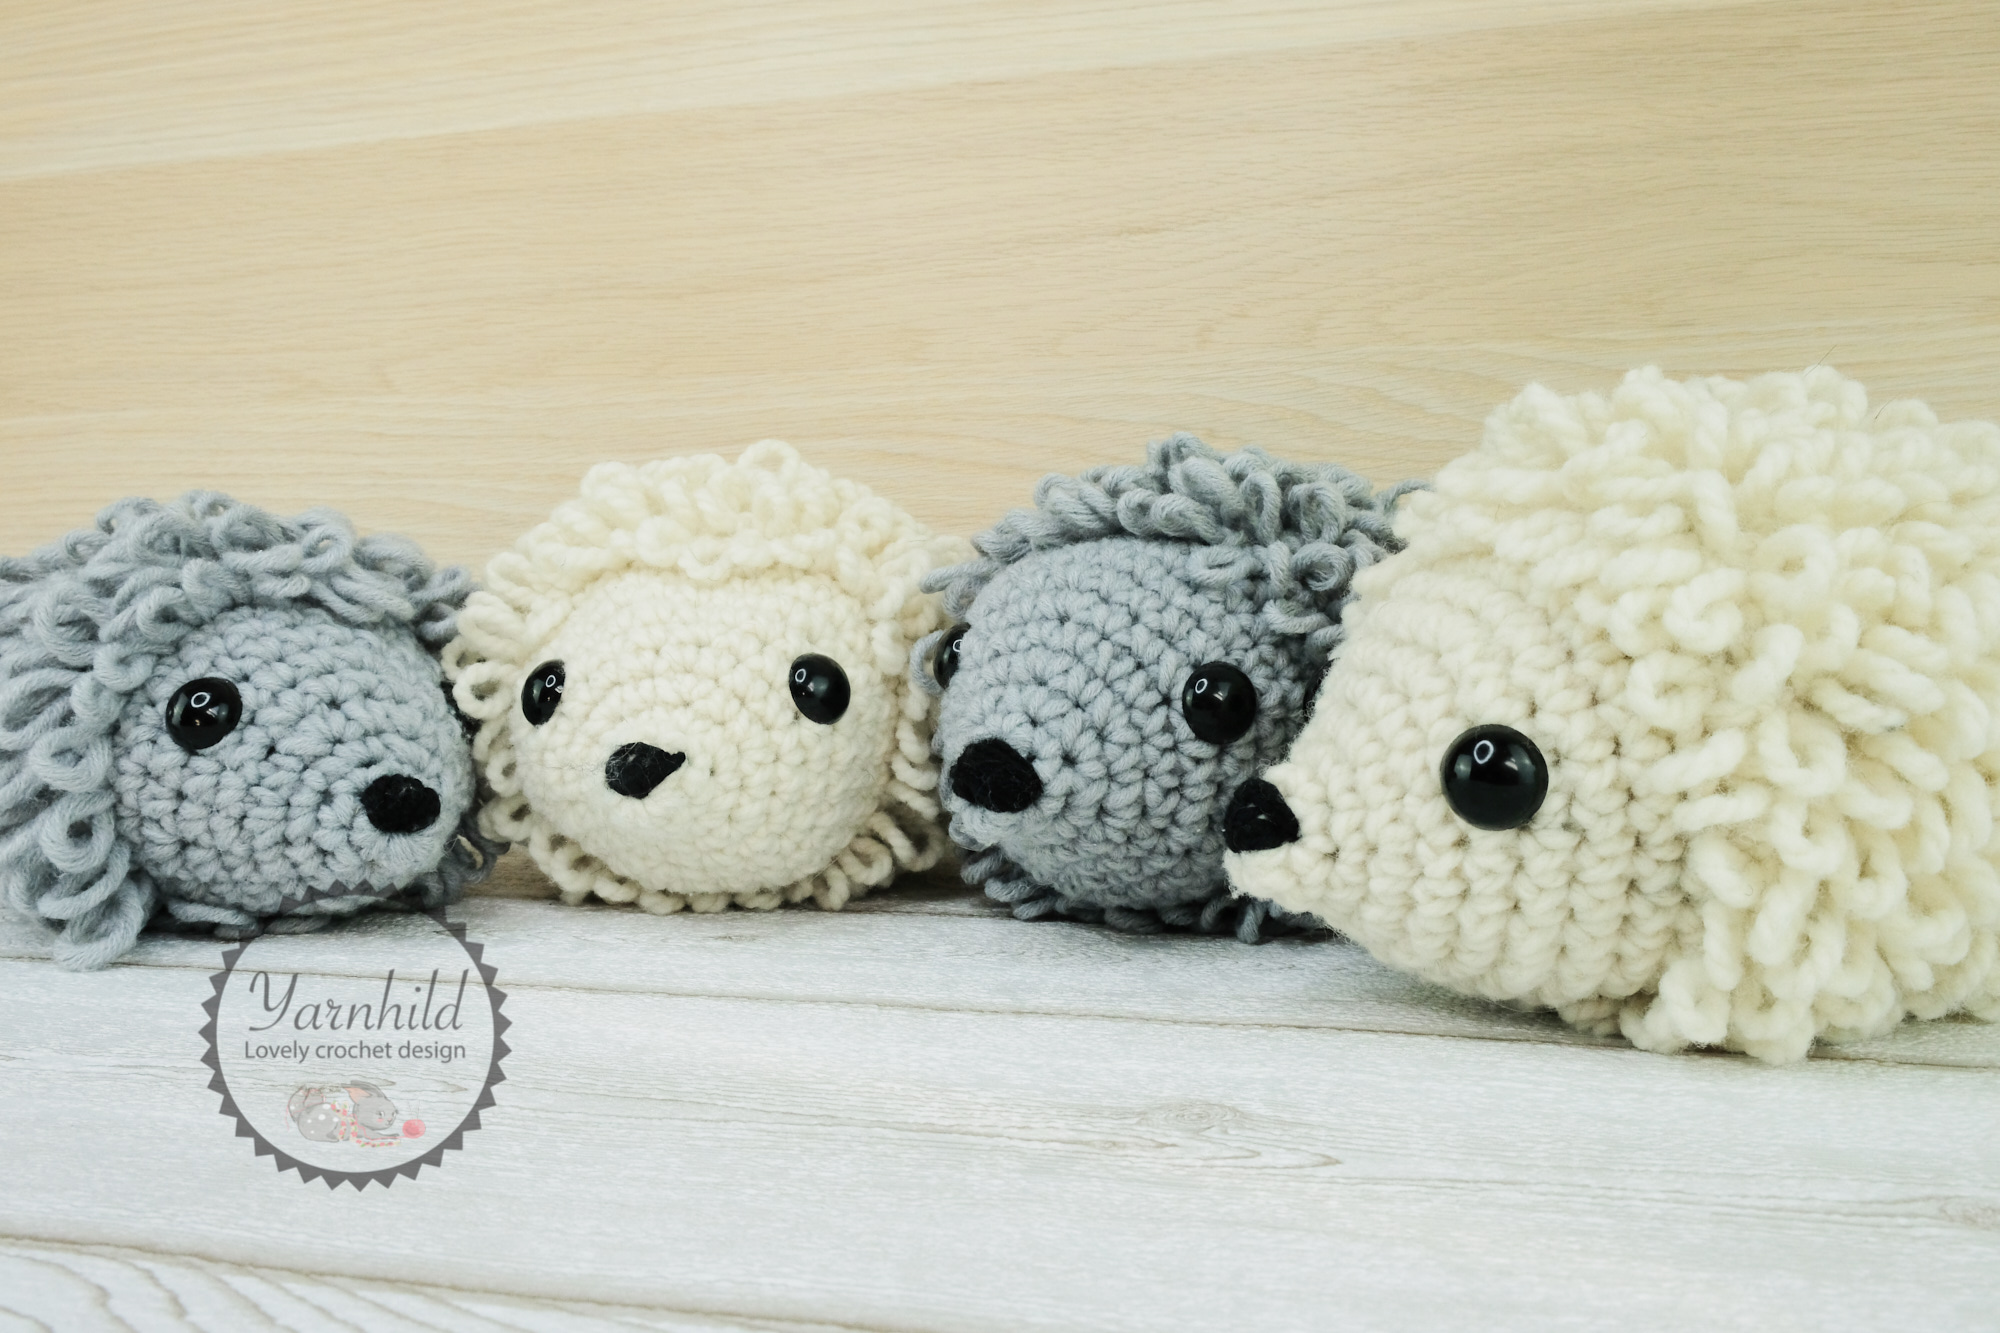
The fall has officially begun! Maybe some of you who have a garden have seen some hedgehogs? I have seen some in our garden, and they inspired me to make a pattern for a crochet hedgehog!
Aren't hedgehogs the cutest? I love being surrounded by animals, both pets and wild ones, so its a big happening when one of these lovely, spiky creatures come for a visit.
Disclosure: This blog post contains affiliate links. Read more about it here.
Click here for the German and Norwegian pattern. Deutsche Anleitung. Norsk oppskrift.

Hedgehog facts
Did you know that there are up to 20 species of different hedgehogs? Some are big as one foot long (30 cm), but we also have small ones who are 4 inches (10 cm). The spikes on their bodies are called quills and they have between 5000-7000 of them.

When they are frighted they roll up to little balls and the spikes keep the enemy away. They are fascinating creatures and they like to eat insects, but also like to eat other things such as scorpions (!), tiny rodents, reptiles, amphibians, foliage, fruit, seeds and fungi. Read more here!
The Pumpkin
If you are wondering where to get the pattern for the pumpkin, you can find it on Yarnspiration. It's a free pattern and they are so fun to make! I love this pattern and discovered it last year.
Crochet hedgehogs
The crocheted hedgehog
I used the loop stitch to create the spikes, so you have to calculate a little extra yarn. I used about 70-80 g (2.5 oz) for one crochet hedgehog. However, if you are making big loops you going to need a little more yarn.

The yarn
I used super bulky yarn for this project. The yarn for the white hedgehog is bought on a local

Video tutorial
This time I made a video tutorial as well. That is something I'll try to do with each of my patterns. Please support my channel by subscribing! That really helps me reach more people! A little tip. If you hit the little bell near the subscribe button you`ll get notified every time I upload a video.
More amigurumi patterns
If you love amigurumi patterns, check out these popular mice!
Printable pattern
On Etsy or Ravelry you can purchase the inexpensive pdf. There you'll find pictures that aren't available in the free version. In that way, you can support my work additional!
The he dgehog Hedda
A free crochet pattern
This pattern is the intellectual property of Yarnhild. The pattern must not be altered, translated, copied or republished without approval.
You are welcome to sell the items that you have made from my patterns, but please be sure to give me credit for the pattern that you sell online. For private use only, no commercial use. 2019 – Yarnhild ©
Abbreviations – US terms
ch – chain
yo – yarn over
st – stitch
sl st – slip stitch
sc – single crochet
lp st – loop stitch
lp st dec – loop stitch decrease, crochet two loop stitches together
yo – yarn over
hdc – half double crochet
Materials
Filling materials
Stitch marker
Crochet hook 6 mm/ J – 10
Safety eyes 20 mm
Scissors
Chunky yarn about 80 g/2.9 oz for one hedgehog. Small amounts of black yarn (5 g/0.18 oz).
Information
The Hedgehog is made in continuous rounds, use a stitch marker and move it up as you finish the rounds. First, the head with single crochet is made, and then the body is being crocheted with the loop stitches.
There are step-by-step instructions on how to make the loop stitches and how to do the decreases.
Worsted weight yarn and smaller hook can be used, but your hedgehog will be smaller. Use a smaller hook than the yarn label recommends.
Size. 20 x 15 cm
Skill level: Intermediate
With white/beige chunky yarn
R 1: 6 sc in a mr = 6 sc
R 2: 6 sc
R 3: sc inc x 6 = 12 sc
R 4: (1 sc, sc inc) x 6 = 18 sc
R 5: 18 sc
R 6: (2 sc, sc inc) x 6 = 24 sc
R 7: (3 sc, sc inc) x 6 = 30 sc
R 8-10: 30 sc for 3 rounds
Fasten off and cut off the yarn.
Fasten safety eyes between rows 7-9. Sew on a little triangular nose on round 1. See picture below.
R 11 - 20: Turn the work so that you crochet from the inside out, this will ensure that the loop stitches appears on the outside. See the tutorial below for detailed instructions on how to do the loop stitches.
1 lp st in each st for 10 rounds = 30 lp st
R 21: (3 lp st, lp st dec) x 6 = 24 lp st
R 22: (2 lp st, lp st dec) x 6 = 18 lp st
Stuff the hedgehog with filling material.
R 23: (1 lp st, lp st dec) x 6 = 12 lp st
R 24: lp st dec x 6 = 6 lp st
Fasten off. Sew the hole closed. Weave in ends.
Tail
Same color as the body
Row 1) ch 6, turn. 1 hdc in the second ch from the hook and in each ch = 5 hdc
Fasten off. Leave a long tail for attaching. Sew on the tail on round 25.
How to make a smaller/bigger hedgehog
You can make a smaller one by starting the pattern and increase as normal to for example 24 sc. The skip to round 8 and do 3 rounds with 24 sc instead of 30. Then, do 24 loop stitches instead of 30. In the same way you can increase to 36 stitches and do 36 stitches on rounds 8-10 to make your hedgehog bigger. If you wish to follow the pattern, just use worsted weight yarn instead of a chunky one.
How to do the loop stitch
Attach yarn on the hook. Flip your work so you are crocheting from the inside out. This will ensure that the loop stitches appear on the right side. Insert the hook in the next stitch. Hold your index finger like in the picture.
Place the hook behind the two strands of yarn that you are holding up with your index finger.
Grab the strand furthest from the hook and pull through both loops.
Now you have three loops on the hook.
If you wish to, you can make the loops bigger at this point. Simply pull the index finger away from you. To make the loop smaller pull on the strand.
When you are happy with the size, yo and pull through all three loops.
Try to make sure that the loops have about the same size.
Sew on the nose and attach eyes
Make a little triangular and fill with black yarn. Attach the eyes on round 7, leave 7 sc space apart.
See the video above for a reference!
Loop stitch decrease
Start like on a normal loop stitch and stop when you have three loops on the hook (after you’ve adjusted the size on the loop). Just let go of the loop that you have on the index finger and insert the hook in the next stitch and start a new loop stitch.
Grab the strand furthest away from the hook and pull through all five loops.
You can tell the loop stitch decreases from the other stitches apart because they are thicker when you look at the stitches from the inside.
That’s it! Your hedgehog is finished! I hope that you liked this pattern! If there is something that is unclear, please contact me: yarnhild@outlook.com
I’d love to see your finished work You can find me on Instagram and Facebook @Yarnhild

