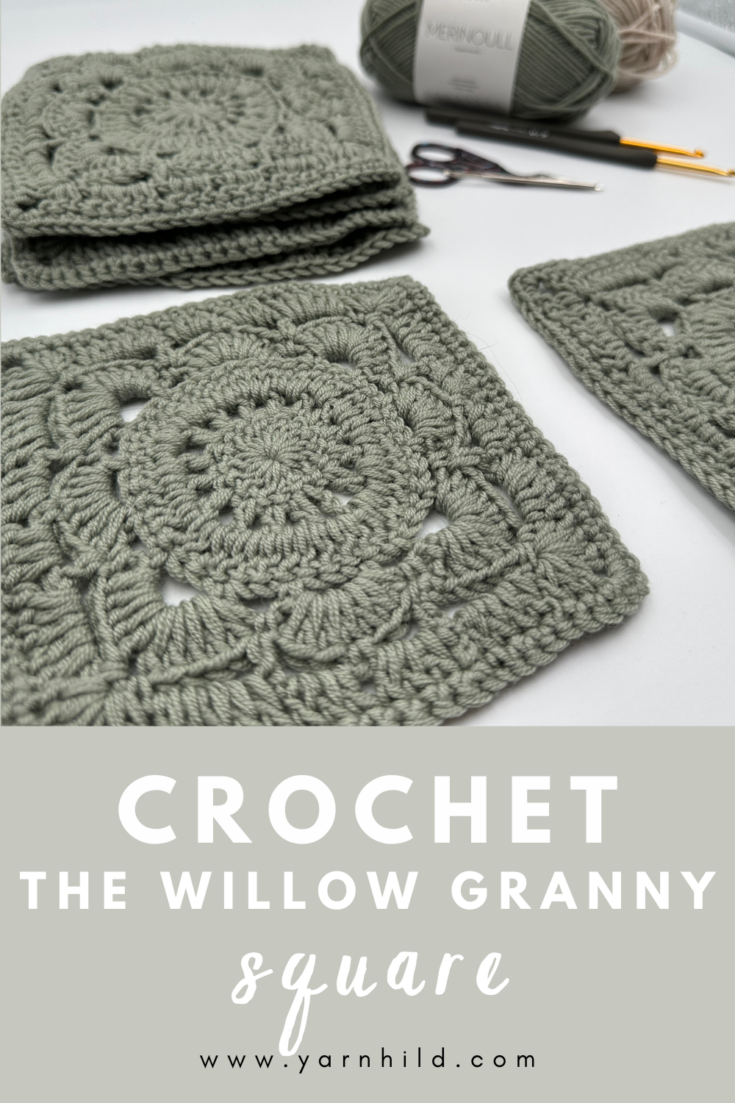
How to crochet the Willow Granny Square
Are you ready to crochet the beautiful Willow Granny Square? If you've admired the delicate charm of granny squares and want to learn how to make your own, you're in the right place. To begin, I’ll guide you step by step through creating the Willow Granny Square, from your first stitch to your final weave-in.
Whether you're just starting out or you're an experienced crocheter looking to try something new, this guide has you covered.. With clear instructions and visuals to help along the way, you'll be making stunning Willow Squares in no time.
So, grab your hook, pick your favorite yarn, and let’s dive in! You'll be amazed at how easy it is to create this elegant, lacy square—and how many beautiful projects you can make from it.
[lasso id="11074" link_id="1974" ref="amzn-clover-3672-amour-crochet-hook-set-10-sizes"]
Don't miss any free patterns! Subscribe to our newsletter!
What can I make with the Willow Granny Square?
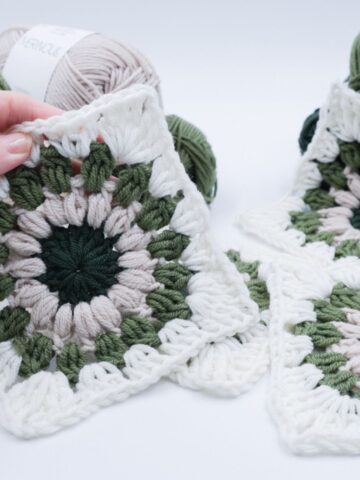
Like a classic granny square, this design is incredibly versatile. Because it has a soft drape and delicate detail, it’s perfect for everything from boho cardigans and throw pillows to lightweight scarves and statement bags. You can even use a single square as a placemat or wall hanging—the possibilities are endless!
Just like the standard Granny Square, this one can be transformed into so many things.
Thanks to its elegant drape, it works beautifully in garments like cardigans.
Additionally, the Willow Granny Square is a fantastic choice for a crochet purse.
Would you like to explore more stitches after this one? Check out this easy and beautiful pattern for your next crochet adventure.
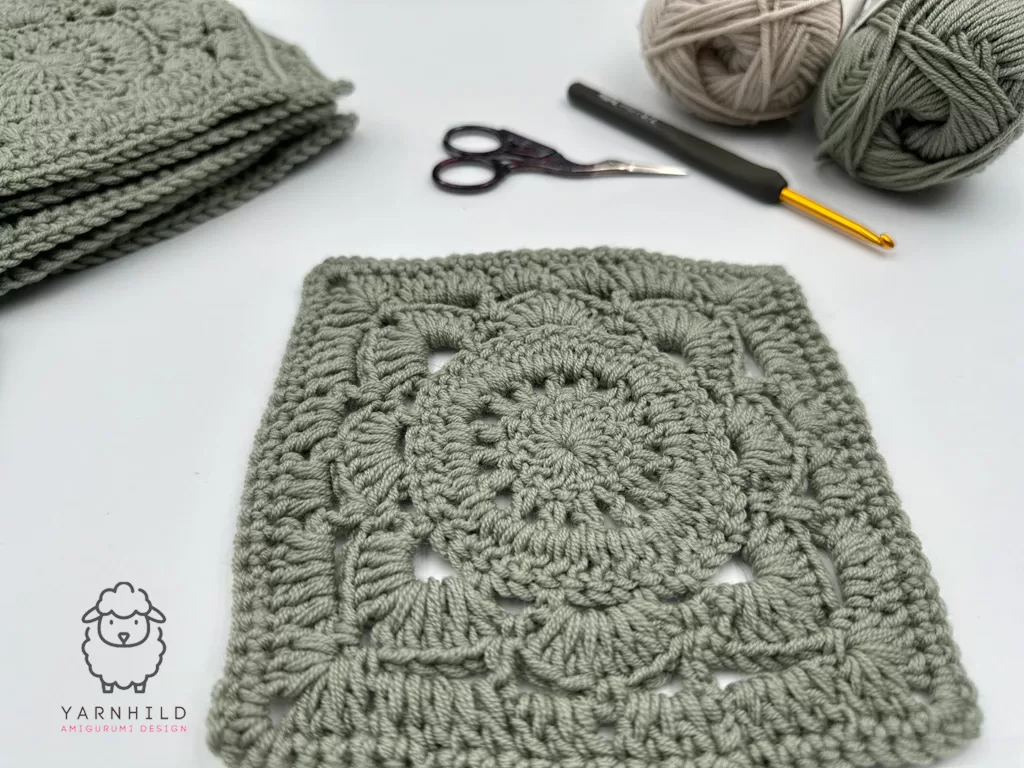

Willow Granny Square Crochet Pattern
Here’s a step-by-step guide to creating the beautiful and delicate Willow granny square. This classic design can be used to craft blankets, bags, sweaters, and more!
Scroll down for the written pattern, or watch the video tutorials (German and English)
Video tutorial (ENG)
Videoanleitung (DE)
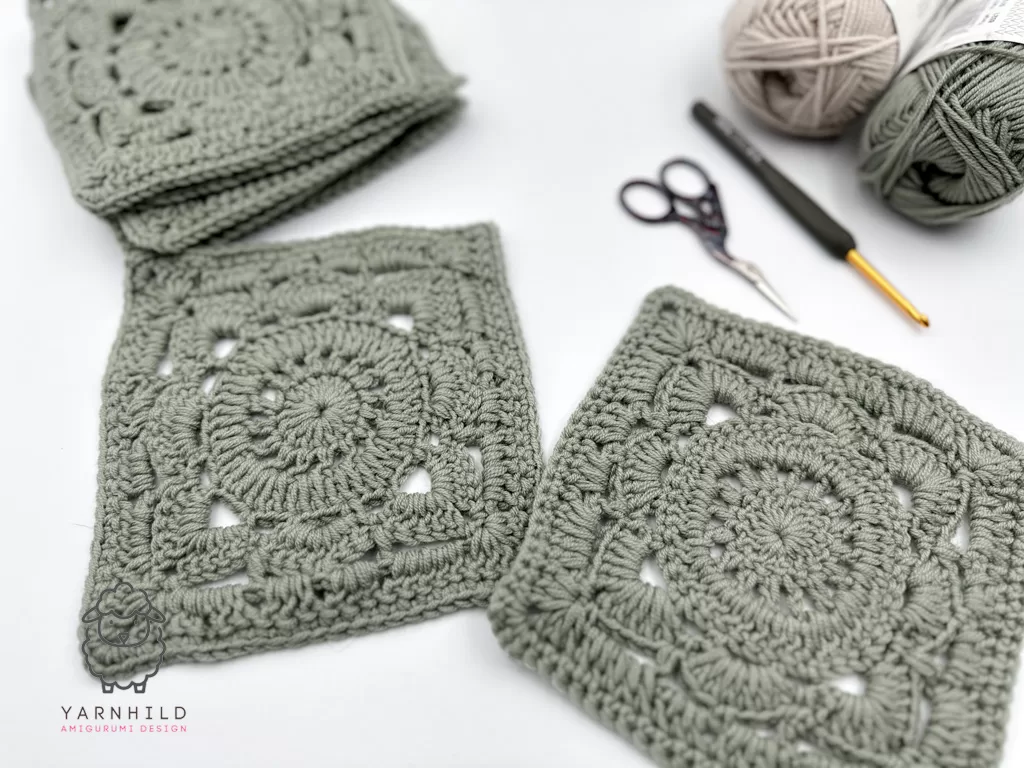
What to Make with Your Willow Squares:
Willow granny squares can be used for a variety of projects, including blankets, scarves, bags, and even garments like vests or cardigans. Because of their light, lacy texture, they’re also perfect for items like placemats, tablecloths, or coasters—especially if you only make one square.
In addition, these squares can be combined with other motifs or used as accent panels in larger designs. For example, you might join several together to create a unique wall hanging or stitch them into a patchwork-style tote.
Moreover, their vintage charm pairs beautifully with natural fibers like cotton or linen, giving your finished piece an extra dose of handmade authenticity.
Whether you're crafting for yourself or making a thoughtful gift, this pattern offers endless creative opportunities.
To sum it up, the Willow Granny Square isn’t just a square—it’s a building block for whatever your yarn-loving heart can dream up.
Need help picking yarn? This YarnSub tool helps you find great alternatives based on what you have at home.
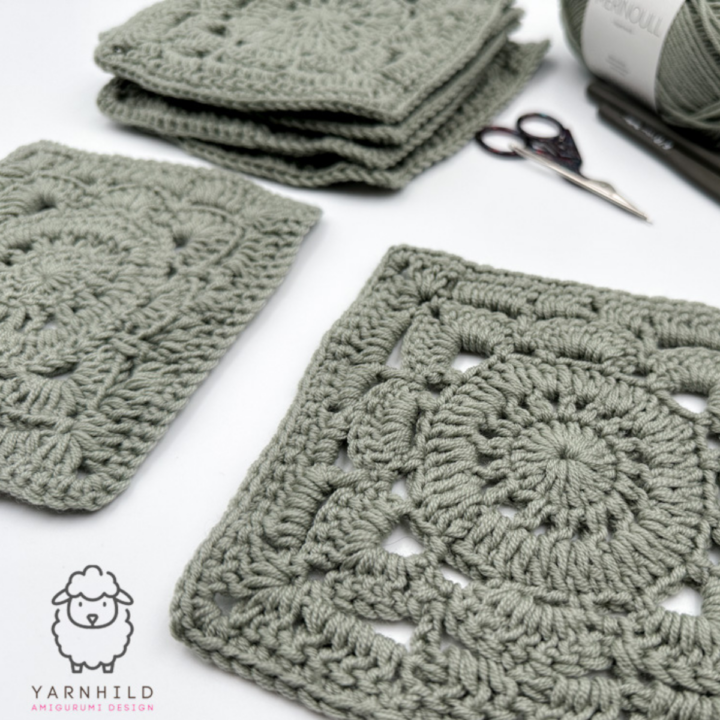
Willow Granny Square
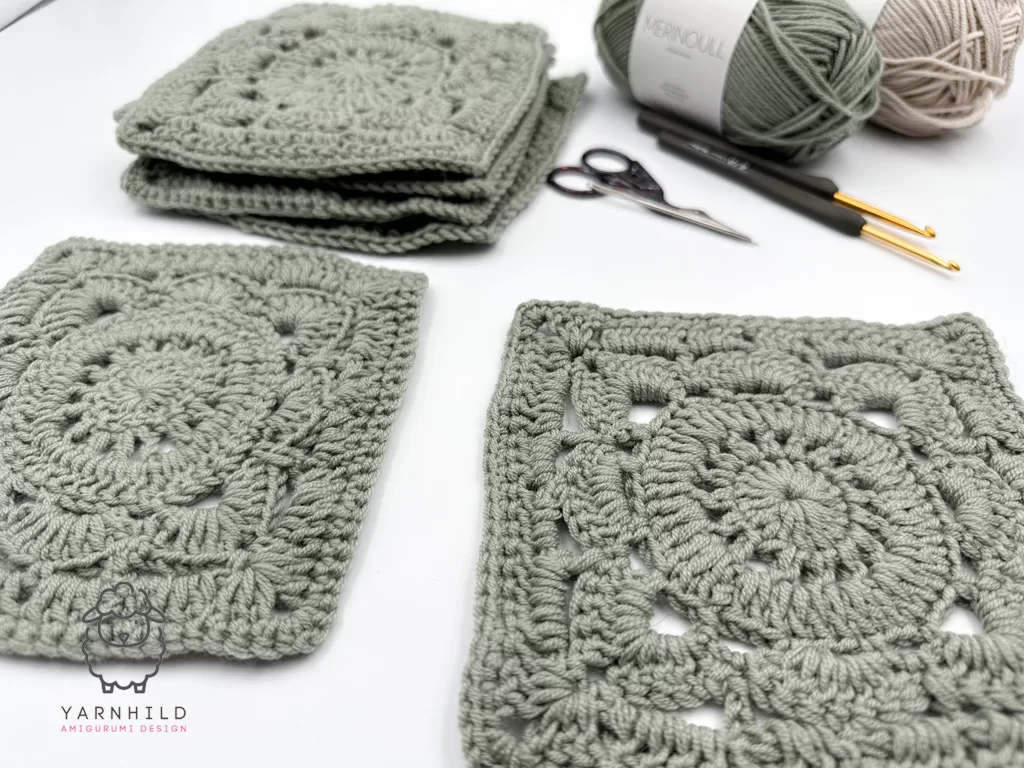
Materials
- Yarn: Choose DK (8ply) #3 or Worsted (10ply) #4 yarn. Each square will require about 25 meters (27 yards).
- Crochet Hook: Use a 3.5mm hook for DK yarn or 4.5mm for worsted yarn. Tighter stitches work best for this pattern.
- Other Tools: Scissors and a yarn needle for weaving in the ends.
- Feel free to use one color for a more unified look or mix different colors for each square if you're doing a larger project.
Tools
- Abbreviations:
- ch = chain
- sc = single crochet
- dc = double crochet
- sp = space
- rep = repeat
- sl st = slip stitch
- sk = skip
Instructions
Willow Granny Square Pattern
Round 1:
Start with a magic ring, or ch 4 and join with a sl st to form a ring.Ch 3 (counts as 1st dc), then work 15 dc into the ring. (16 dc total)Join with a sl st into the top of the starting ch 3.
Round 2:
Ch 4 (counts as 1 dc + ch 1), turn your work.* Dc into the next dc, ch 1. * Rep from * to * around.Join with a sl st into the 3rd ch of the starting ch 4. (16 dc and 16 ch-1 spaces)
Round 3:
Ch 3 (counts as 1st dc), turn your work.* 2 dc into the next ch-1 space, 1 dc into the next dc. *Rep from * to * around. In the last ch-1 space, work 2 dc. (48 dc total)Join with a sl st into the top of the starting ch 3.
Round 4:
Ch 1, turn work.* Ch 5, sk 2 sts, sc in next st. Ch 3, sk 2 sts, sc in next st. Ch 4, sk 2 sts, sc in next st. Ch 3, sk 2 sts, sc in next st. * Rep from * to * 3 more times.(You’ll have 16 chain spaces total.)Finish with ch 3 and join with a sl st into the starting ch.
Your circle will now begin forming into a square.
Round 5:
Sl st twice to reach the center of the nearest ch-5 space.
Ch 3 (counts as 1 dc), then work 4 dc into the same space.Ch 2, then work 5 dc into the same space again. (This forms the first corner.)
* Sc into the next ch-3 space, 7 dc into the next ch-4 space, sc into the next ch-3 space.In the next ch-5 space: 5 dc, ch 2, 5 dc (corner). *
Repeat from * to * around.Join with a sl st into the top of the starting ch 3.
Round 6:
Turn your work.Sl st into the next st.Ch 6 (counts as 1 dc + ch 3), sk 3 dc, sc in next st.Ch 3, sk 3 dc, dc in next st.
* Ch 4, sc into the corner space, ch 2, sc into the same corner. Ch 4, sk 5 dc, dc into next sc.Ch 3, sk 3 dc, sc into next dc.Ch 3, sk 3 dc, dc into next sc. *
Repeat from * to * 2 more times, working corners and sides.After the final side, work your last ch 4, then join with a sl st into the 3rd ch of the starting ch 6.
You should now have four defined corners and beautifully framed sides, ready for the final shaping round.
Round 7.
Ch 3 (counts as 1 dc), turn your work.Work 4 dc into the first ch-4 space.
Next, in the corner space: work 3 dc, ch 2, 3 dc.Then, in the following ch-4 space, crochet 5 dc.In each of the next two ch-3 spaces, add 3 dc into each.Finally, work 5 dc into the next ch-4 space.
Repeat from * to * around the square.Join with a sl st to the top of the starting ch 3.
Round 8
Ch 1, turn work.* Sc in each st across. In each corner: 2 sc, ch 2, 2 sc. *Rep from * to * around.
Sl st into the first st and fasten off. Weave in ends.
As you can see, the Willow Granny Square is more than just a pretty stitch—it's the start of so many creative ideas.
If you enjoyed this pattern, consider exploring my crochet stitch library for more techniques you can use in future projects.
Additionally, you can pair these squares with solid blocks or textured panels for a more dynamic look.
Once you've made a few, why not experiment with different yarn weights to see how they change the drape?
Finally, don’t forget to share your creations with me on social media—I love seeing what you make!
Until next time, happy stitching and stay cozy 💛
thank you