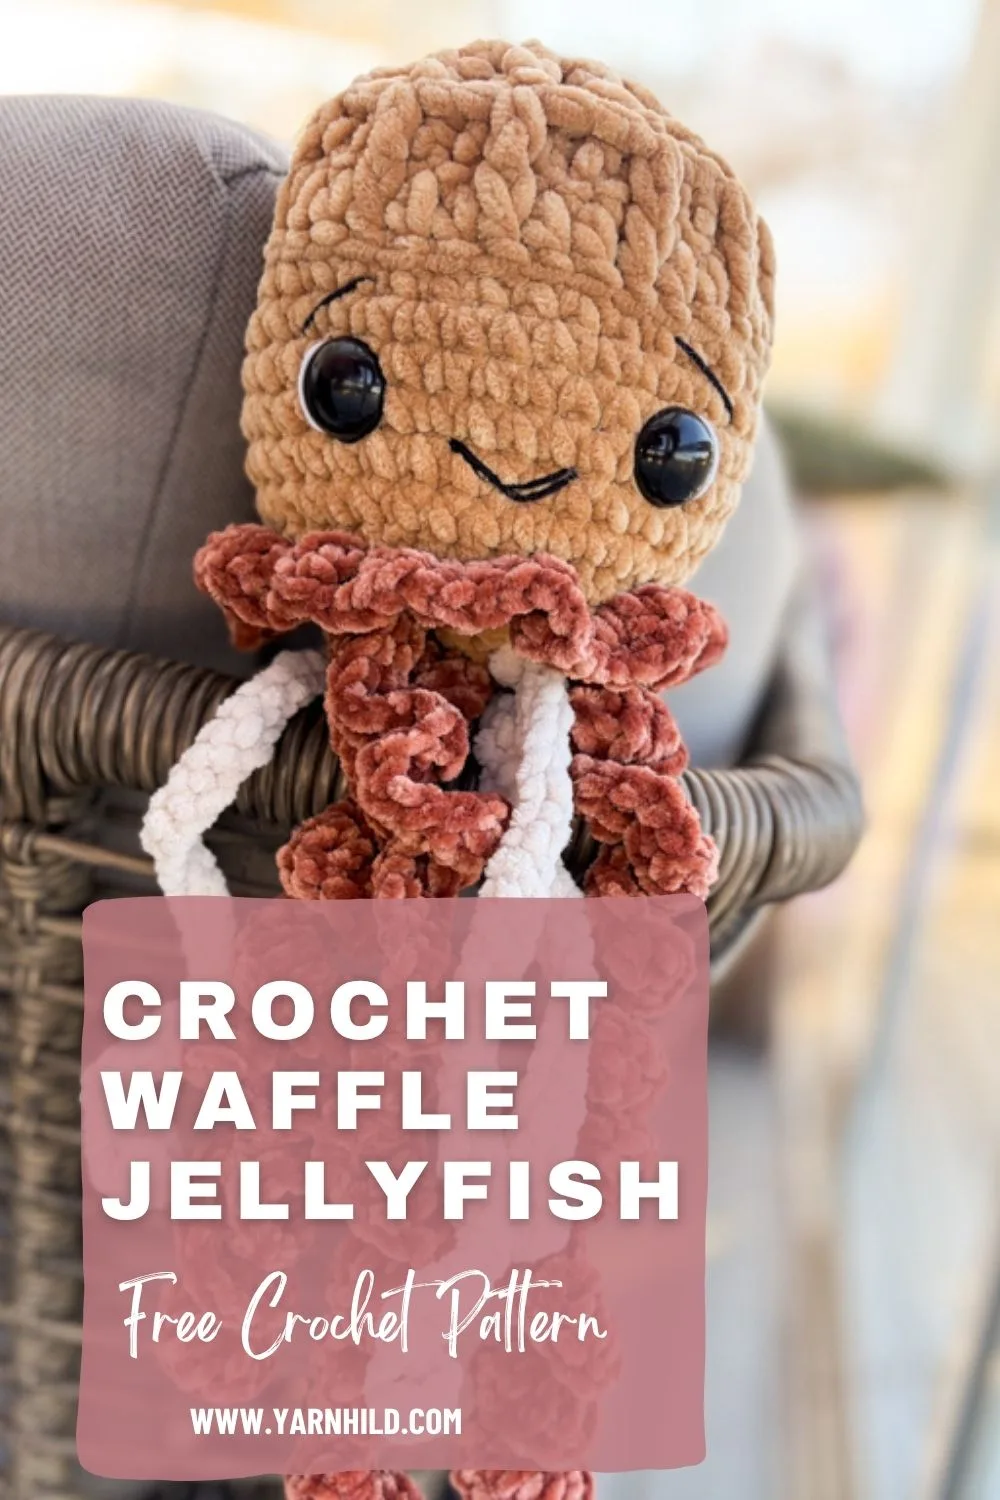
Crochet Waffle Stitch Jellyfish. Cute Amigurumi Pattern
This crochet waffle stitch jellyfish is one of those patterns you can’t stop making. The textured waffle stitch gives it a unique look, while the soft yarn makes it extra squishy and cute.
If you’re looking for an easy amigurumi project with a little twist, this one is perfect.
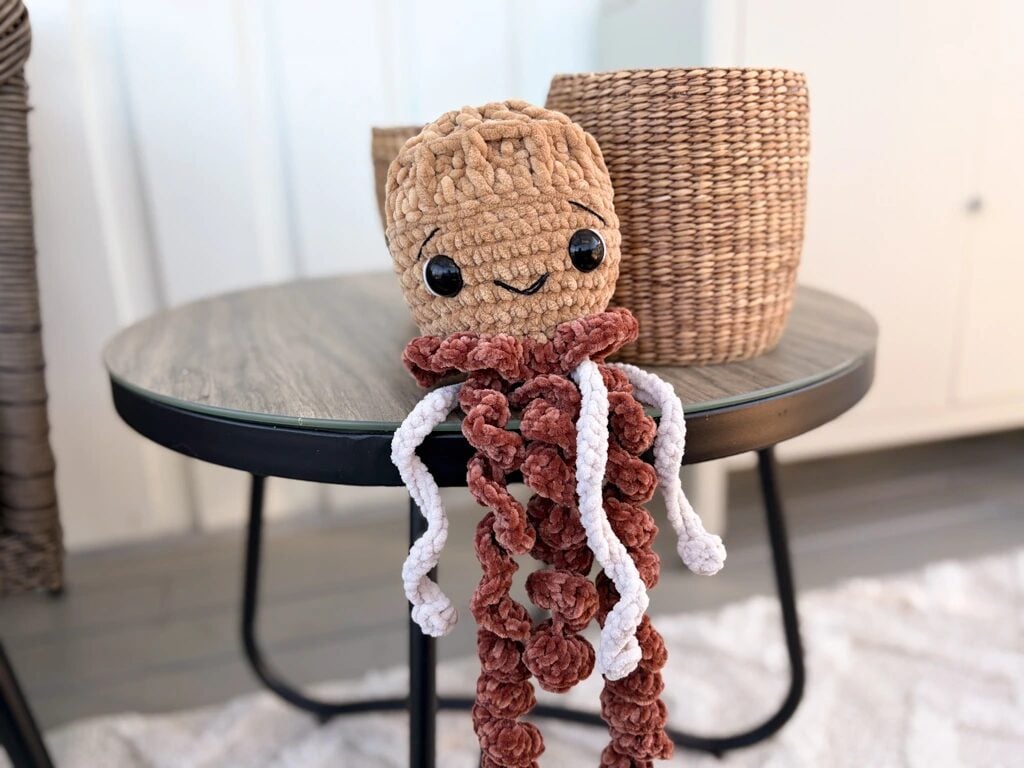
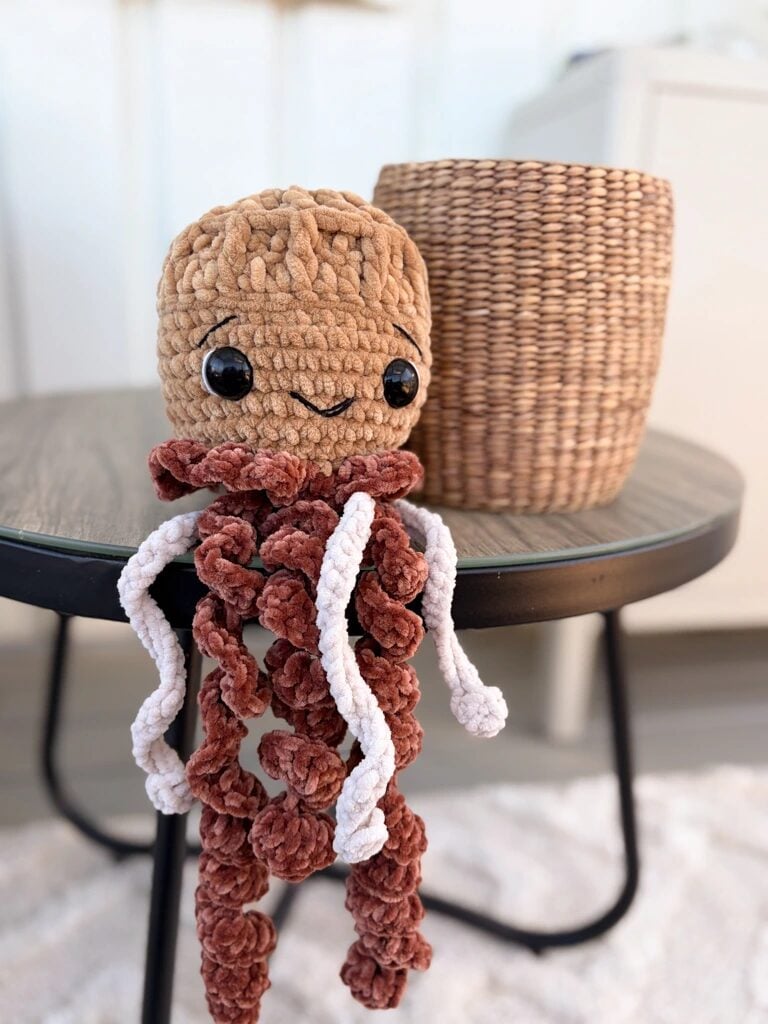
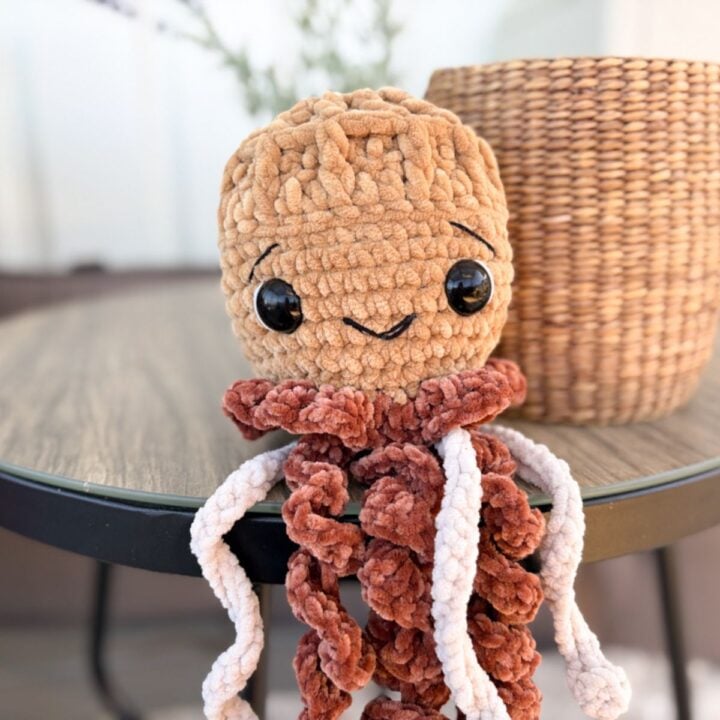
Meet Waffles the Jellyfish!
Pin this on Pinterest!
I have made some sea animals before, and I even made a jellyfish! But that was the standard one, and this time, I wanted to make something different and challenge myself.
Inspiration behind the crochet waffle jellyfish design
Food and animals are some of my favorite sources of inspiration, so I thought, why not combine them?
Waffles with brunost (brown cheese) are a classic here in Norway. Maybe not exactly a dessert, but if you ever visit, I’ll probably serve you one. Brunost is a sweet goat cheese with a rich, caramel-like flavor. Have you tried it?
This mix of cozy Norwegian waffles, sea creatures, and a touch of playfulness inspired this waffle-jellyfish crochet pattern. Something a little unexpected… and a lot more fun than your typical jellyfish.
The Waffle Stitch
The waffle stitch is a fun and versatile stitch that adds dimension and structure to crochet projects. When making the stitch in the rounds, it can be a little confusing, so I released a video tutorial to accompany the pattern.
Video tutorial - Crochet Waffle Jellyfish
German video
Get the pattern on Etsy
If you want the ad-free version, you can get the pattern on Etsy!
Looking for more free patterns?
If you enjoyed making this waffle stitch jellyfish, you might also love some of my other popular crochet patterns.
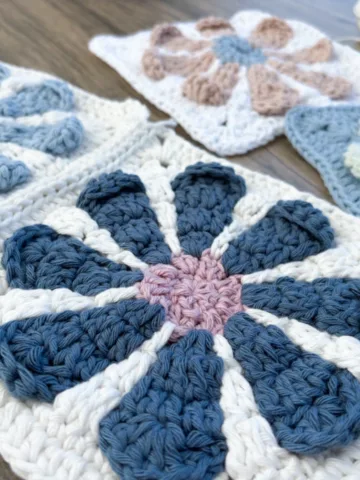
The Willow Granny Square has become a favorite for its simple, calming rhythm and beautiful texture. It’s perfect if you’re looking for a relaxing project that still feels special.
And if you’re in the mood for something a little more character-driven, the Highland Cow is one of my most loved patterns.
Each of these patterns offers a slightly different experience, but they all share the same focus on texture, simplicity, and creating something you’ll actually enjoy making.
Waffles the Jellyfish
Make a cute crochet waffle jellyfish with me! All the parts, except the tentacles, are made in one piece. The jellyfish is made in joining rounds.
Finished size: About 40 -45 cm with tentacle
Materials
- This pattern uses velvet yarn. You can use acrylic yarn or cotton, but the finished result will be smaller
- You`ll need 2 colors of yarn, the featured example uses:
- (A) Primary color, light brown: About 80 g
- (B) Skirt, tentakels, pink or optional: About 40 g
- 4,5 mm crochet hook
- Filling materials
- Scissors
- Safety eyes 20 mm
Tools
- ch-chain
- rnd–round
- St(s)–stitches
- Inc–increase
- dec - decrease
- sc - single crochet
- dc-double crochet
- fpdc - front post double crochet
- mr–magic ring
- sl st- slip stitch
- BLO - back loop only
- hdc - half double crochet
Instructions
Extra help
How to do a front post double crochet
Yarn over, insert hook from front to back to front around the post of the indicated stitch (instead of into the top loops). Yarn over, pull up a loop, yarn over, pull through 2 loops, yarn over, pull through remaining 2 loops.
Once you know how to make a front post double crochet (fpdc), the waffle stitch becomes easy to follow.
When working in the round, the fpdc stitches from the previous round will stand out as raised vertical bars. These act as a guide: work fpdc around these posts, and regular dc into the stitches that sit further back.
Head and body
Rounds 1–5 are worked in the waffle stitch pattern. From round 6 onward, work in single crochet (sc).
The ch 2 does not count as a stitch. Turn your work after each round for rounds 1–5 to create the waffle texture. From round 6 onward, continue working in the round without turning. Watch the video tutorial if you run into problems.
Color A
Rnd 1: 12 dc into the a mr, sl st into the first st to join. Ch 2. (12 dc)
Rnd 2: Turn work. *1 dc in next st, 1 fpdc around the post of the corresponding stitch from the round below*. Repeat from *-* 12 times. Sl st into the first st to join. Ch 2 (24 st)
Rnd 3: Turn work. *2 dc in next st, 1 fpdc around the next post from the round below*. Repeat from *-* 12 times. Sl st into the first st to join. Ch 2 (36 st)
Rnd 4: Turn work. * 1 dc into the next st, 1 fpdc into next 2 sts from the round below*. Repeat from *-* 12 times. Sl st into the first st to join. Ch 2 (36 st). Ch 2
Rnd 5: Turn work. (This is the last time you turn the work now, and you are working on the right side). * 1 dc into the next 2 sts, 1 fpdc into the st from the round below.* Repeat from *-* 12 times.
Sl st into the first st to join, ch 1.
Rnd 6: 1 sc in each stitch BLO, sl st to join. Ch 1 (36 sc)
Rnd 7-13: 1 sc in each st, sl st to join. Ch 1 (36 sc)
Rnd 14: (4 sc, sc dec) x 6. Sl st to join. Ch 1 (30 sc)
Rnd 15: Work in BLO. (3 sc, sc dec) x 6. Sl st to join. Ch 1 (24 sc). Stuff the animal. Attach safety eyes between rounds 9-10, approx. 6 sts apart.
Rnd 1: (2 sc, sc dec) x 6. Sl st to join. Ch 1 (18 sc)
Rnd 16: sc dec x 9 t. (9 sc)
Sew the hole closed. Weave in ends.
Skirt
In pink or alternative yarn. Work in the remaining loops from round 15. Hold the jellyfish upside down, with the head facing down and the opening towards you
Ch 2.* 2 dc in next st, 3 dc in the next *. Repeat from *-* all the way around. Sl st to the first st to join. Cut the yarn and weave in ends.
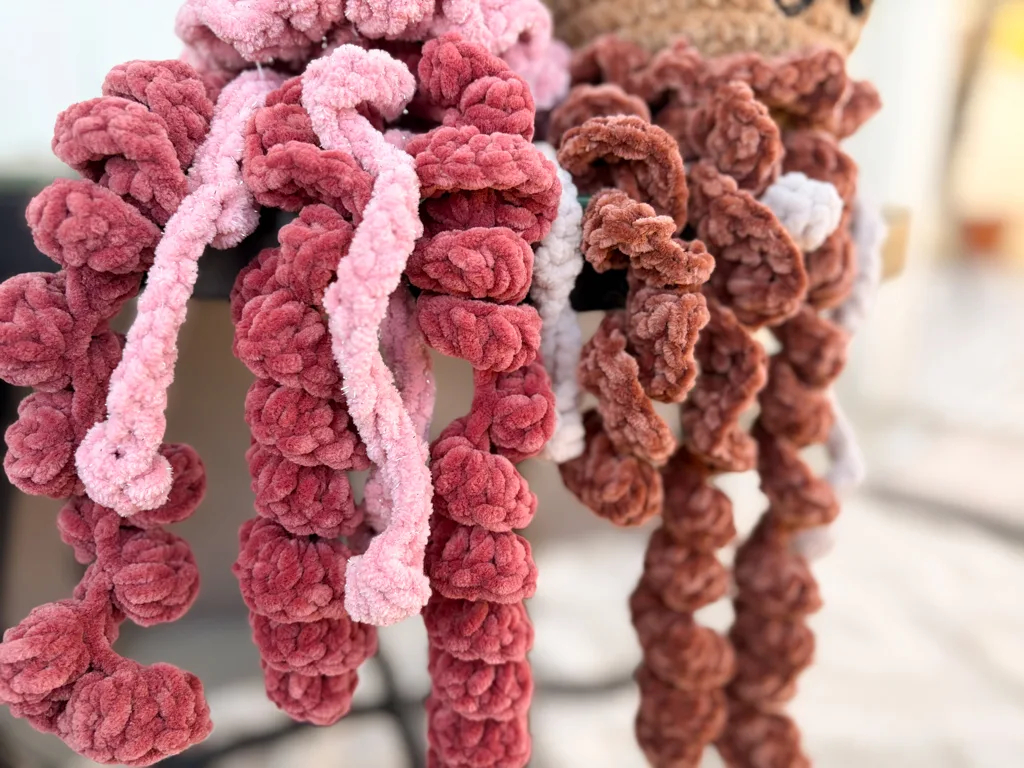
Tentacles, type 1
The starting chains are just suggestions; you can make different
lengths to create a different look.
In brown yarn.
Make 3 (or more if you like)
Ch 45, work 3 hdc into the 3rd ch from the hook. 3 hdc into every ch until the end of the row. Cut the yarn, leave a tail for sewing.
Tentacles, type 2
In pink or alternative yarn.
Make 3 (or more if you like)
Ch 33
1 bobble stitch into the 3 ch from the hook (see explanation below)
1 sl st in every stitch until the end of the chain. Cut the yarn, leave a tail for sewing.
(Yarn over, insert the hook into the stitch, and pull up a loop, yarn over and pull through 2 loops. Repeat until you have 4 loops on the hook. Yarn over and pull through all 4 loops.)
Sew the tentacles to the flat side of the body. Spread them evenly across the surface.
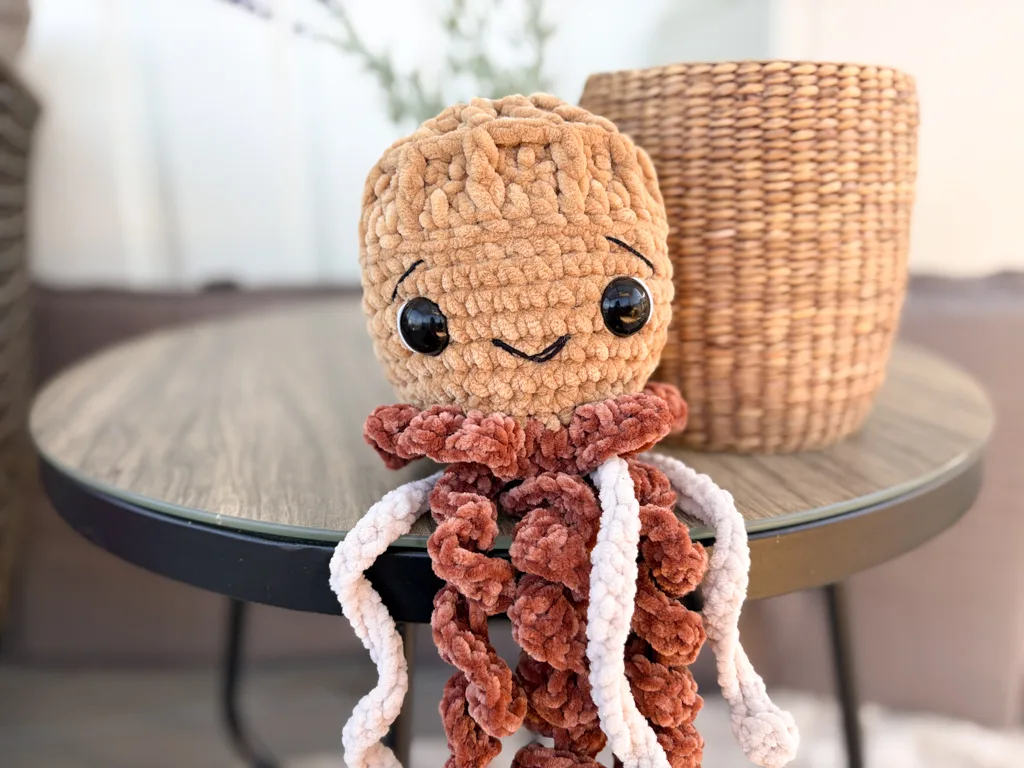
Face details
Emroider on some eyebrows or lashes to make your waffle jellyfish unique! Grab some thinner black yarn and sew on eyebrows/lashes onto your jellyfish.
Sew a small white stitch along the outer edge of each eye. Attach the yarn and weave in all ends.
I’d love to see your finished Waffle Jellyfish!
Tag me on social media or share your version with me. It makes me so happy to see your creations. You’ll find all my links on the first page.