Easy Crochet Corner-to-Corner Pattern: A Cozy C2C Gnome for Beginners
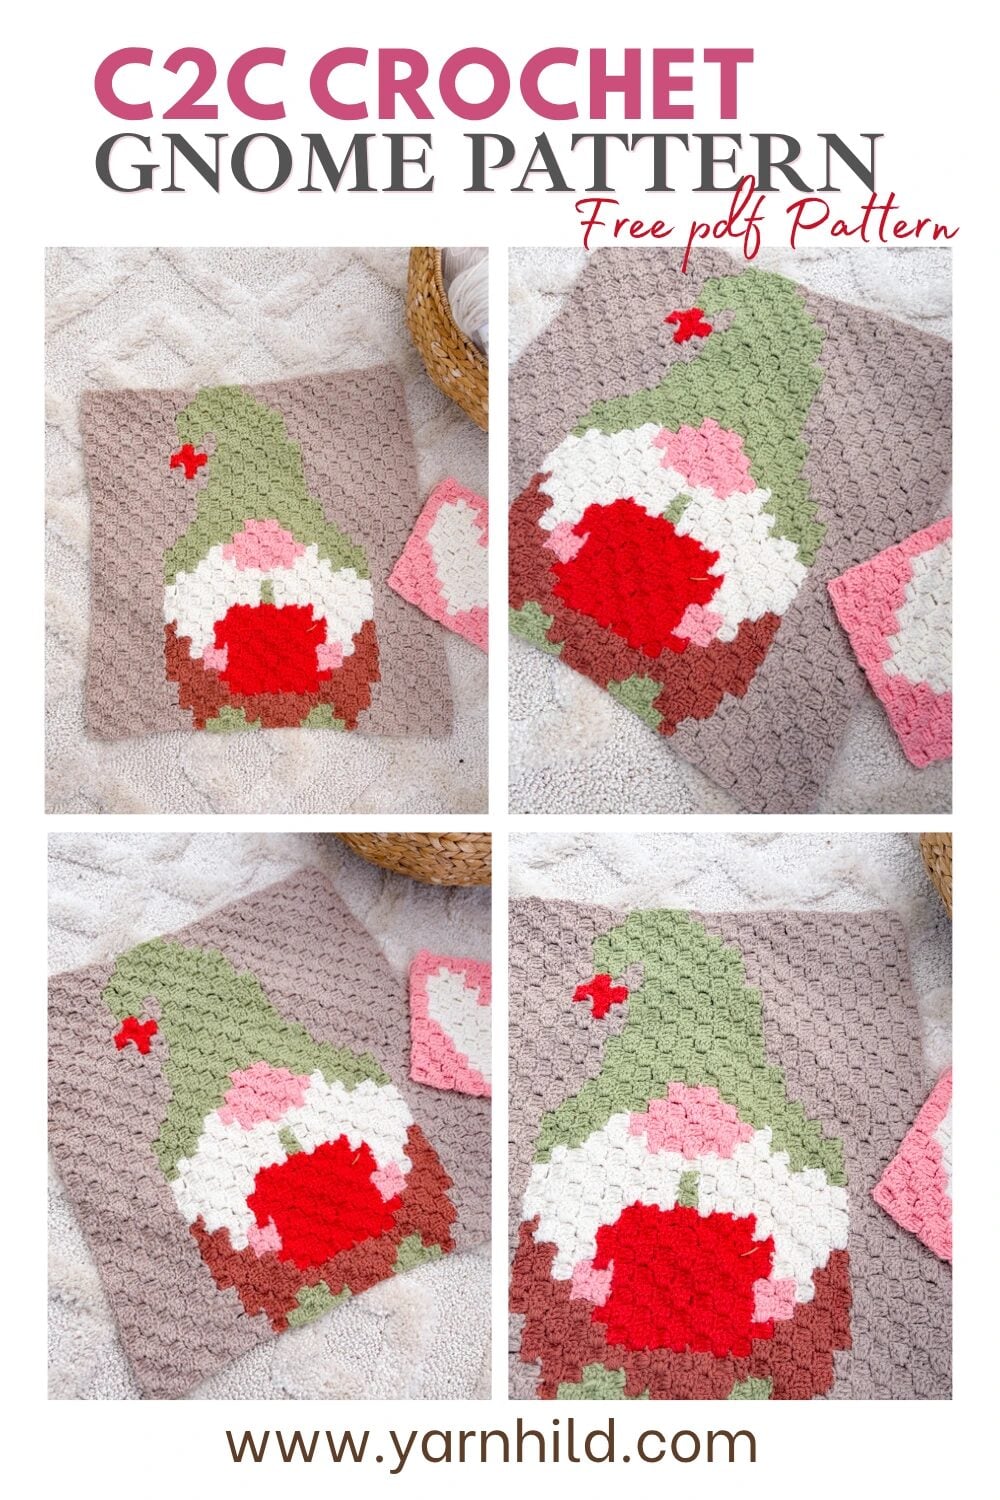
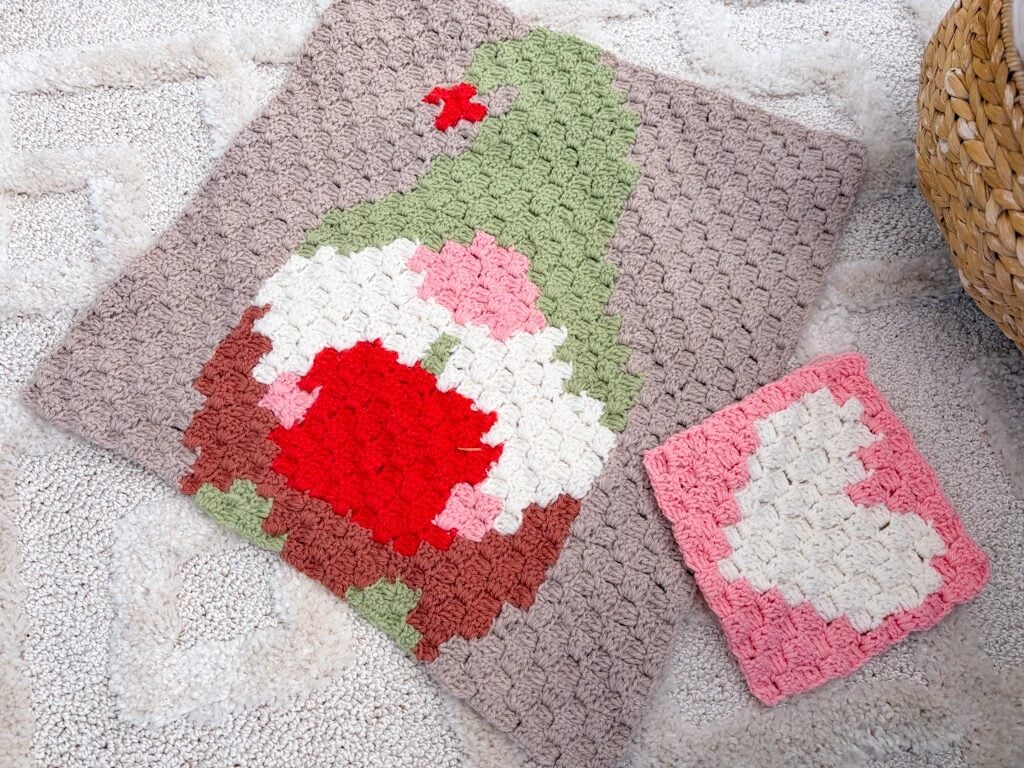
Meet the newest little friend on Yarnhild: a cozy gnome with a tall green hat, a fluffy white beard, and sweet little boots peeking out at the bottom.
Scroll down for the German video tutorial.
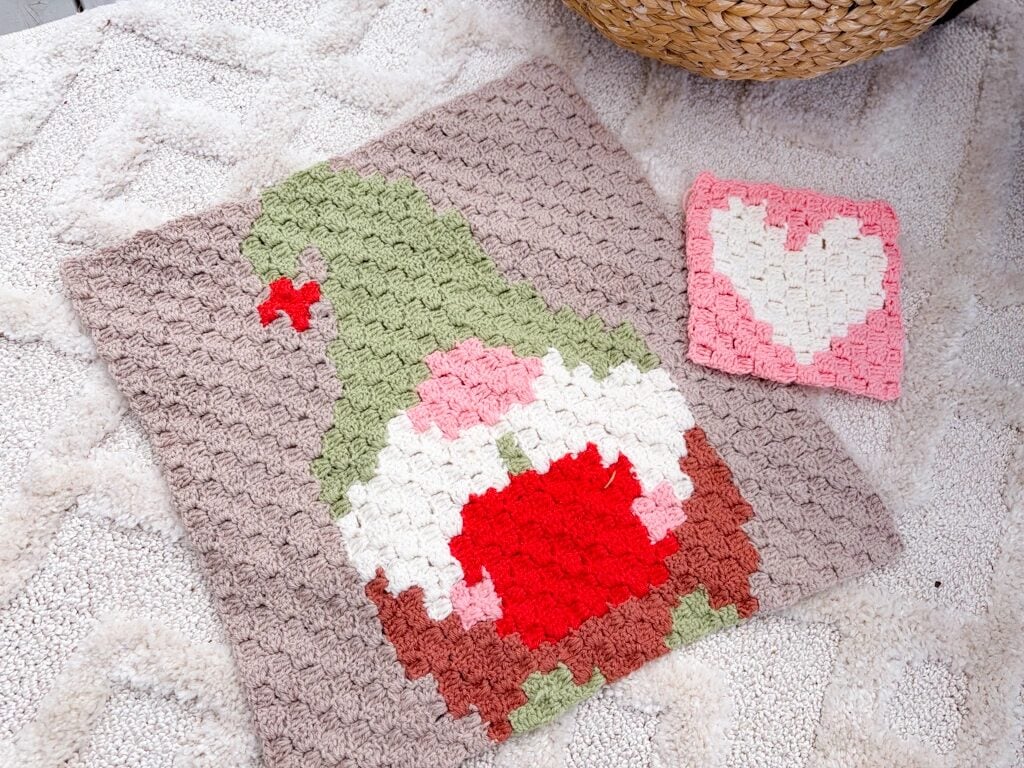
I have spent weeks making this gorgeous c2c crochet project, and I am so happy with the result! At first, I thought this would be a quick weekend project; little did I know that corner-to-corner takes time! I think it takes a little time because of all the color changes.
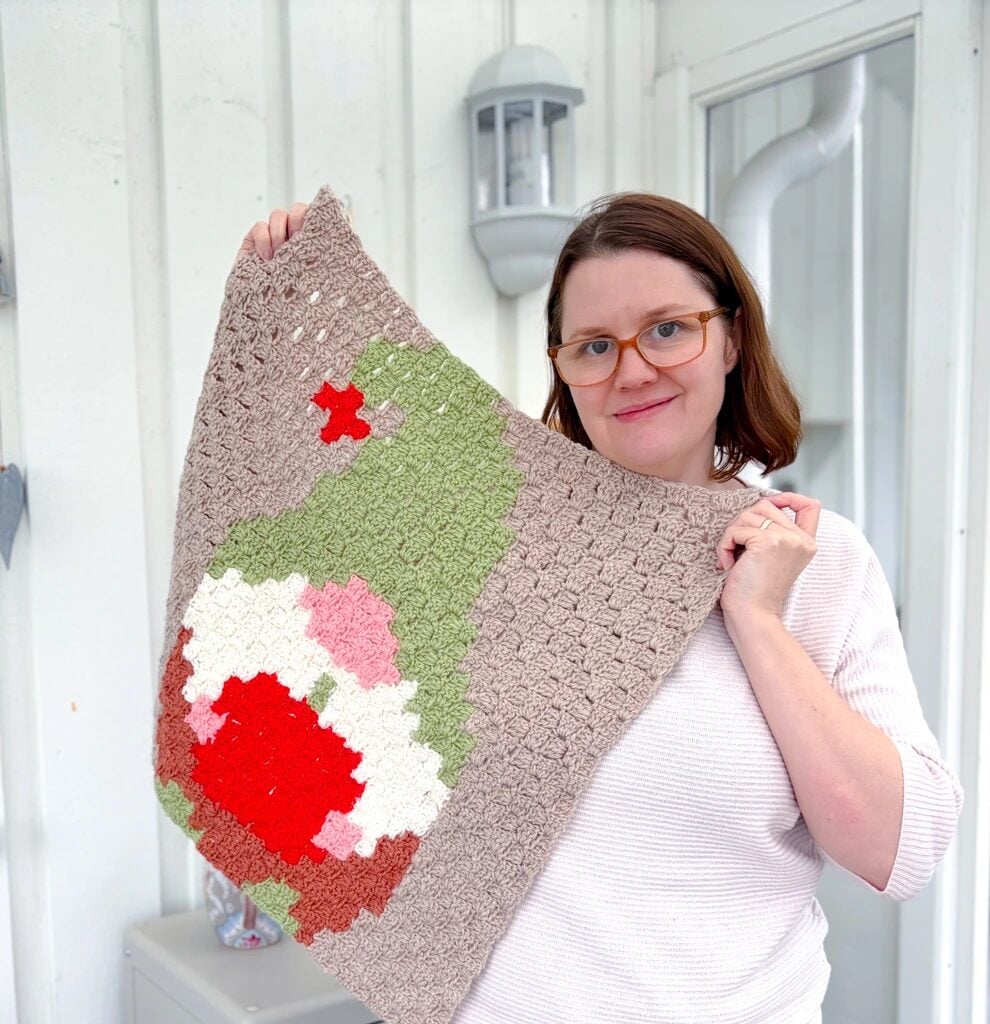
So now you are warned!
But I am so happy I finished it, because look at it! It is so strikingly cute! It was really worth all the weaving in of the ends.
This C2C pattern is a lovely one to try if you're still finding your feet with crochet. There's no shaping to figure out and no tricky counting in the round. You make one small square at a time, follow the colors, and watch your gnome appear row by row. Honestly, that moment when his face pops up in the middle is one of my favorite parts.
Grab a cup of your favorite warm beverage and let's walk through it together.
What is corner-to-corner crochet?
C2C stands for corner-to-corner. Instead of working straight across in rows, you start in one corner and work diagonally toward the opposite corner.
The corner-to-corner technique is built from tiny squares called blocks. Each block is like one pixel in a picture. If you've ever seen pixel art in an old video game, you already understand how this works. Put enough colored blocks next to each other, and a picture appears.
The best part for beginners? Once you learn how to make one block, you've learned the whole technique. Everything else is just repeating it and switching colors. If you've never made a C2C block before, my C2C beginner tutorial shows you each step slowly.
Video tutorial for C2C crochet
Here is a video on how to start your corner-to-corner crochet project, follow the chart, and do the color changes. Download the chart below for practice. The gnome chart can be found further down.
Hier gibt es auch das Video auf Deutsch
The pattern at a glance
| Width | 29 blocks |
| Height | 31 blocks |
| Diagonal rows | 59 |
| Total blocks | 899 |
| Colors | 6 |
The gnome is a little taller than it is wide. The pattern focuses on where the colors go, so you can pick your own yarn and hook. Just use the same ones from start to finish so your blocks stay the same size.
Colors you'll need
You'll need six colors. Each has a short code, which tells you what to use.
| Background | BG | 477 | Around the gnome |
| Green | G | 179 | His hat and boots |
| Brown | B | 84 | His body and the hat's little tip |
| White | W | 77 | His beard |
| Red | R | 54 | The pop of red on his front |
| Peach | P | 28 | His nose and hands |
Background is your biggest color by far, so make sure you have plenty of it. Peach is the smallest, so a little leftover ball from your stash is perfect here.
How the pattern works
Start in the bottom-right corner with one block. From there, the gnome grows in three simple stages.
- Rows 1 to 29: grow. You increase at both ends of each row, which just means adding one extra block. Each row is one block longer than the last, until row 29 has 29 blocks.
- Rows 30 and 31: turn the corner. Because the gnome is taller than he is wide, you keep 29 blocks for two rows. You'll decrease (skip adding a block) at one end and increase at the other.
- Rows 32 to 59: shrink. Now you decrease at both ends, so each row gets one block shorter, until you finish with a single block in the top-left corner.
You'll also see RS and WS next to each row. RS means right side, the side that will face out. WS means wrong side, the back. At the end of every row, simply turn your work so the right side faces up.
The pattern gives you three ways to follow along, so you can pick what feels easiest:
- The graph, a picture of the gnome where every square is one block.
- Written instructions, like "Background × 6, Green × 2".
- Color-block instructions, a shorter version like "BG:6 G:2".
For each row, just read the colors from left to right. That's it.
A few tips to keep you on track
- Enjoy the easy start. Rows 1 to 8 are all background, so they're a gentle warm-up. Use them to get comfortable with your blocks before the colors begin.
- Get ready for the busy middle. Rows 16 to 33 bring the boots, beard, and face together, with lots of color changes. Take these slowly. It's totally fine to do just a few rows a day.
- Mark your place. Tick off each row as you finish it, or pop a sticky note under the row you're on.
- Count every row. The pattern lists how many blocks each row should have. A quick count at the end of each row catches mistakes early, when they're easy to fix.
- Use small bobbins for small bits. For colors you only need a little of, like peach, wind a bit of yarn around a bobbin or a piece of card. It keeps things from tangling.
- Weave in ends as you go. Future you will be so grateful.
What can you make with your gnome?
Once your gnome is finished, he's ready for all kinds of cozy jobs. He makes a sweet cushion cover, a little wall hanging, or a square for a bigger blanket. With backing fabric, he'd make a lovely tote-bag patch too.
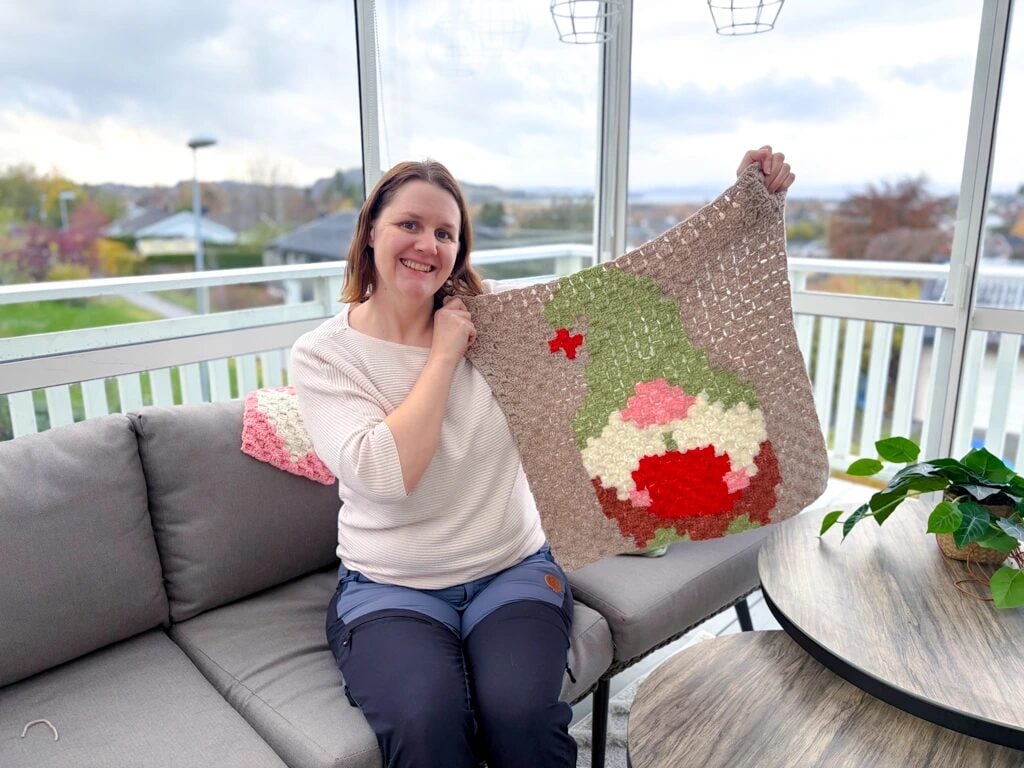
And since the colors are up to you, try your own twist. A blue hat, pink instead of red, a grey beard for a grandpa gnome. Make him yours.
Get the pattern
I am offering this PDF pattern for free as a thank you. I'd love for you to subscribe to my newsletters:)
The full Gnome C2C pattern is here. It includes the color guide, the graph, written instructions for all 59 rows, and the shorter color-block version.
If this is your first C2C project, start with my C2C beginner tutorial on YouTube, then come back to your gnome. You can do this, one little block at a time.
When you finish, I'd love to see him. Share a photo and tag me so I can cheer you on.